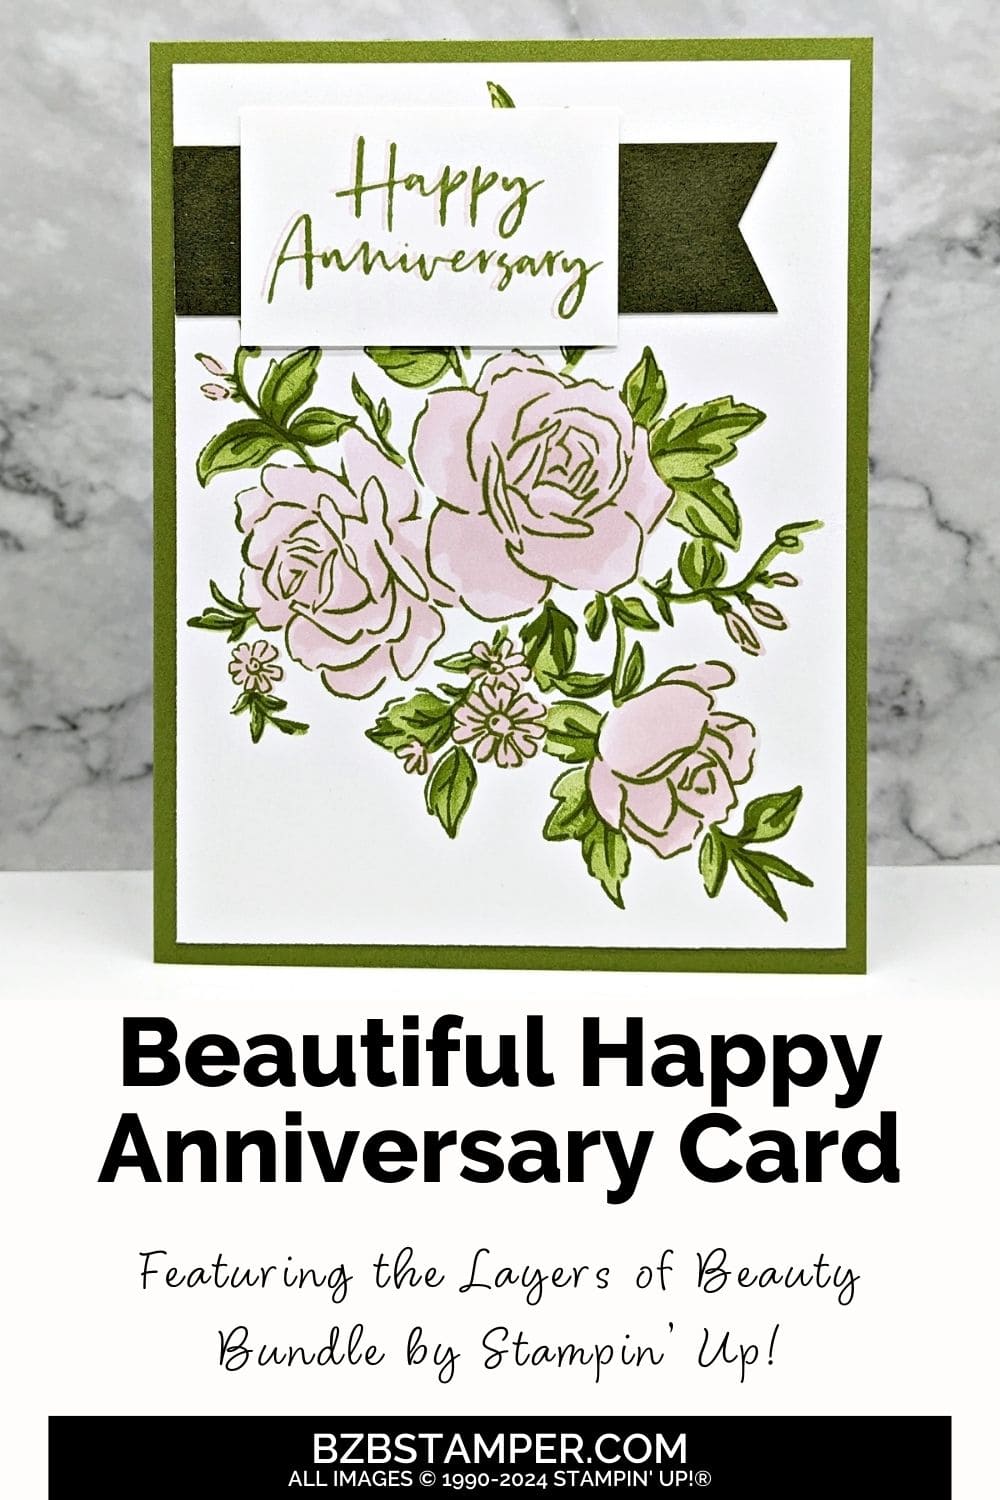
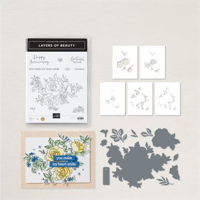
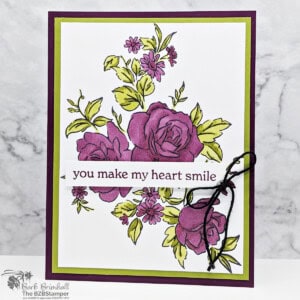
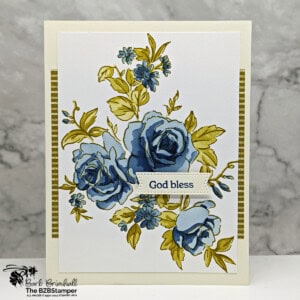
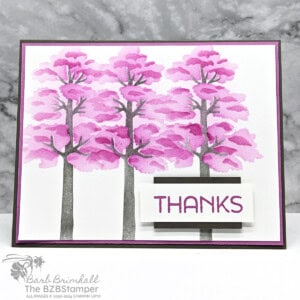
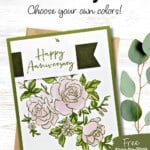
We’re celebrating love with a Happy Anniversary Card using the Layers of Beauty Bundle by Stampin’ Up! Anniversaries are special milestones, and what better way to express your heartfelt wishes than with a handmade card that showcases your creativity?
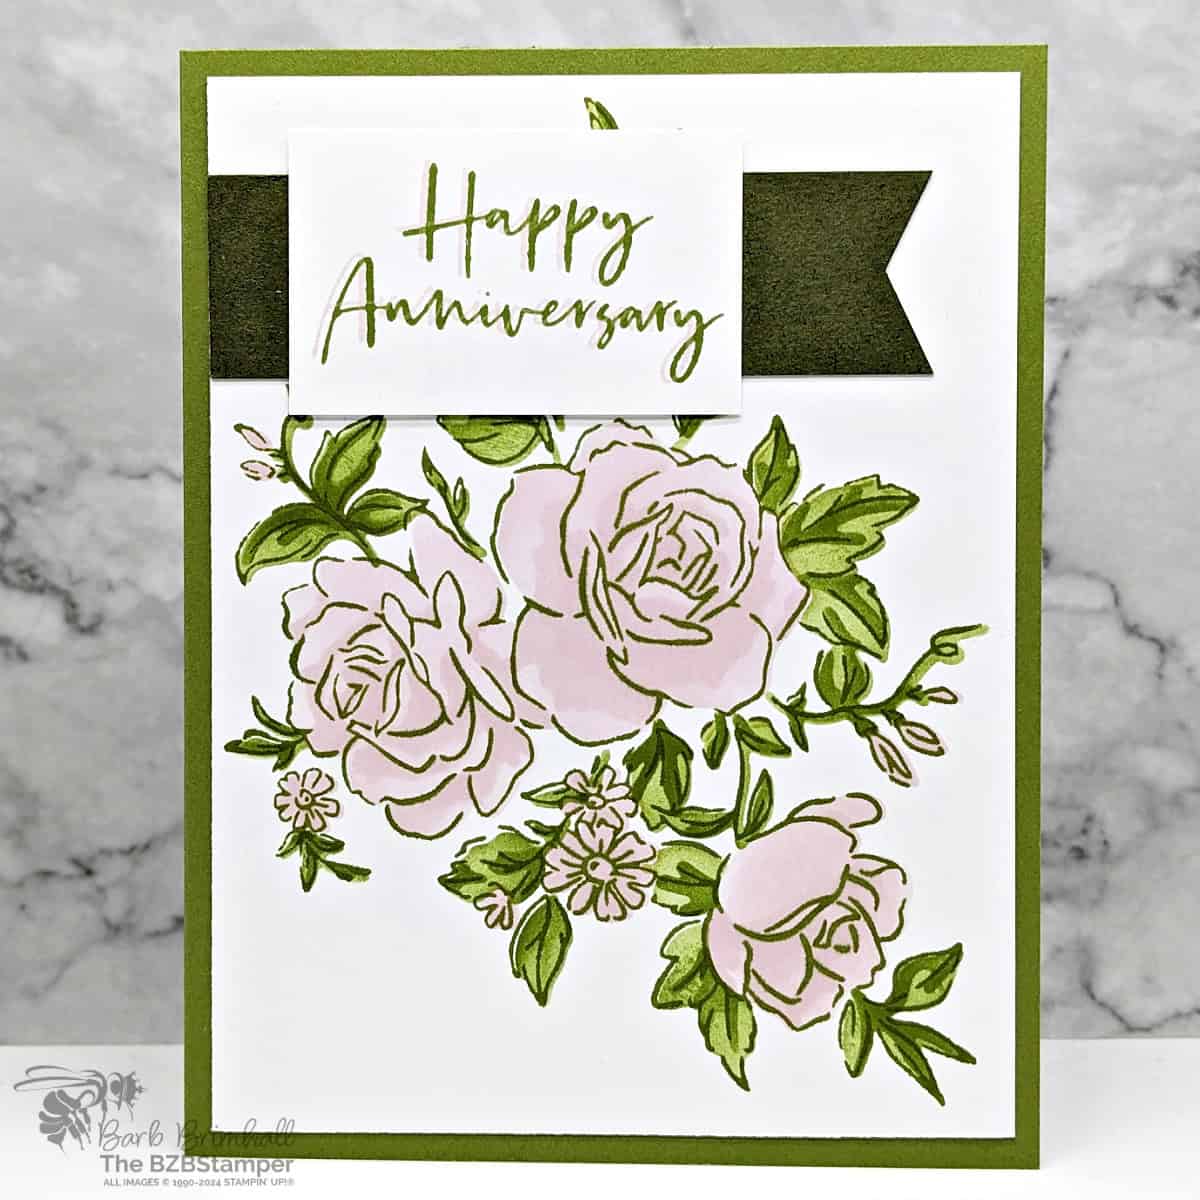
The Layers of Beauty Bundle is perfect for this occasion, offering stunning floral elements that you can easily layer for a rich and vibrant design. Using the Decorative Masks with the stamps, you can craft a card that captures the essence of love and celebration.
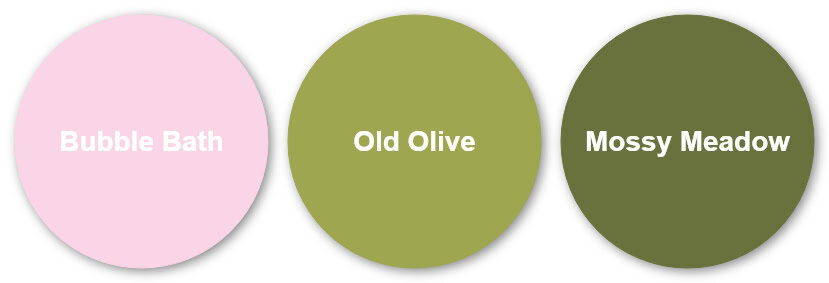
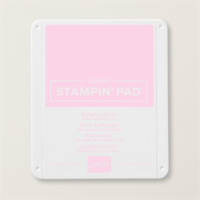
I wanted a traditional, and yet elegant, color combination for this card, so I went with Bubble Bath, Old Olive and Mossy Meadow. The use of the 2 colors added some depth to this card that really works for an Anniversary card. If you prefer something bolder, make sure you check out my Color Combination Library for color inspiration!
How To Make This Card
Project Skill Level: Worker Bee
Worker Bee projects are designed for the crafter who has a bit more time and enjoys creating a handmade card that features a technique or tool. In many cases, a Stampin’ Cut & Emboss Machine is required for die-cutting and/or embossing.
Cardstock Measurements:
- Old Olive Cardstock Cardstock: 5-1/2″ x 8-1/2″, scored at 4-1/4″
- Basic White Cardstock: 4″ x 5-1/4″ (2 pieces)
- Mossy Meadow Cardstock: 1″ x 3-1/2″
- Basic White Cardstock: 1-1/2″ x 2-1/4″


Grab your Free copy
Get 5 Bee-utiful Exclusive
Card Sketches in Your Inbox
Join our newsletter and receive a honey of a package of five quick & simple cards guaranteed to make your creativity buzz! Sign up now and let the goodness flow straight to your inbox!
Step-by-Step Instructions:
- Fold the Old Olive cardstock in half at the score line to create your card base.
- Adhere one of the 4″ x 5-1/4″ pieces of Basic White cardstock inside the card.
- Place the remaining 4″ x 5-1/4″ piece of Basic White cardstock onto a piece of scratch paper to protect your stamping surface. T(ip: you may want to use Washi Tape or Painters Tape to lightly hold down the paper onto the table so that it doesn’t move.) Stamp the large floral image onto the center of the Basic White cardstock using Old Olive ink.
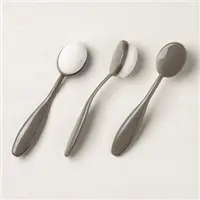
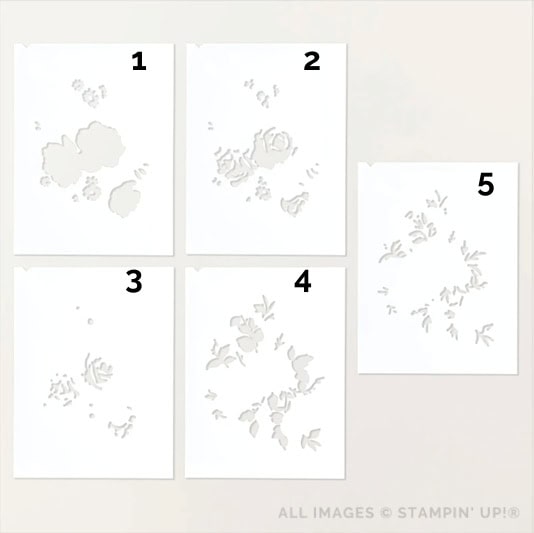
- Layer Decorative Mask #1 (see below) onto the White cardstock, lining up the mask with the stamped image. Using a Blending Brush, lightly sponge Bubble Bath ink over the mask using a light touch.
- Layer Decorative Mask #2 onto the cardstock, lining up with the stamped image and sponge additional Bubble Bath ink, a bit more than used in the previous step.
- Layer Decorative Mask #3 onto the cardstock, lining up the mask with the stamped image, and sponge a final layer of Bubble Bath ink, using more than in the previous 2 steps.
- Layer Decorative Mask #4 onto the cardstock, lining up with the stamped image. Using a new Blending Brush and Old Olive ink, lightly sponge ink over the leaves.
- Layer Decorative Mask #5 onto the cardstock, lining up with the stamped image, and sponge a final layer of Old Olive ink, using more ink than in the previous step to add depth of shading. Set aside all the masks to clean later.
- Adhere the Basic White cardstock to the center of the card front using Adhesive.
- Using scissors, “flat notch” the right side only of the Mossy Meadow cardstock; adhere to the front of the card, on the left side, about 1/2″ down from the top of the Basic White cardstock.
- Using the 1-1/2″ x 2-1/4″ piece of Basic White cardstock, stamp the sentiment using Old Olive Ink. Clean the stamp, reink with Bubble Bath ink, and stamp over the previous Old Olive sentiment. It doesn’t have to be perfect, our goal is to soften the Old Olive ink slightly.
- Adhere the White cardstock onto the strip of Moss Meadow cardstock as shown in the sample to finish the card.
A Tip from Barb
Cleaning the masks is super easy but you will want to take care to not damage the mask by “bending” some of the intricate details. I have found the best way is to take the masks to the sink and rinse them carefully with warm water. The ink are water-based so they will “run” off the mask with the water. Then set the up again your backsplash or a wall to air-dry. Then put away when dry. Easy Peasy!
Thanks for stopping by for today’s card tutorial! My goal is to help you make quick & easy greeting cards for all occasions. If you’d like more detailed directions on how to make this card, feel free to email me. I hope you’ll join me again for more card-making ideas!

Don’t forget to pin this for later!
