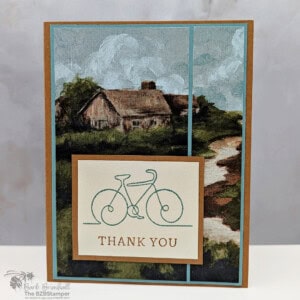
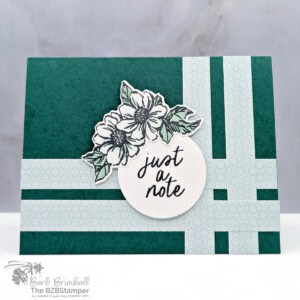
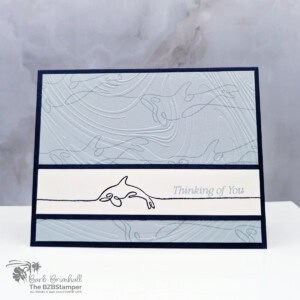
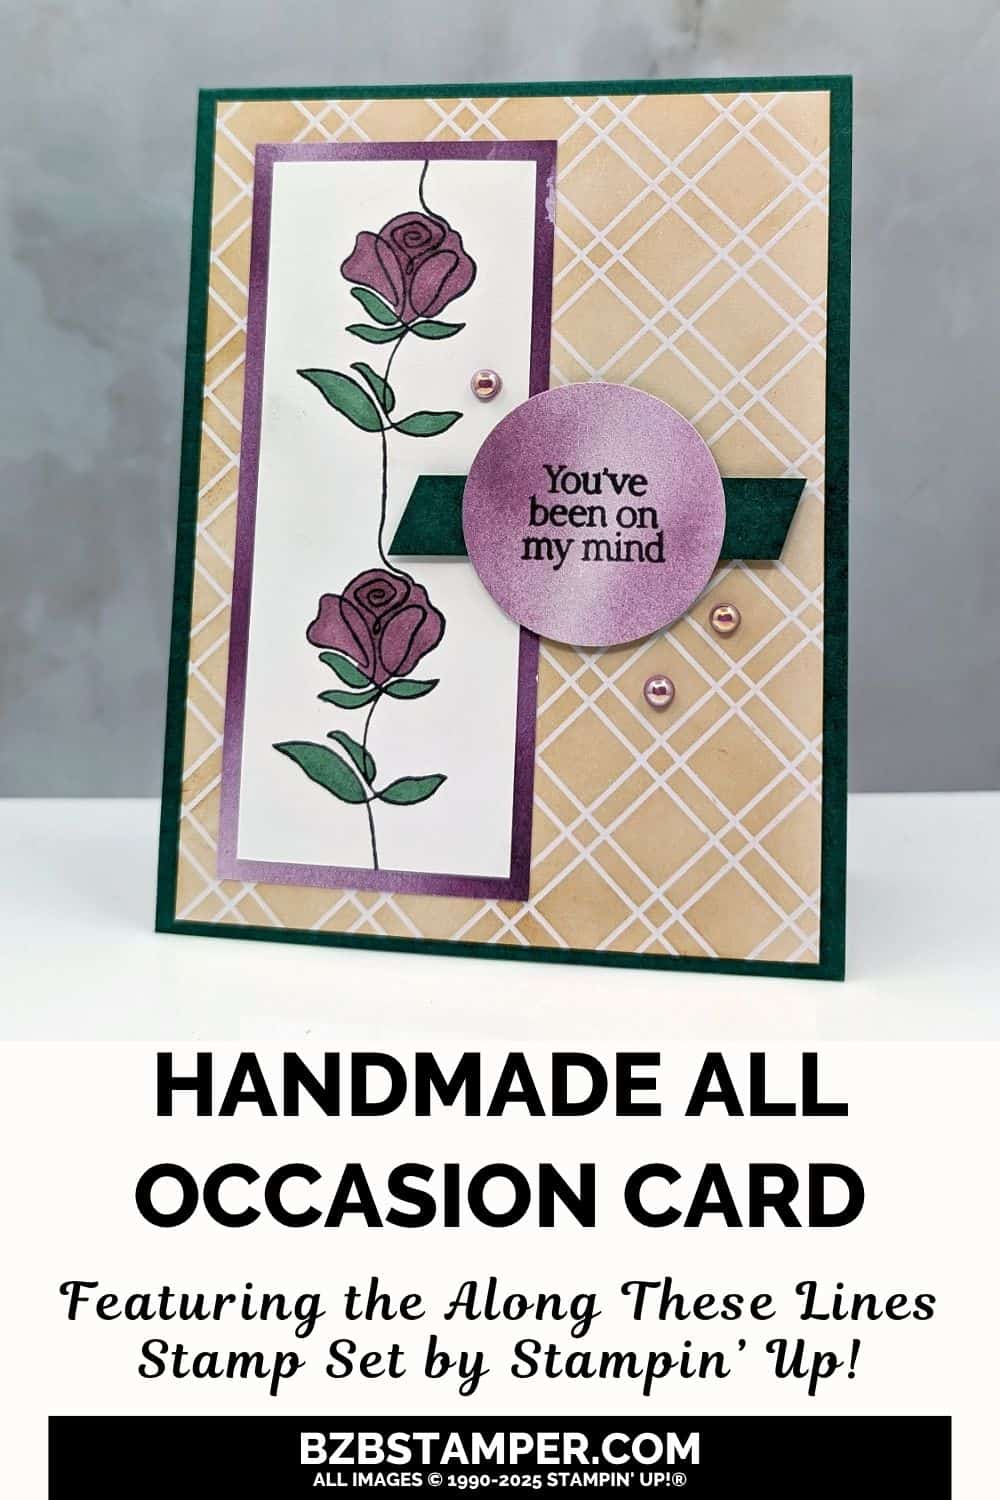
Create a heartfelt and serene All Occasion Card with Along These Lines Stamp Set by Stampin’ Up!® Whether it’s a quiet “thinking of you,” a gentle thank-you, or a supportive note during a hard time, this card has the kind of peaceful energy that makes people feel seen.

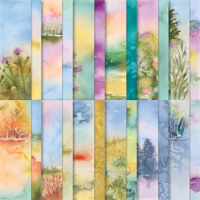
The Along These Lines Stamp Set brings a sense of graceful movement with its continuous line artwork. To bring this card to life, I used a rich combination of Shaded Spruce cardstock for the base and pulled in textures from both the Irresistible Designs and Thoughtful Journey paper packs.
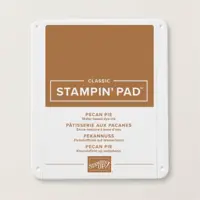
The background starts with a sheet from Irresistible Designs that’s been ink-blended with Pecan Pie ink using a Blending Brush—this specialty paper has a subtle UV coating that resists ink, creating a gorgeous emboss-resist effect with no heat tool required. The Blackberry Bliss background layer is a piece from the Thoughtful Journey Designer Series Paper, chosen for its soft, watercolor-like look.
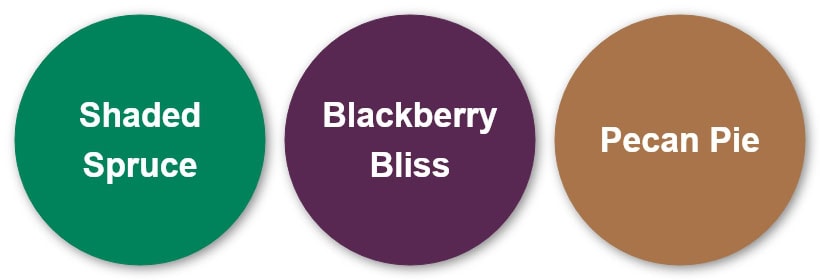
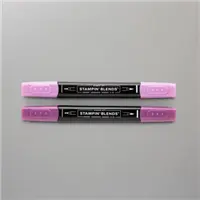
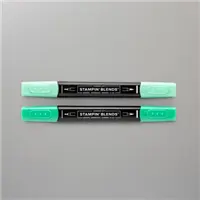
For added contrast, I stamped with Memento Black ink, then added gentle touches of color using the Blackberry Bliss and Shaded Spruce Stampin’ Blends Markers. A 1-3/4″ Circle Punch gave the focal point a polished frame, and I finished it off with a few Pearl Trio embellishments for just the right hint of sparkle.
Don’t forget: this card is part of my regular blog inspiration series where I share beginner-friendly card ideas with simple instructions and plenty of creative encouragement. If you’d like to recreate this project, make sure to check out the full written Tutorial below—it includes all the measurements, supplies, and step-by-step directions to help you bring this card to life.
How To Make This Card
Project Skill Level: Busy Bee
Busy Bee projects are designed for the beginner or busy papercrafter. This is a basic cardmaking project that can be achieved by someone who has never made a handmade card before. You can view more Busy Bee cards here.
Cardstock Measurements:
- Shaded Spruce Cardstock: 4-1/4″ x 11″, scored at 4-1/4″
- Basic White Cardstock: 4″ x 5-1/4″
- Irresistible Designs Specialty Paper: 4″ x 5-1/4″
- Thoughtful Journey Designer Paper: 2″ x 4-3/4″
- Basic White Cardstock: 1-3/4″ x 4-1/2″
- Shaded Spruce Cardstock: 1/2″ x 2-3/4″
- Thoughtful Journey Designer Paper: 2-1/2″ scrap for punching


Grab your Free copy
Get 5 Bee-utiful Exclusive
Card Sketches in Your Inbox
Join our newsletter and receive a honey of a package of five quick & simple cards guaranteed to make your creativity buzz! Sign up now and let the goodness flow straight to your inbox!
Step-by-Step Instructions:
- Fold the Shaded Spruce cardstock in half at the score line to create your card base.
- Adhere the 4″ x 5-1/4″ piece of Basic White cardstock inside the card.
- Using the 4″ x 5-1/4″ piece of Irresistible Designs Specialty Paper, lightly sponge the paper using the Pecan Pie Ink Pad and a Blending Brush. Adhere to the front of the card.
- Using Black Memento ink and the 1-3/4″ x 4-1/2″ piece of Basic White cardstock, stamp the the rose image two times as shown in the sample. Color in the roses using the Blackberry Bliss Stampin’ Blends and the leaves using the Shaded Spruce Stampin’ Blends.
- Adhere the White cardstock to the 2″ x 4-3/4″ piece of Thoughtful Journey Designer Paper and adhere to the left side of the card as shown in the sample.
- If desired, add Wink of Stella to the roses.
- Stamp the sentiment onto the scrap of Thoughtful Journey paper using Black Memento ink; punch out using the 1-3/4″ circle punch. Adhere the 1/2″ strip of Shaded Spruce cardstock to the back of the circle and cut each end at an angle as shown in the sample. Adhere to the front of the card using Stampin’ Dimensionals.
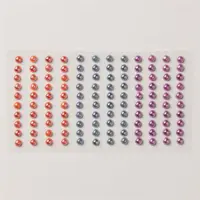
- To finish, add 3 of the pearls to the card as desired.
A Tip from Barb
When using the Blending Brush to sponge the Irresistible Paper with Pecan Pie ink, start off the paper and then onto the paper using circular motions so you don’t get “blobs.” The sponging does not need to be even; I think it looks better if it’s uneven!
Thanks for joining me in today’s crafting session! I’m passionate about helping you create versatile cards for any celebration, designed to be quick yet impressive. For additional guidance on today’s tutorial, feel free to email me. Stay connected! Follow my Facebook Community for more crafting tips and updates.

Don’t forget to pin this for later!
Supplies Used On This Project:
Price: $10.00


