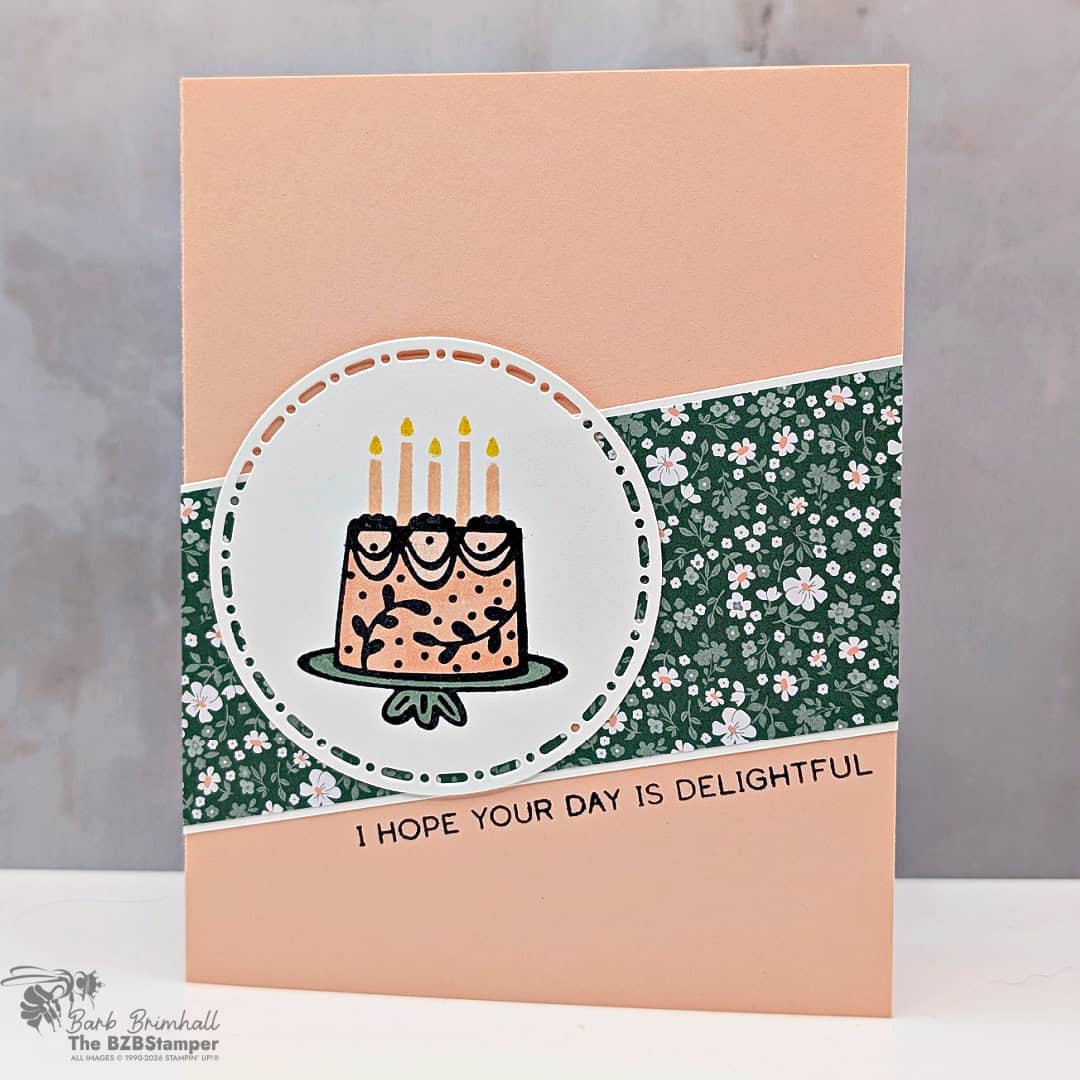
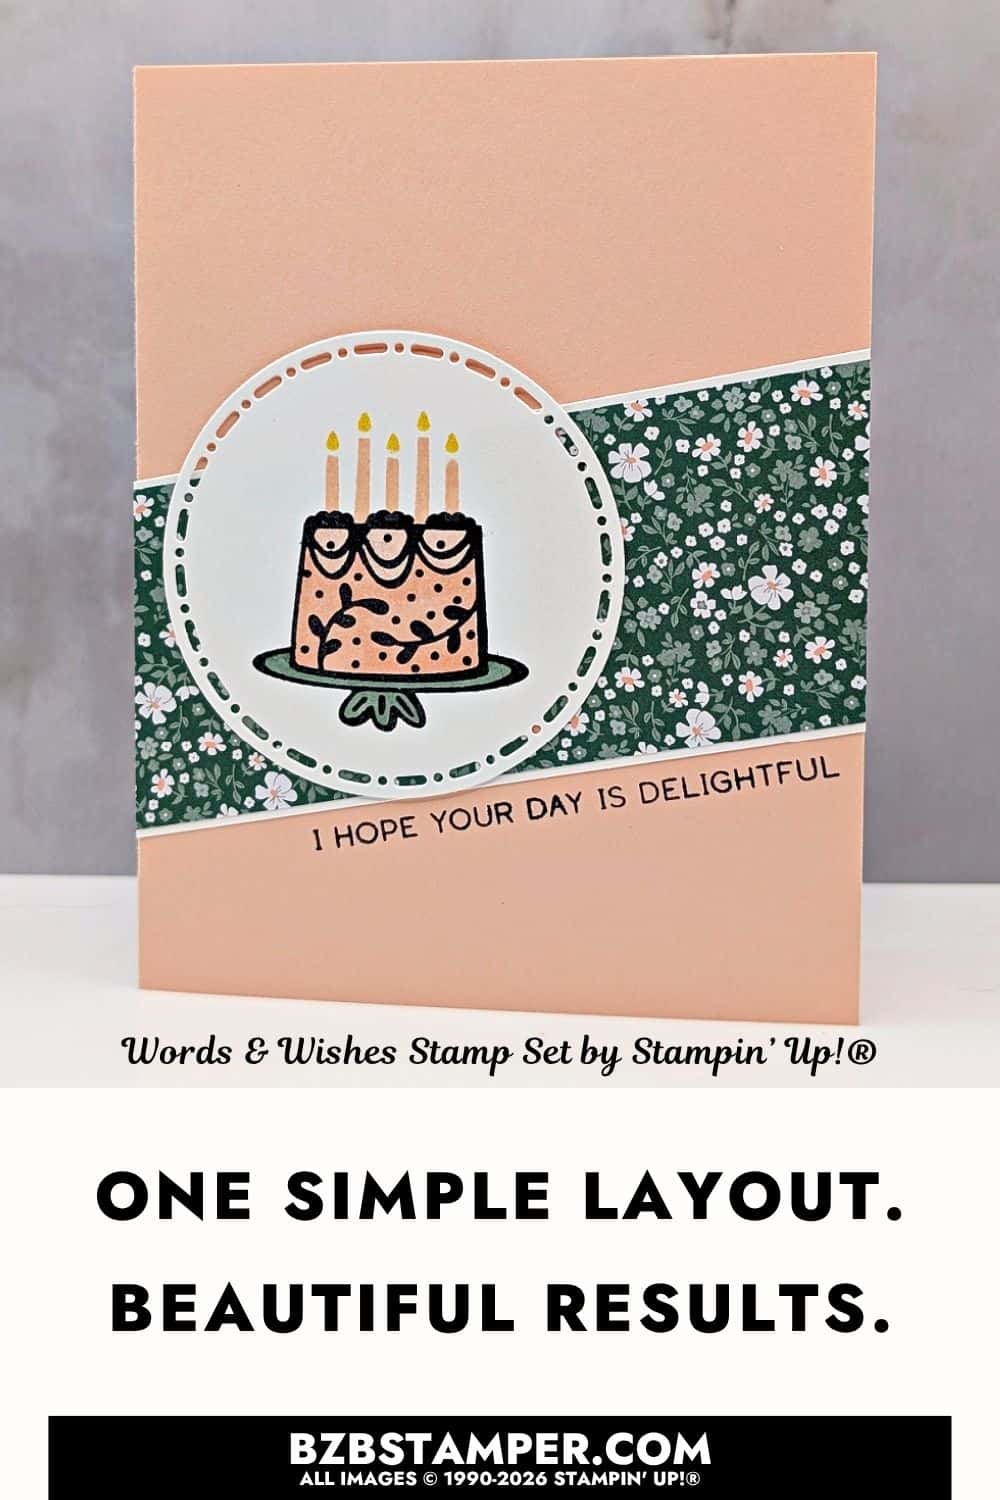
Birthdays come around every year, but the opportunity to make someone feel truly remembered never gets old. This handmade Birthday Card using the Words and Wishes Stamp Set by Stampin’ Up!® is a simple reminder that one thoughtful card can mean far more than we often realize. In a world of quick text messages and social media posts, taking the time to create and mail a handmade birthday card tells someone they were worth your time, your creativity, and your thoughtfulness.
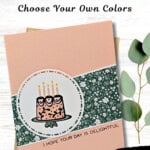
One of the things I love most about this design is its simplicity. The clean layout, diagonal strip of Bloom Boutique Designer Series Paper, and large circular focal point create a card that’s elegant without feeling complicated. There’s plenty of white space to let each design element shine, proving that you don’t need lots of layers or embellishments to create something beautiful.
october ordering Bonus
A Bonus for You!
Any order you place in October includes a free 10-project tutorial featuring the Neutral Noel Suite that you can use with any Bundle in your stamp stash.
It’s filled with cozy, step-by-step card ideas to spark your creativity when your order arrives — so you’re not staring at supplies wondering where to start.
The Words and Wishes Stamp Set is perfect for creating cheerful birthday cards that feel both fun and heartfelt. The adorable birthday cake becomes the star of the card, while the simple sentiment adds just the right finishing touch. Rather than filling the front with lots of images, keeping the focus on one carefully stamped focal point allows the birthday greeting to take center stage.
The Bloom Boutique Designer Series Paper adds just the right amount of pattern without overwhelming the design. The tiny floral print brings softness and interest while complementing the birthday cake instead of competing with it. Combined with the clean diagonal layout, the paper creates movement across the card and naturally draws your eye toward the focal image.
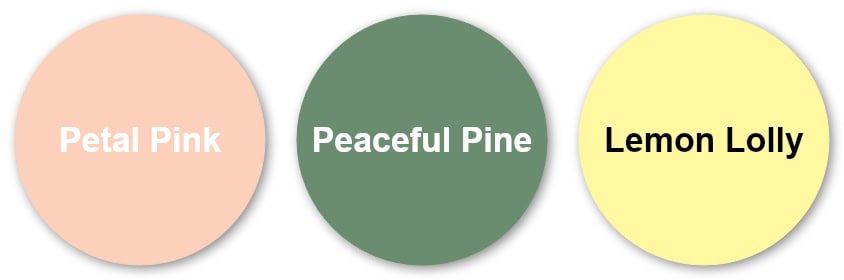
Color plays an important role in the overall feel of this project. Petal Pink creates a soft, welcoming foundation, while Peaceful Pine provides rich contrast that keeps the floral paper and stamped cake feeling grounded. Lemon Lolly adds tiny touches of sunshine through the candle flames, bringing just enough brightness to celebrate the occasion without overpowering the softer palette. Together, these colors create a combination that feels fresh, happy, and timeless.
The birthday cake comes to life with Stampin’ Blends, making it easy to add soft shading and subtle depth with very little effort. A little blending helps transform a simple stamped image into one that feels warm and inviting. If you enjoy adding realistic color to your stamped images, Stampin’ Blends are one of those tools you’ll find yourself reaching for again and again because they make coloring both fun and approachable.
How To Make This Card
You’ll find the full supply list and step-by-step instructions below.
Handmade Birthday Card using the Words and Wishes Stamp Set
Supplies Needed
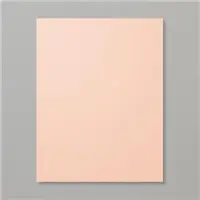
- Petal Pink Cardstock: 5-1/2" x 8-1/2" (scored at 4-1/4")
- Basic White Cardstock: 4" x 5-1/4"
- Bloom Boutique Specialty Paper: 2" x 4-1/2" (Peaceful Pine Blossom Design)
- Basic White Cardstock: 2-1/8" x 4-1/2"
- Basic White Cardstock: 3" x 3" (for die-cutting)
Instructions
- Fold the Petal Pink cardstock in half at the score line to create your card base.
- Adhere the 4" x 5-1/4" piece of Basic White cardstock inside the card; decorate as desired.
- Adhere the Bloom Boutique paper to the 2-1/8" strip of Basic White cardstock. Adhere to the front of the card at an angle as shown in the sample. Use your paper trimmer or scissors to remove any excess paper.
- Run the 3" x 3" square of Basic White cardstock through the Stampin' Cut & Emboss Machine and die-cut the 2-3/4" Circle Die from the Spotlight on Nature Dies. Stamp the Birthday Cake onto the die-cut circle using Black ink.
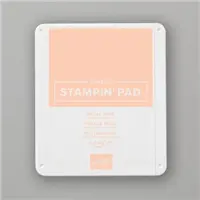
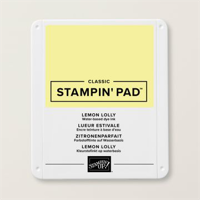
- Color in the cake plate using the Light Peaceful Pine Blend. Color in the cake using the Petal Pink Blends. Stamp the candles onto the cake using Petal Pink ink; stamp the flames onto the candles using Lemon Lolly ink.
- Optional: apply Wink of Stella Clear Glitter to the candles and cake.
- To finish, stamp the sentiment at an angle in Black Ink, as shown in the sample.
Notes
Perhaps the most important part of this project isn’t the paper, the dies, or even the stamping. It’s what happens after the card is finished. Every birthday is an opportunity to remind someone they’re loved, appreciated, and remembered. A handmade card often becomes something people keep long after the cake is gone and the candles have been blown out. It’s a small gift of your time, but it can leave a lasting impression.
So the next time a birthday appears on your calendar, consider reaching for your stamps instead of your phone. Create a card, write a heartfelt message inside, and drop it in the mailbox. You never know how much that simple act of kindness might brighten someone’s entire day.
Love this color combo? Pin it for later!
Supplies Used:


Price: $17.00



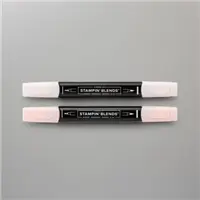






One more little perk while you’re shopping. Each month there’s a Product of the Month you can add for just $5 when your order reaches $75. It’s a fun surprise that’s not in the catalog and only available while supplies last. Click To Learn More
If you enjoy simple, cozy cardmaking like this, you’d love the creative support we share inside the Creative Living Room. If you have questions about today’s tutorial, please email me for detailed steps. Inspire your craft with more ideas—join me over on Pinterest!
Grab your Free copy
Get 5 Bee-utiful Exclusive
Card Sketches in Your Inbox
Join our newsletter and receive a honey of a package of five quick & simple cards guaranteed to make your creativity buzz! Sign up now and let the goodness flow straight to your inbox!