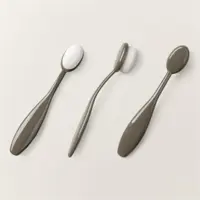
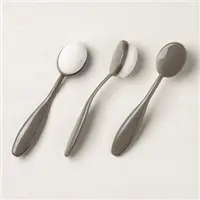
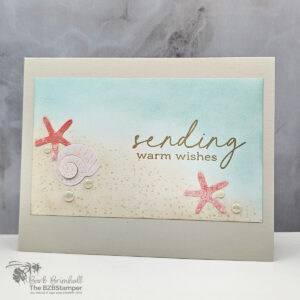
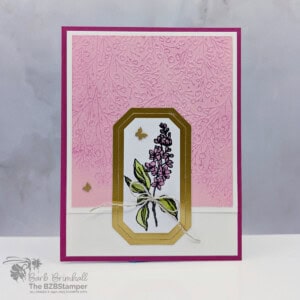
Want to learn how to use Stampin’ Up!® Blending Brushes to add a soft haze of color to your cards or scrapbook pages? Stampin’ Up! Blending Brushes, packaged in a group of 3, have become a go-to tool for makers who want smooth backgrounds, gentle gradients, or that subtle pop of color behind a stamped image.
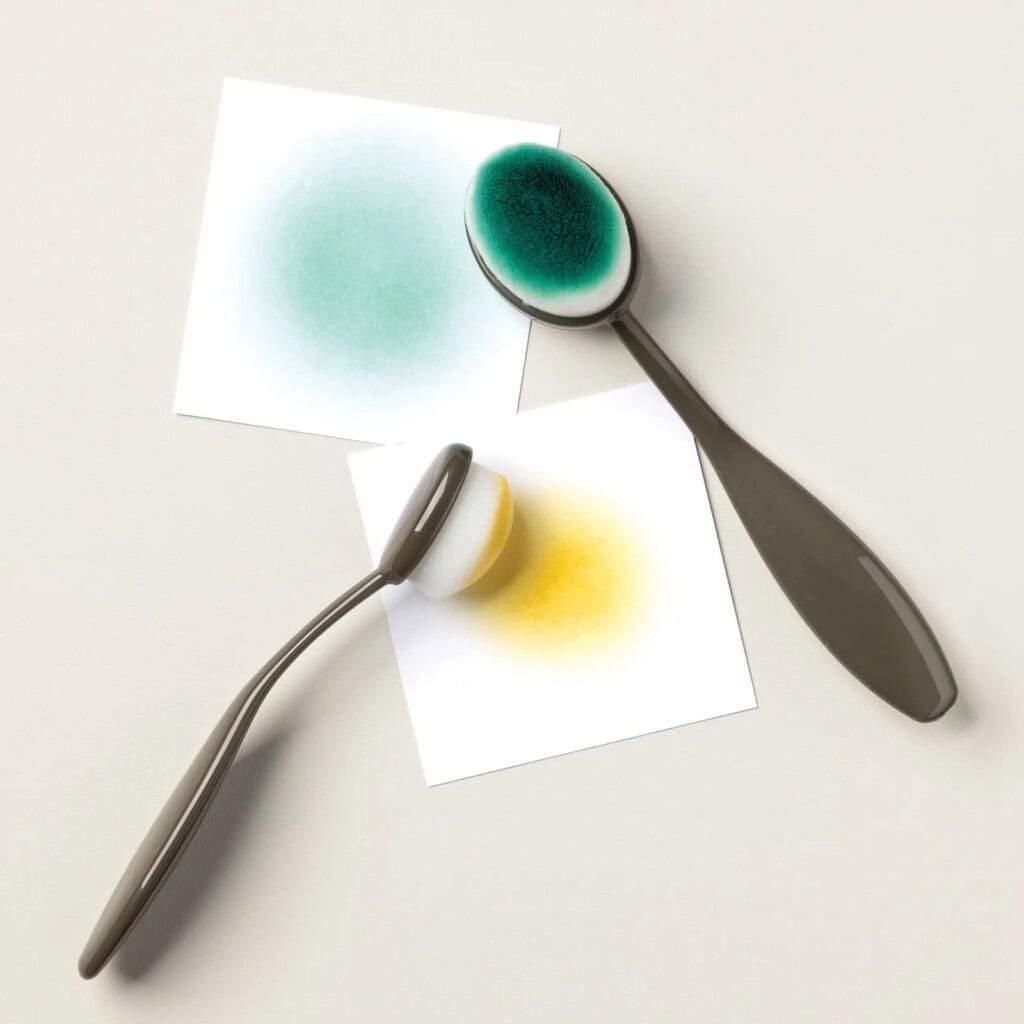
These brushes deliver even coverage almost effortlessly, thanks to their dense, flexible bristles and easy grip handle. It’s easy to see why so many cardmakers and scrapbookers love them: you can blend shades together or keep things light and airy, all without harsh lines.
Whether you’re new to ink blending or just want better results, using blending brushes doesn’t have to be tricky. Grab your favorite ink pads and let’s go over step-by-step how you can create a soft, polished look every time.
What Stampin’ Up! Blending Brushes Are and Why Use Them
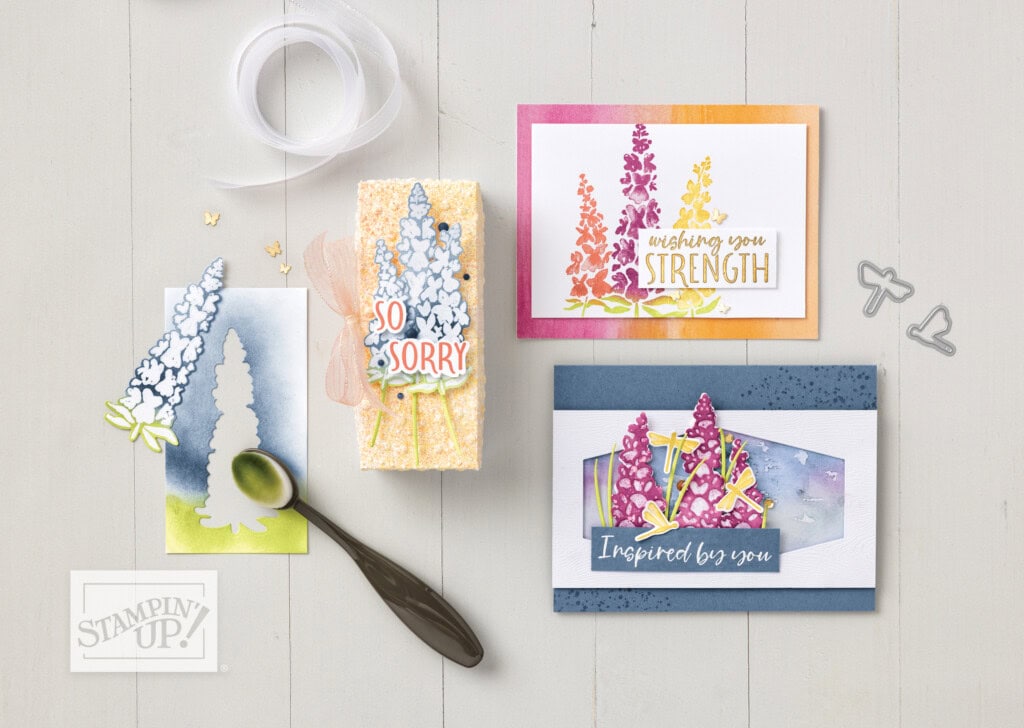
If you want full control over how color appears on your cards or scrapbook pages, Stampin’ Up! Blending Brushes offer a simple, flexible solution. These brushes help add soft color, blend shades seamlessly, and avoid those harsh lines that can show up with foam tools. You get a velvety finish and smooth edges that look almost airbrushed, even if you’re new to ink blending.
What Makes the Brushes Unique
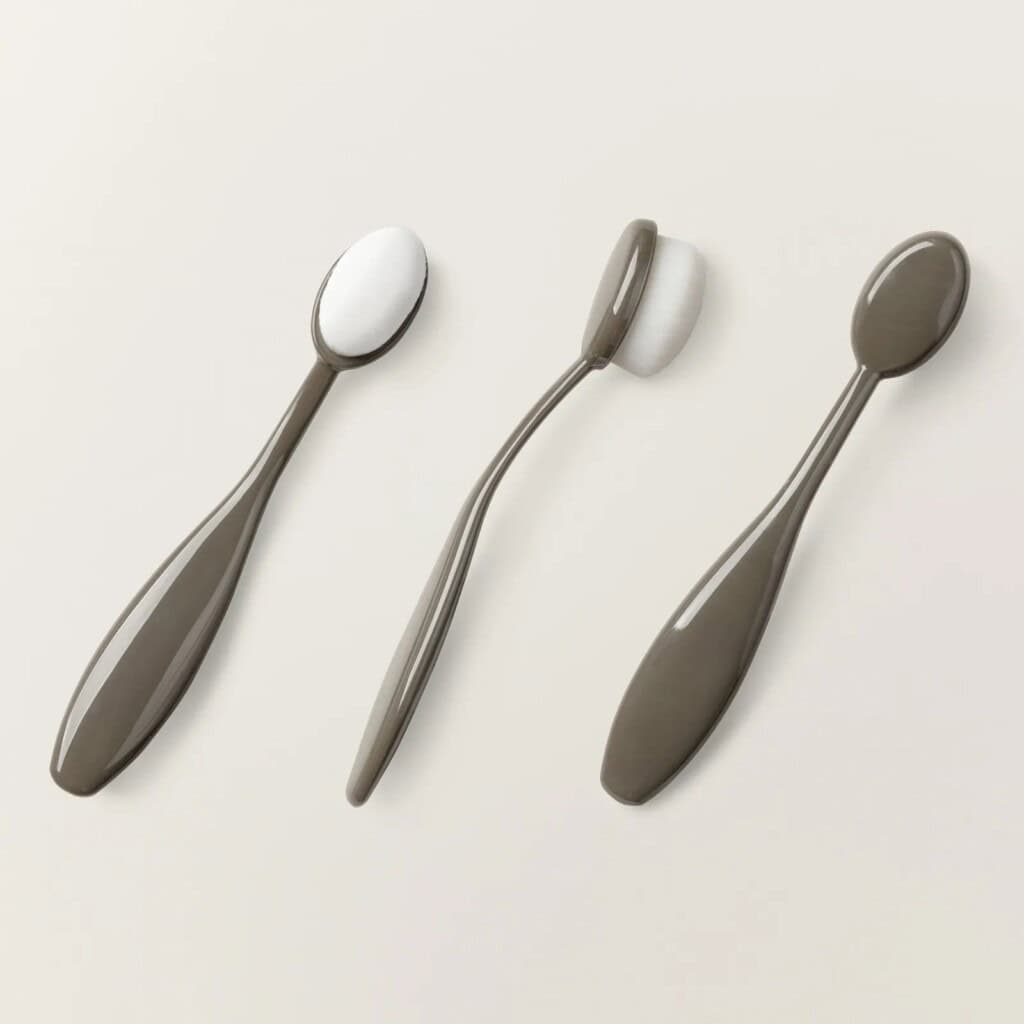
Stampin’ Up! Blending Brushes aren’t your average sponges or foam daubers. Each brush has thousands of ultra-soft synthetic bristles packed tightly together. The head is oval and slightly domed, and this design, paired with a sturdy handle, lets you control the pressure and direction of your ink. As a result, color transfers smoothly onto your paper.
Unlike foam daubers that can leave harsh edges, these tools sweep color over cardstock for natural fades and gradients. You can layer several inks without streaks. Even beginners notice how easy it is to get a professional finish when using them properly.
Here’s a quick comparison:
| Tool | Color Application | Clean Up | Best For |
|---|---|---|---|
| Blending Brushes | Smooth, soft, seamless | Easy (light rinse, let dry) | Backgrounds, soft blends, large areas |
| Foam Daubers | Spot color, can streak | Washable | Small details, stenciling, applying ink to edge of cardstock |
| Sponges | Bold, textured, rough | Disposable or washable | Texture, unique effects |
You can see the appeal: these brushes give a softer, more even result with less effort.
Expected Results and Why Crafters Love Them
People reach for Stampin’ Up! Blending Brushes for a few reasons:
- Smooth gradients: Bristles deliver a soft fade from one shade to the next, perfect for creating ombre looks or gentle color backgrounds.
- No streaks: Unlike foam tools, the packed bristles glide color over the surface, so you avoid harsh lines or patchy spots.
- Soft touch: It’s easier to add just a hint of color for sky, grass, or behind stamped images, without overpowering your project.
- Versatility: You can use them with just about any dye-based ink pad, pigment ink, or even to dust chalks or shimmer powder. The same brush handles large areas or a gentle sweep along edges.
- Minimal mess: The soft bristles mean ink stays on the intended area, making cleanup simple and less wasteful than sponges.
How to Use Stampin’ Up! Blending Brushes for Best Results
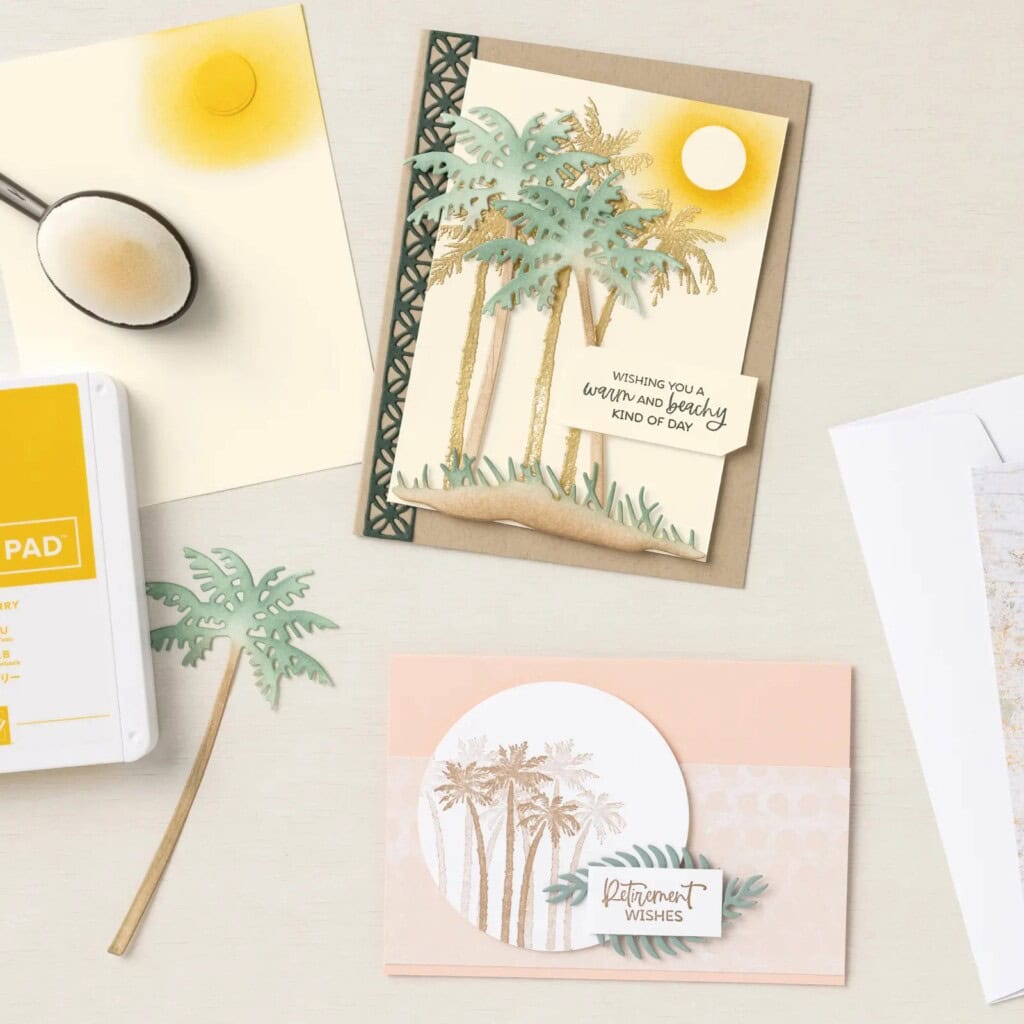
Stampin’ Up! Blending Brushes work best with a bit of patience and a gentle hand. Whether you’re just layering on color or want eye-catching gradients, a few simple steps can make all the difference. If you want your projects to look clean and polished, learning these blending basics will save you time and frustration.
Blending Multiple Colors and Creating Gradients
When you want to blend several colors or fade one shade into another, the key is to go slow and build up color gradually. Here’s how to get started:
- Load your brush: Swirl the blending brush onto an ink pad in a circular motion. Gently tap off the extra ink on scrap paper using a small circular motion so you don’t get blobs when you start.
- Start with light pressure: Begin off the edge of your cardstock and use small, light circles to bring color onto the paper. The softer your touch, the smoother the result.
- Overlap colors for a seamless blend: After you lay down your first color, pick up the second and slightly overlap it with the first. Keep working over the edge where both colors meet, using gentle, circular strokes.
- Fade one color into another: To create a true gradient, use a clean or lightly inked brush to blend over the transition line. This helps soften any marks and merges the colors together.
- Fixing Mistakes: If you end up with harsh lines, go back with a clean brush or a brush loaded with a lighter ink. Buff over the area in gentle circles to soften the effect.
- Practice first: Test your technique on scrap paper so you know how much ink and pressure give the look you want.
Some helpful ideas:
- Use less ink than you think you need at first; you can always add more.
- Try working from light to dark to avoid muddying your colors.
- Lightly clean your brush between colors, especially when switching between color families.
Using Masks, Stencils, and Other Techniques
Blending brushes really shine when paired with masks and stencils. These tools help you add crisp borders, create perfect shapes, or layer patterns. Here’s a simple way to use them:
- Position your mask or stencil: Lay it flat over your paper where you want the design. Use low-tack tape (like washi or painter’s tape) to secure the edges so it doesn’t shift.
- Pick up ink lightly: Swirl your blending brush in the ink pad, then tap off extra ink.
- Apply with even strokes: Hold the stencil steady and brush the ink onto the exposed areas. Go lightly at first to avoid bleeding under the edges. Add more color as you build confidence.
- Clean edges: When you remove the mask, crisp outlines give your design a pro finish. If any ink sneaks under the edge, use a white gel pen to touch up lines or gently blend out the spot with a clean brush.
- Change colors: For multi-color stencils, let each section dry before re-masking and applying a new color.
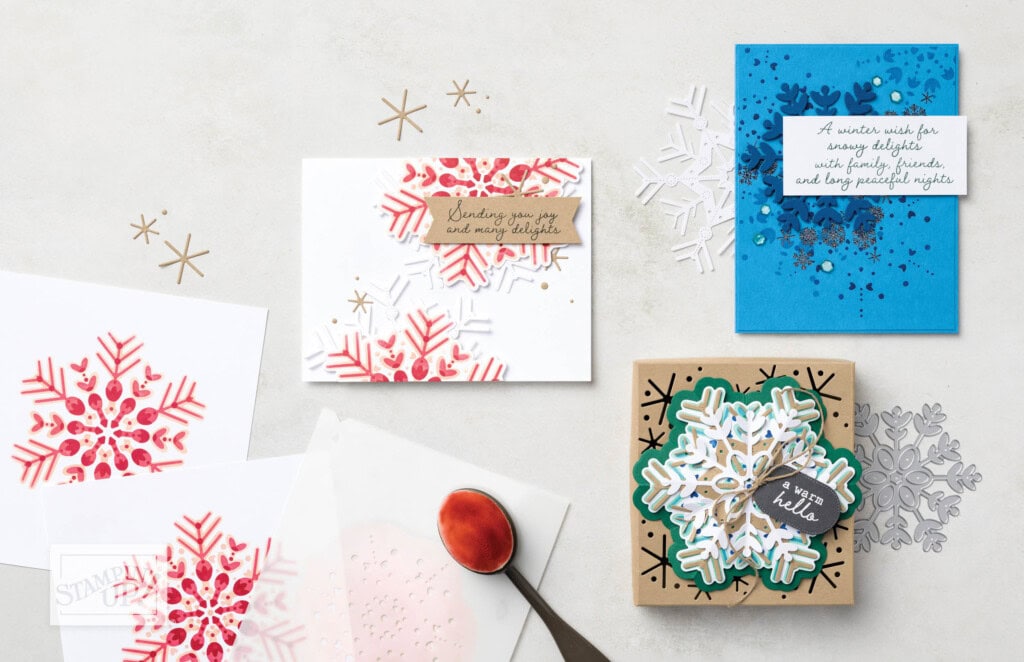
Starter project ideas:
- Ink-blended clouds or hills behind stamped images.
- Bold stripes, circles, or geometric backgrounds using basic stencils.
- Layered floral masks to create a soft garden look.
- Adding spotlighted shapes (like a circle mask over part of your paper) for easy backgrounds.
For more inspiration and ideas, visit this article about creative ways to use blending brushes.
Always remember to clean your brushes between colors and store them bristle side up. Quick, light cleaning with mild soap and water keeps your brushes in good shape for next time.
Care and Storage Tips for Long-Lasting Brushes
Keeping your Stampin’ Up! Blending Brushes in good shape means you get consistently smooth results with less hassle. A well-loved brush stays soft and performs better, holding up through a ton of projects. Let’s look at the best ways to clean, store, and handle your brushes so they last as long as possible and always feel ready for your next round of color blending.
Cleaning Methods That Really Work
A regular cleaning routine keeps your brushes working like new. If you use them with similar colors, a quick wipe on a dry towel often does the trick. For deeper cleaning—especially if you use bold or dark colors—gentle washing is the way to go.
Here’s how to clean blending brushes without damaging the bristles:
- Rinse under cool or lukewarm water. Run water through the bristles with the brush pointing down. Avoid hot water, which loosens any bristle glue.
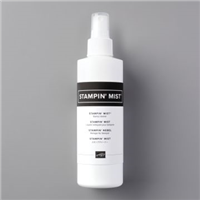
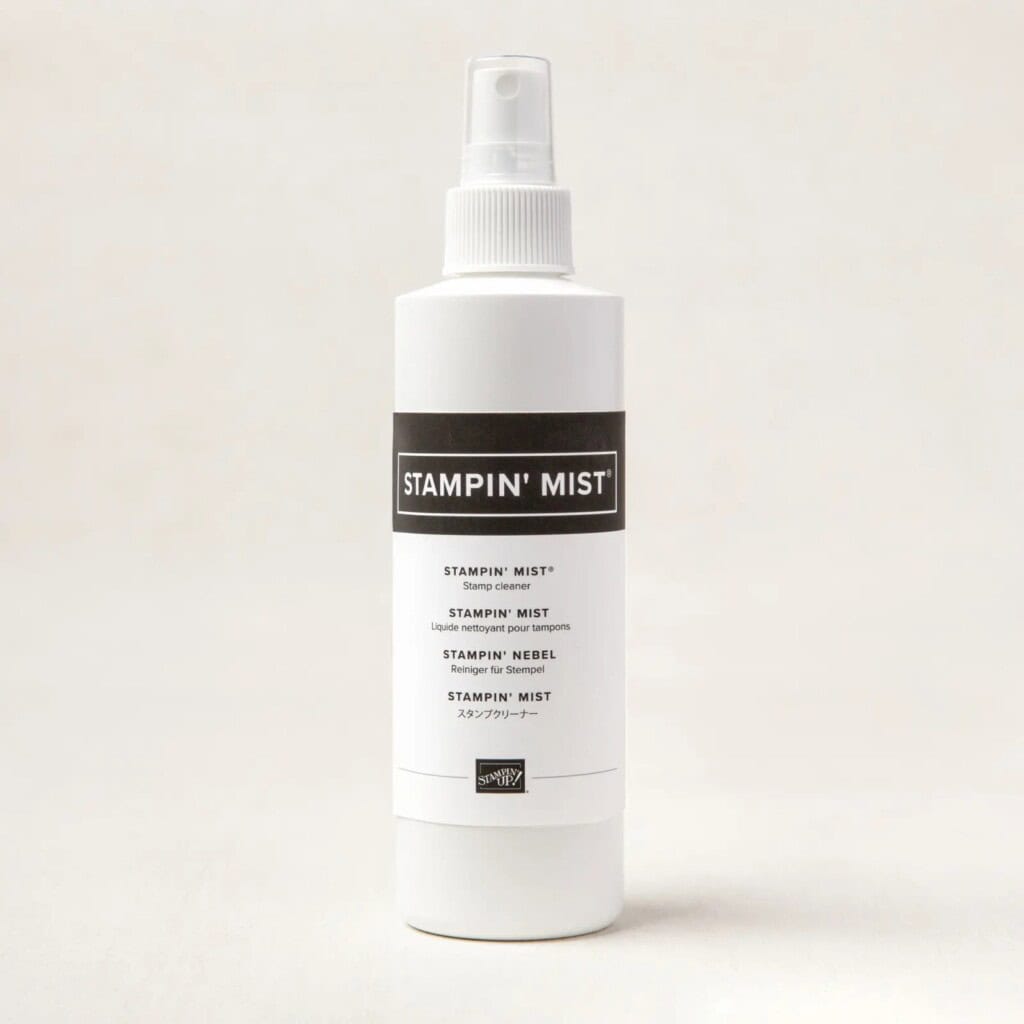
- Use mild soap or our Stampin’ Mist Cleaner. Gently swirl the brush head in a drop of baby shampoo or spray with the Stampin’ Mist Cleaner. Don’t press down hard or twist, just let the lather lift the ink.
- Rinse well. Keep running water through the brush until it’s clear and free of soapy bubbles.
- Remove extra water. Lightly squeeze the bristles with your fingers or a soft towel. Don’t tug or wring.
- Lay flat to air dry. Place them on a towel, bristles over the edge of a table, letting air circulate. Never dry with bristles upright—water could seep into the handle.
Do’s:
- Wash when switching between strong, different color families (like red to yellow).
- Always dry completely before storing.
- Clean brushes every few weeks if used often.
Don’ts:
- Don’t soak handles in water.
- Don’t use harsh detergents or alcohol-based cleaners.
- Don’t scrub harshly or bend the bristles.
Storing Brushes to Keep Them Soft and Ready
How you store your blending brushes matters as much as keeping them clean. Proper storage keeps the bristles from getting bent, dusty, or stiff. You want your brushes ready to use at a moment’s notice.
Here are some smart storage options:
- Bristles up: Store brushes upright in a cup, jar, or dedicated organizer. This keeps the shape of the head perfect and stops dust from settling.
- Flat storage: If space is tight, lay the brushes flat in a drawer with nothing on top of them.
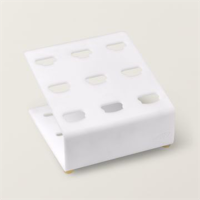
- Brush organizers: There are special holders made for blending brushes, keeping each one separate and supported. The blending brushes storage organizer from Stampin’ Up! is great for this.
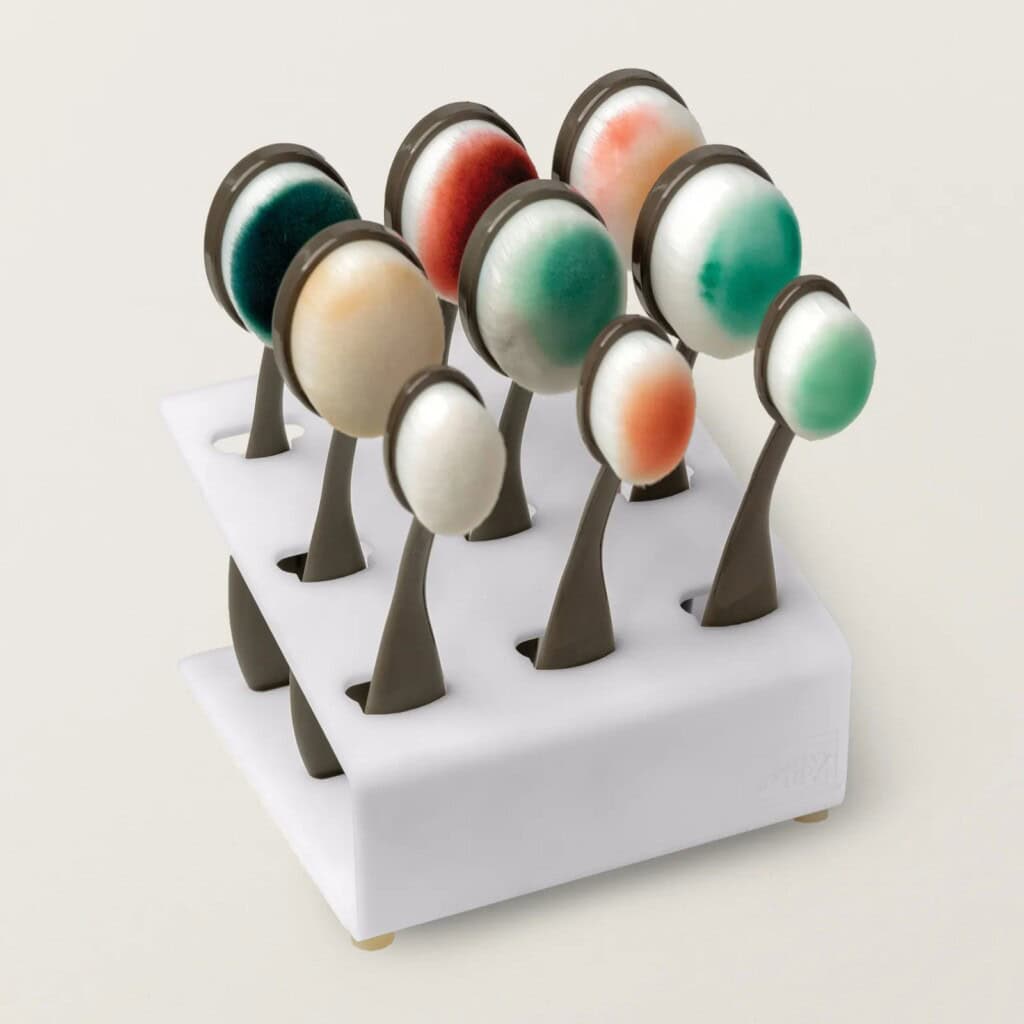
Try not to jam lots of brushes together in one spot. Giving each brush a bit of space avoids squished bristles and makes brushes easier to grab.
Should You Dedicate Brushes to Color Families?
The big debate with blending brushes is: do you need to wash after every use, or can you keep one brush for each color family? Here’s what works for most:
- Dedicate one brush per color family: Have one for reds/pinks, another for blues, and so on. This saves time and water, plus there’s less risk of color muddying.
- Light cleaning between shades: Wipe the brush over a clean scrap of paper or dedicate a towel for this purpose.
- Wash only when moving between very different colors: If you go from a dark green to a yellow, for example, wash out the green first.
This approach makes it easier to blend similar shades and avoids constant washing, which can wear out the brushes faster.
Practical Do’s and Don’ts for Daily Brush Care
Keeping your blending brushes in top condition doesn’t take much, but daily care makes a big difference.
Do:
- Tap off excess ink before blending to avoid splotches.
- Use gentle, circular motions when blending.
- Store in a clean, dry place after every use.
Don’t:
- Let used, damp brushes sit closed up or stacked—they can get musty or grow mildew.
- Leave brushes in direct sunlight for long periods. Sun can dry and warp the brushes.


Grab your Free copy
Get 5 Bee-utiful Exclusive
Card Sketches in Your Inbox
Join our newsletter and receive a honey of a package of five quick & simple cards guaranteed to make your creativity buzz! Sign up now and let the goodness flow straight to your inbox!
Conclusion
Stampin’ Up! Blending Brushes open up easy ways to give your cards and scrapbook pages a standout look. Try different color combos, play with how much ink you load, and test new blending tricks—every swipe is a chance to see what works best for you.
The more you use these brushes, the smoother your blends will get. Small changes in pressure or color order can give whole new results, so don’t be afraid to experiment. These brushes make it simple to turn basic supplies into something striking.
Share your favorite tips or show off your latest project in the comments. Your ideas might inspire another reader. Thanks for spending time here—can’t wait to see what you make with your next batch of ink and color!
Don’t forget to pin this for later!
I’m delighted you stopped by for today’s creative escape! Whether it’s a birthday, holiday, or any special moment, I’m here to help you craft the perfect card with ease. If you have questions about today’s product, please email me for detailed steps. Inspire your craft with more ideas—join me over on Pinterest!


