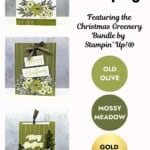
These 3 Cards using the Christmas Greenery Bundle by Stampin’ Up!® is exactly what you need when you want to make holiday cardmaking feel simple, fun, and festive. Whether you’re new to stamping or have been crafting for years, sometimes it’s nice to see how one basic design can grow into something more detailed just by adding a few extra layers, embellishments, or sparkle. That’s what I love about Step It Up Stamping—it takes away the overwhelm and shows you that you don’t need a ton of supplies or hours of time to create something that feels handmade and heartfelt.
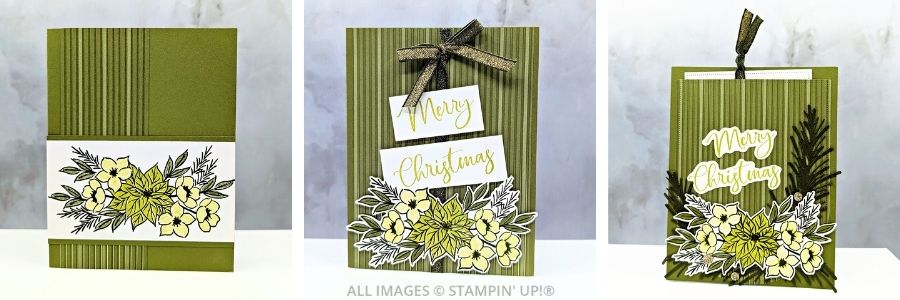
With the Christmas Greenery Bundle by Stampin’ Up!®, you can easily stamp, cut, and layer poinsettias, leaves, and accents to make your holiday cards look polished—without stressing over design. This is a Two-Step Stampin’ set, which means you can stamp the outline image and then add color and dimension with a second stamp. It’s quick, it’s satisfying, and it gives you the freedom to mix and match colors however you like.
So let’s dive in and take a look at how one simple idea can be stepped up into three different cards. Whether you’re short on time, ready to add some flair, or wanting to go all-out, there’s a version here that will inspire you.
And if you’d like the step-by-step Tutorial with all the measurements, be sure to grab it right here—I’ve got you covered!

Want the Tutorial? Get It at a Discount!
The tutorials for my Step It Up Stamping Projects usually sell for $10, but you can
purchase it for a limited time for $5. Use the button below for this special offer!
What I love most about Step It Up Stamping is that it reminds you crafting doesn’t have to be complicated. You can start with the basics—just stamps, ink, and paper—and end up with something beautiful. Then, if you’re ready to take it further, you can add a few more details to step up the design.
It’s all about meeting you where you’re at. Whether you’re pressed for time, craving a creative break, or ready to pull out all the stops, the Christmas Greenery Bundle makes it easy to create cards that bring joy—to you while making them, and to the lucky friends and family who receive them.
WATCH THE VIDEO
If these three versions inspired you, I encourage you to try your own twist on them. Start with the simple Busy Bee version and then see how you can layer and step things up. You’ll be amazed at how quickly your confidence grows when you realize you can create cards that look beautiful at any level.
I’d love to know—which version do you see yourself making first? Drop me a comment below, save this post to your favorite cardmaking board, or share it with a friend who loves holiday crafting.
Supplies You’ll Need
These are the basic supplies you’ll need for each of the 3 cards. You can find the complete detailed supply list at the bottom of this post.
Love these projects? Unlock exclusive weekly crafting tutorials delivered straight to your inbox! Sign up now and start creating with us—it’s free!
The Busy Bee Card
Quick & Easy when you want to fill up someone’s mailbox with sunshine & love. Perfect for the Beginner Cardmaker.
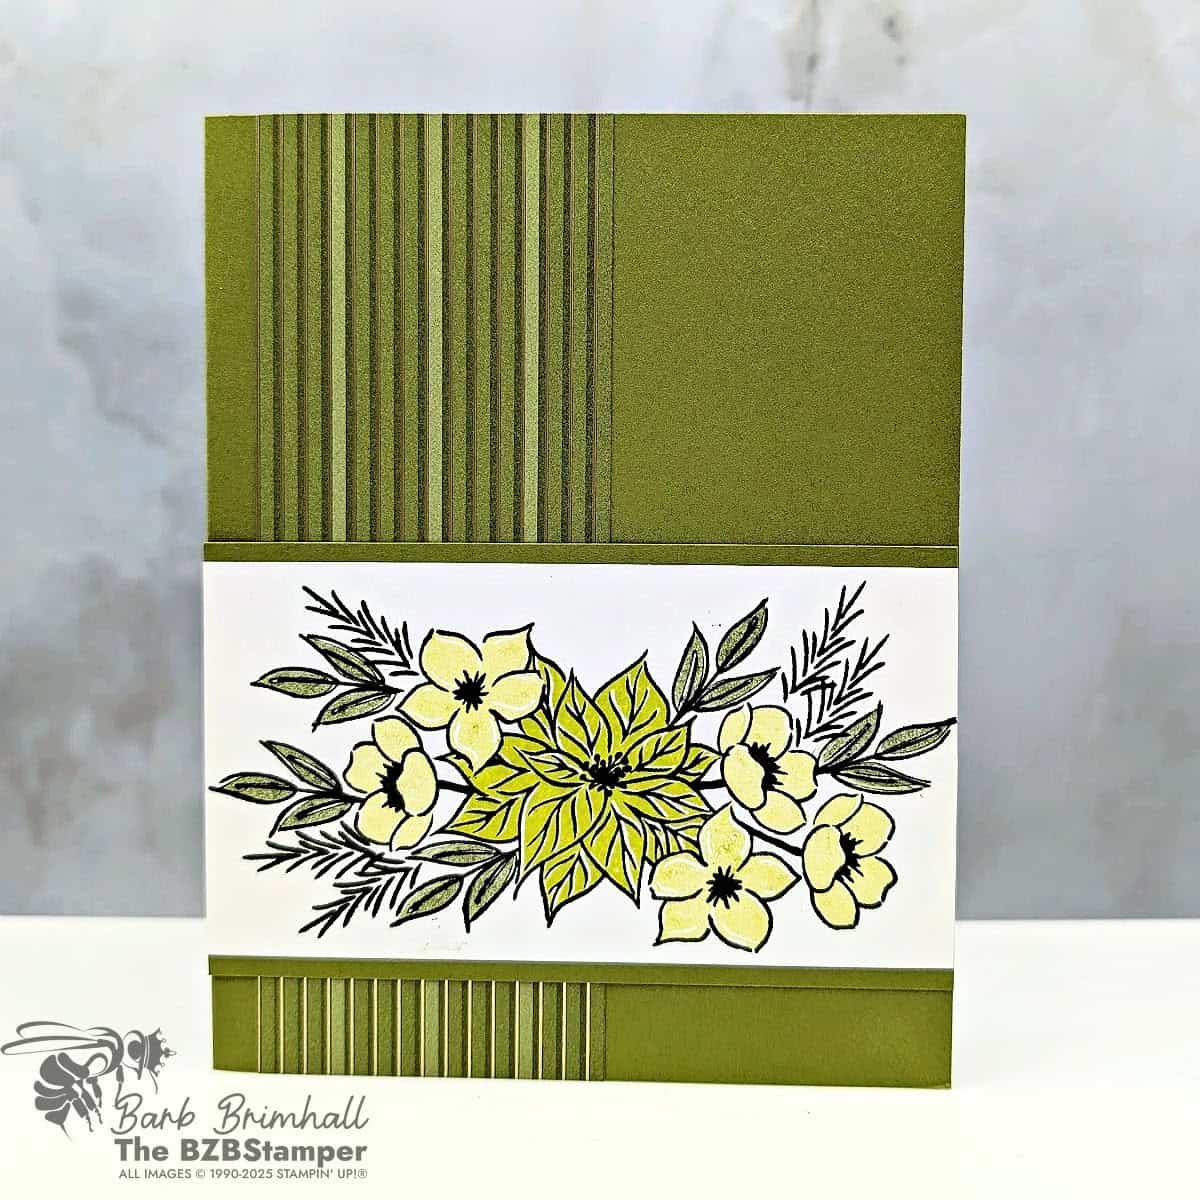
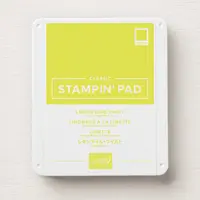
The first card is all about clean lines and a quick win. I started with an Old Olive card base and added just a hint of texture with the beautiful paper. Then I stamped the Christmas Greenery bouquet in Mossy Meadow, filled in the flowers with a soft pop of Lemon Lime Twist, and kept the rest in crisp green.
That’s it—just stamp, layer, and adhere! This is the kind of card you can whip up in minutes and still feel proud to send out. Perfect for when you need a stack of cards done quickly but still want them to look handmade.
Why it works:
- Minimal supplies
- Quick stamping, no fuss
- Fresh, simple design with holiday charm
The Worker Bee Card
When you have a bit more time and supplies to put into a very special project for that special someone. Perfect for the Confident Cardmaker.
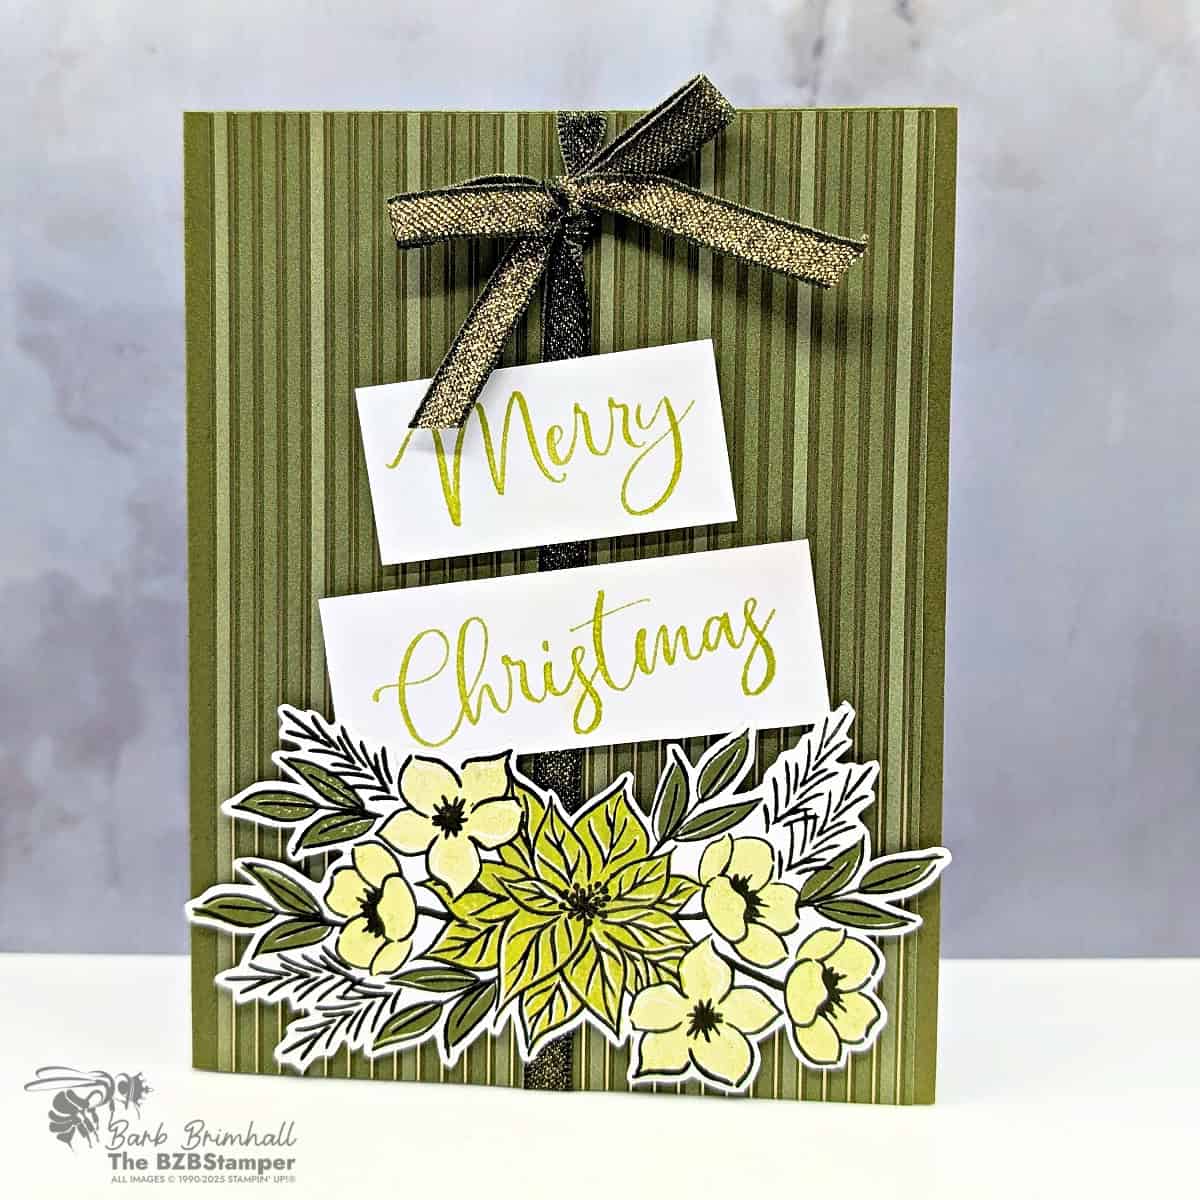
For the second card, I wanted to step things up by adding more dimension. This time, I pulled in patterned texture with the pretty paper, cut out the floral arrangement with scissors (or the dies if you have them), and layered it onto the card with Stampin’ Dimensionals.
To finish, I stamped “Merry Christmas” twice, cut out the pieces, and layered them at an angle for a fun, casual look. A simple ribbon bow adds just the right touch of holiday sparkle without overwhelming the design.
Why it works:
- Layered cut flowers create instant depth
- Pretty patterned paper makes the background pop
- Sentiment layering adds interest and playfulness
- Ribbon bow ties it all together (literally!)
The Queen Bee Card
When you have the time and supplies to take your project right over the top. Give yourself bragging rights – perfect for the Experienced Cardmaker!
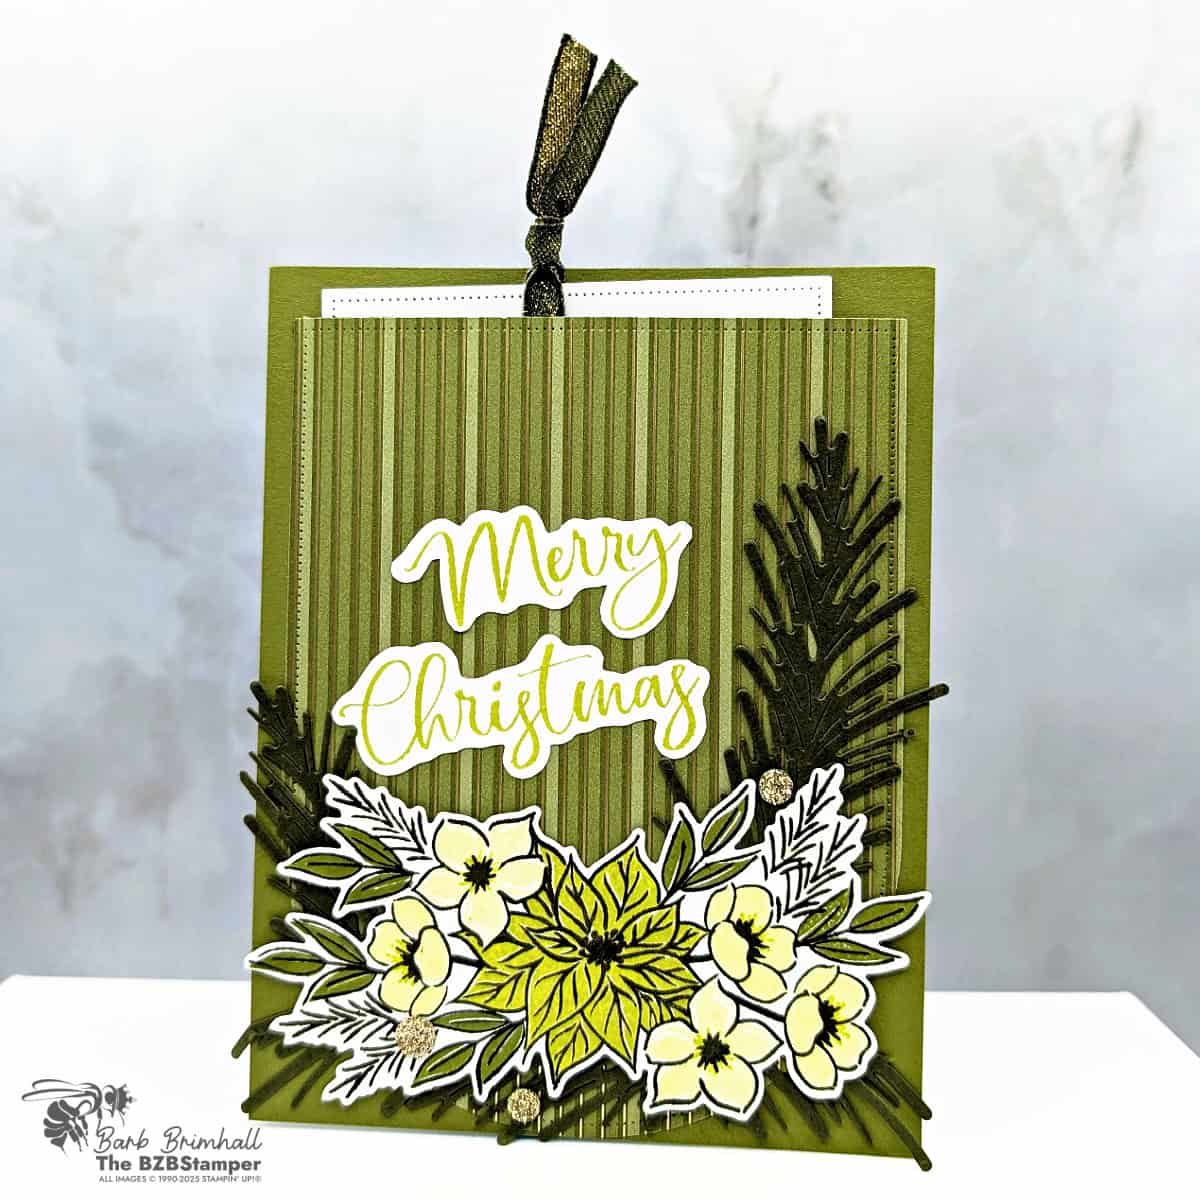
For the final Queen Bee stepped-up version, I leaned all the way in with layers, paper, and extra details to create an elegant Gift Card holder. The base uses that gorgeous paper again, but this time I added Mossy Meadow die-cut sprigs for more greenery. The floral arrangement is bigger, bolder, and anchored by a soft sentiment that instantly makes the card feel elegant.
A gold-trimmed ribbon tops it off as the pull for the Gift Card holder and the extra sprigs make it look like you’ve created a holiday bouquet right on the card front. This is the one you’d give to someone extra special—or proudly display on the card Christmas morning.
Why it works:
- Extra die-cut greenery creates lush fullness
- The gorgeous paper elevates the design instantly
- Multiple textures (pretty paper, die-cuts, ribbon) add luxury
- Perfect for a “wow” holiday card that doubles as a gift card holder
Thanks for stopping by for today’s Step It Up Stamping card tutorial! My goal is to help you make quick & easy greeting cards for all occasions. If you’d like more detailed directions on how to make these cards, feel free to email me.
I hope you’ll join me again for more card-making ideas! I’d love to see what you have created so mention me @bzbstamper, tag me @bzbstamper or comment below where I can see your creations!
COMPLETE SUPPLY LIST:
Price: $16.50


