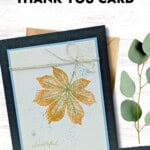
There’s something extra special about creating a handmade thank you card, and this simple Thank You Card with Artistic Leaves Stamp Set by Stampin’ Up!® is the perfect example. The beauty of this project is in its balance – it’s elegant but easy, seasonal yet versatile, and it captures that cozy autumn feeling without being complicated. If you’ve ever wanted to make a card that looks impressive but doesn’t take hours to pull together, this one will absolutely be your go-to.
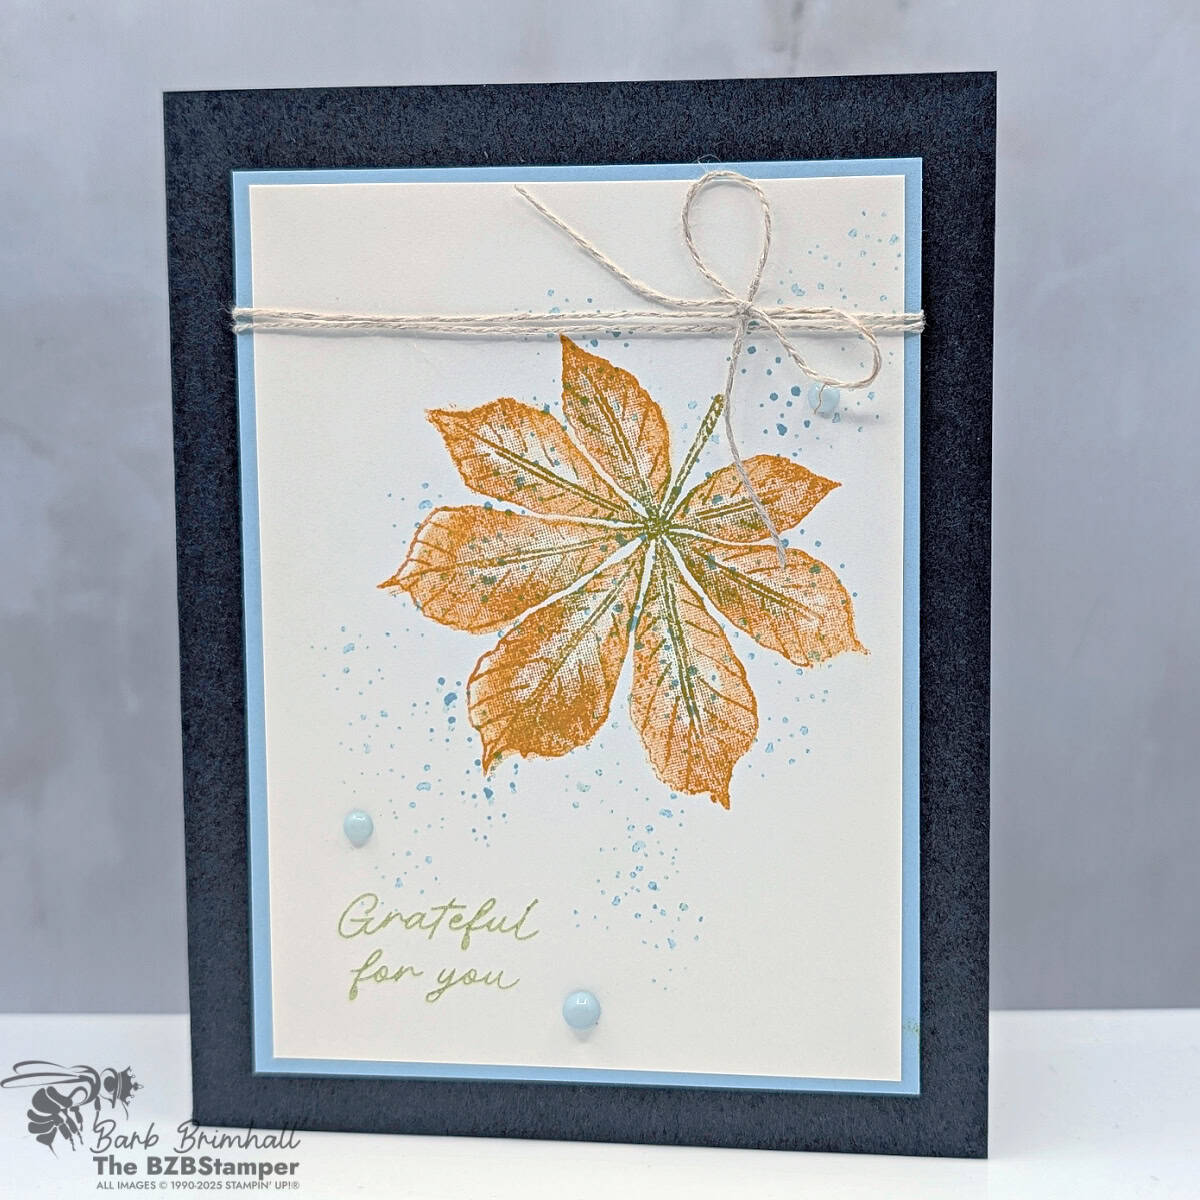
Think about the joy of sending a thank you card like this. Instead of buying something off the rack at the store, you’re putting your heart into the paper, ink, and finishing touches. And the Artistic Leaves Stamp Set makes that process so much easier because the set is designed to do the hard work for you. With its Two-Step Stamping feature, you can layer images for a watercolor effect, or simply stamp once and still get depth and detail thanks to the Distinktive texture built into the stamps. It’s like magic—effortless artistry that looks like you spent way more time than you did.
One of my favorite things about this design is that it’s a Busy Bee level card, meaning it has some fun steps, like layering and embellishing, but nothing overly fussy. You don’t need a room full of supplies or an entire afternoon to make it. A few inks, the Artistic Leaves Stamp Set, and a couple of basic accessories, and you’ll have this card done in no time. It’s simple enough for a newer stamper to try but satisfying enough for a more experienced crafter who wants a quick win.


Grab your Free copy
Get 5 Bee-utiful Exclusive
Card Sketches in Your Inbox
Join our newsletter and receive a honey of a package of five quick & simple cards guaranteed to make your creativity buzz! Sign up now and let the goodness flow straight to your inbox!
And let’s talk about color!
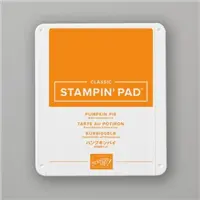
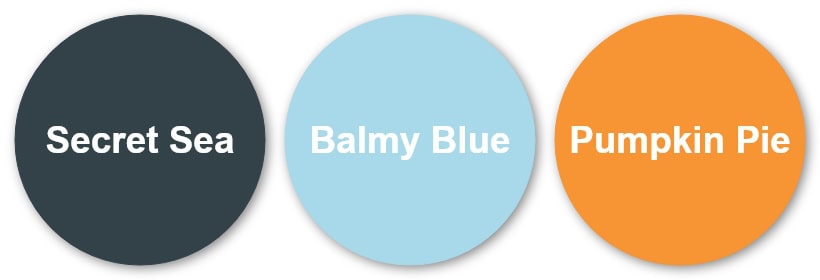
For this card, I started with a striking fall color palette: Secret Sea, Balmy Blue, and Pumpkin Pie, with just a touch of Old Olive for the sentiment and leaf veins. These colors work together beautifully to create that crisp, fresh autumn feel, but they don’t limit you to fall cards. Swap out Pumpkin Pie for Peach Pie, and suddenly this design works for spring too. That’s the versatility of Stampin’ Up! colors—they coordinate seamlessly so you can spend more time creating and less time second-guessing.
The big leaf image takes center stage here, stamped in Pumpkin Pie with hints of Old Olive to bring it to life. Behind the leaf, a gentle splattering of Balmy Blue adds texture and interest without overwhelming the focal point. It’s subtle but makes a huge difference, almost like a painter’s background wash. The linen thread bow tied near the top gives the card a natural, rustic finish, while the soft dots provide just the right amount of embellishment. Together, they take a simple card base and turn it into something you’ll be proud to give.
Imagine handing this card to a friend, neighbor, or family member with a heartfelt note inside. It’s more than just paper and ink—it’s your gratitude, wrapped up in a card they can hold onto. That’s the transformation handmade cards bring: they connect us in ways store-bought greetings never could.
If you’re inspired by this project, I encourage you to give it a try with your own favorite fall color combination. You’ll see how easy it is to create something beautiful with the Artistic Leaves Stamp Set, and you’ll have a stash of thank you cards ready to send the next time someone makes your day a little brighter.
💛 Now it’s your turn! Try out this card idea, pin it for later, or share it with a friend who loves fall crafting. And don’t forget—you can grab the Artistic Leaves Stamp Set in my online shop so you can start creating right away.
Don’t forget to pin this for later!
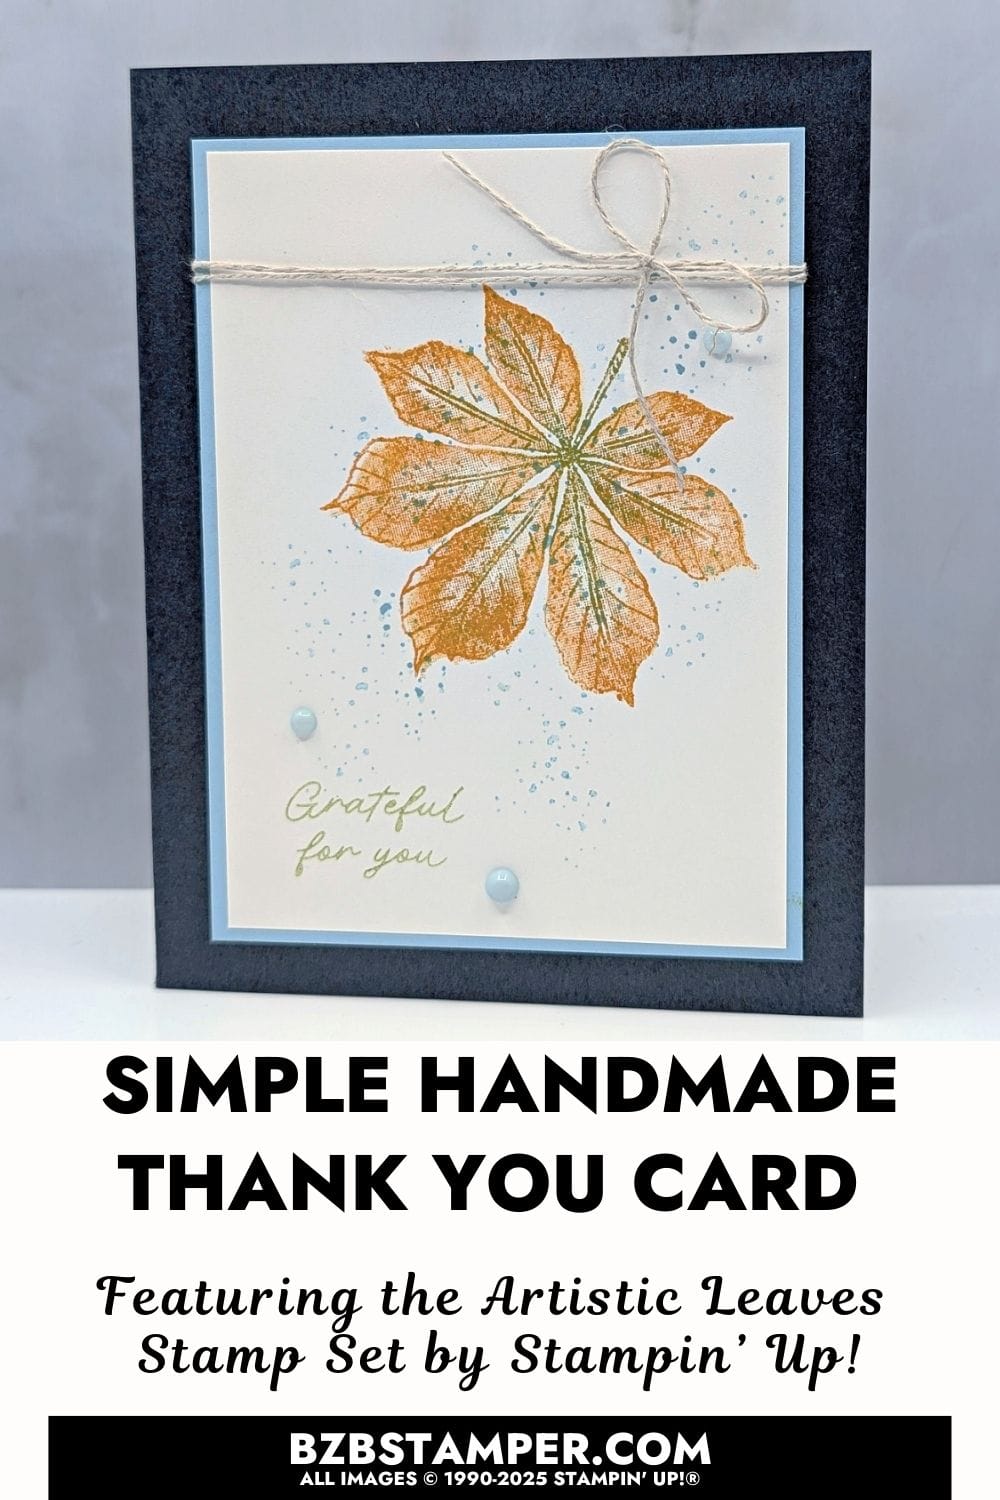
Thanks for stopping by for today’s card tutorial! My goal is to help you make quick & easy greeting cards for all occasions. If you’d like more detailed directions on how to make this card, feel free to email me. I hope you’ll join me again for more card-making ideas!
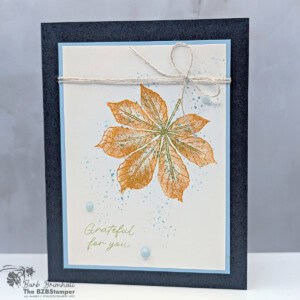
Simple Thank You Card with the Artistic Leaves Stamp Set
Cardstock Measurements
- Secret Sea Cardstock: 5-1/2" x 8-1/2"
- Basic White Cardstock: 4" x 5-1/4"
- Balmy Blue Cardstock: 3-5/8" x 4-7/8"
- Basic White Cardstock: 3-1/2" x 4-3/4"
Step-By-Step Instructions
- Fold the Secret Sea cardstock in half at the 4-1/4" score line to create your card base.
- Adhere the 4" x 5-1/4" piece of Basic White cardstock inside the card.
- Ink the large outline leaf using Pumpkin Pie ink, stamp off once on your scratch paper and then stamp again in the upper right corner of the 3-1/2" x 4-3/4" Basic White cardstock.
- Ink up the large bold leaf using Pumpkin Pie ink, stamp off once on your scratch paper. Ink up a clean sponge dauber using Old Olive ink and add Old Olive ink onto the veins and center. WIth another sponge dauber, add Pumpkin Pie ink to the solid sections. Stamp over the first image from the previous step.
- Using the Balmy Blue ink pad, stamp the speckles randomly around the leaf as desired.
- Stamp the sentiment in Old Olive ink in the lower left corner of the Basic White cardstock.
- Adhere the Basic White cardstock to the Balmy Blue cardstock using adhesive. Wrap Linen Thread 2x around the Balmy Blue cardstock and tie into a bow on the right side. Adhere the Balmy Blue cardstock to the front of the card.
- To finish the card, add 3 of the Cloud Cover Muted Palette Dots as desired.
Skill Level
Busy Bee projects are designed for the beginner or busy papercrafter. This is a basic cardmaking project that can be achieved by someone who has never made a handmade card before. You can view more Busy Bee cards here.


