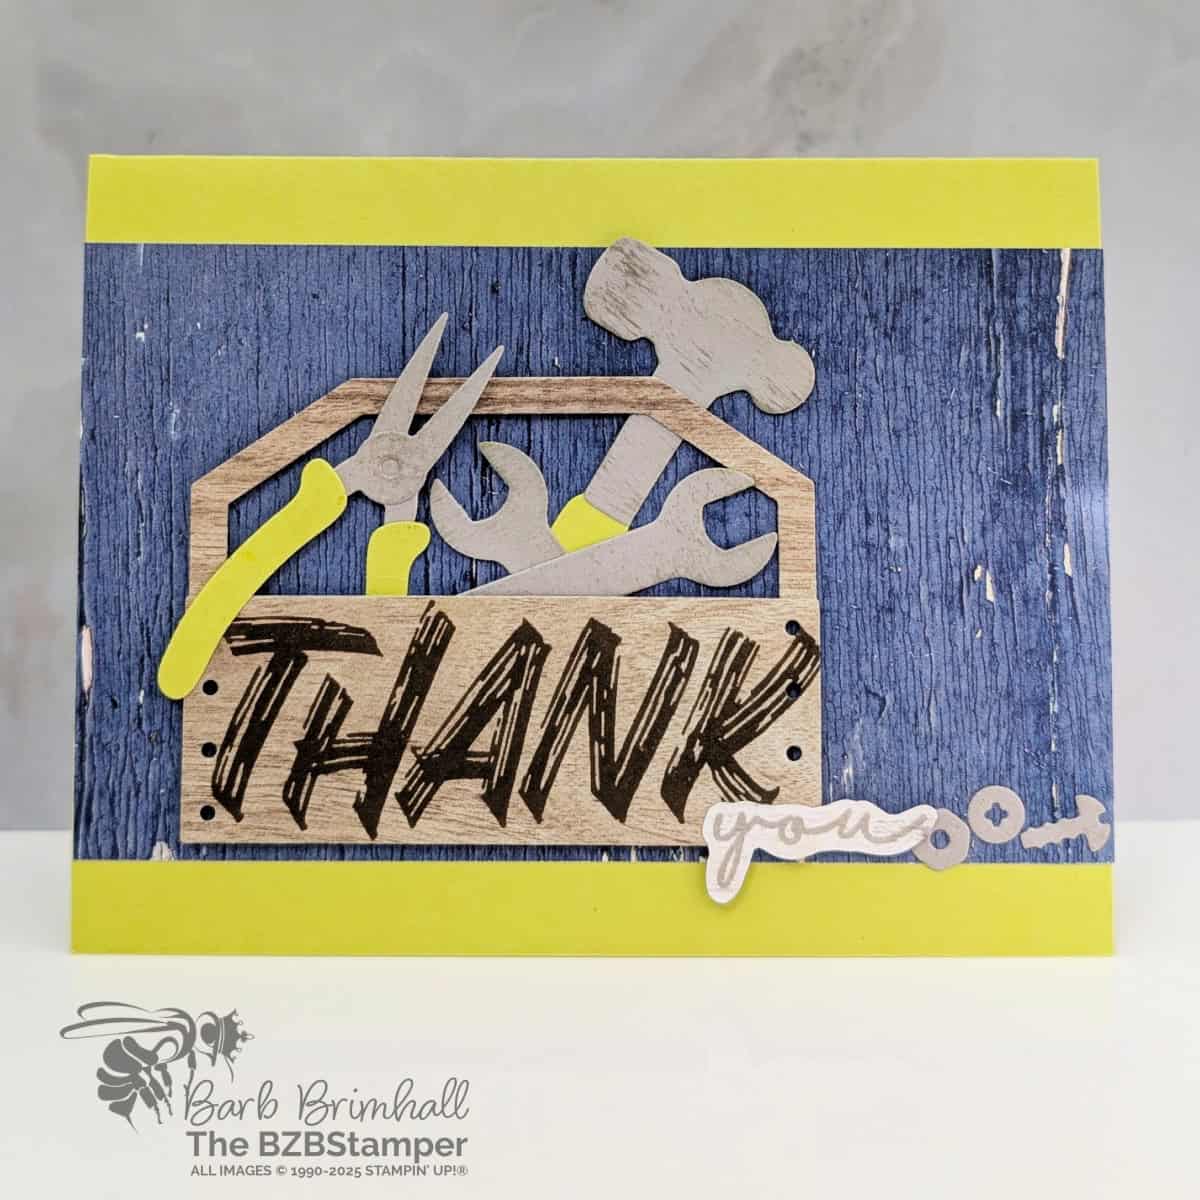
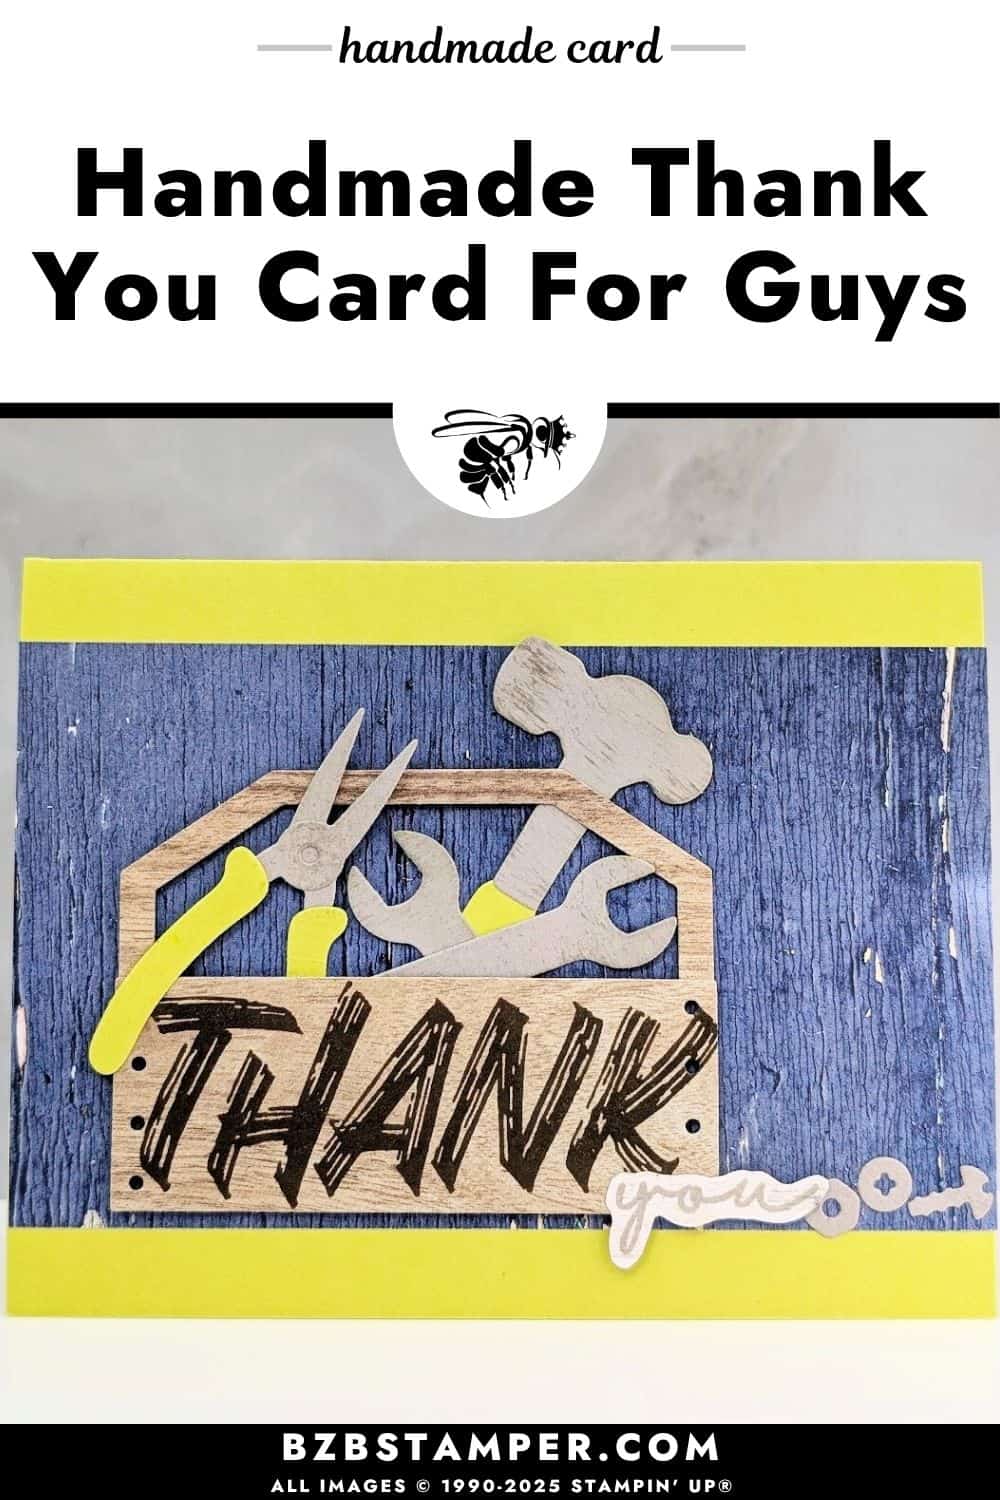
Creating handmade cards for the guys in your life doesn’t have to be complicated—or boring. This masculine thank you card using Layered Thoughts stamps from Stampin’ Up!® proves you can make something bold, meaningful, and fun with just a few well-chosen elements. Whether it’s for Father’s Day, a coworker, or your handyman neighbor, this project strikes just the right balance between rugged and thoughtful.
At the heart of this card is the Layered Thoughts Stamp Set, which makes it super easy to stamp a thank-you message that stands out. I used the bold “Thank you” combo in darker ink to give it strong visual weight, anchoring the design with a masculine, no-frills sentiment that still feels personal.
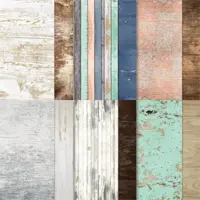
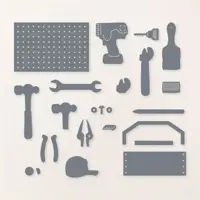
To give the card that workbench look, I paired the sentiment with the Trusty Tools Dies, which include wrenches, hammers, and other tool shapes that are perfect for guy cards. These were so easy to cut out using our Stampin’ Cut & Emboss Machine. The tools were tucked into a die-cut toolbox made from Country Woods Designer Paper, and the weathered wood grain background ties everything together. It’s got that classic garage vibe—but in the best way.


Grab your Free copy
Get 5 Bee-utiful Exclusive
Card Sketches in Your Inbox
Join our newsletter and receive a honey of a package of five quick & simple cards guaranteed to make your creativity buzz! Sign up now and let the goodness flow straight to your inbox!
And let’s talk about color!
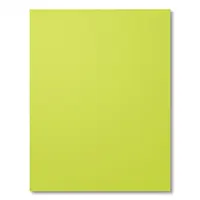
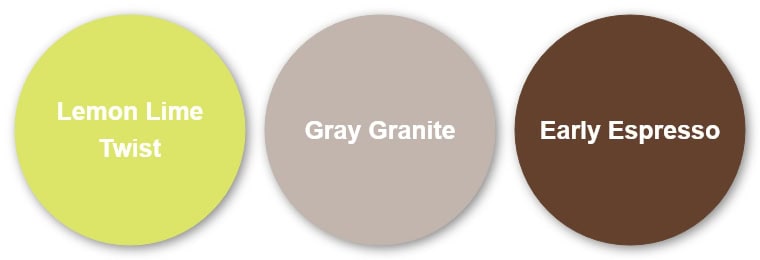
The Lemon Lime Twist cardstock adds a fresh, modern edge without feeling too bright or overwhelming. It’s an unexpected pop that gives this card personality while keeping the layout clean and cohesive. A couple of small tool die-cuts in matching cardstock add just enough contrast and coordination to pull the whole look together.
This layout is simple, which makes it a dream for stampers who need a card in a hurry—but it’s also super adaptable. You could change the colors, switch the sentiment, or even replace the tool theme with a different die set. Either way, the bones of this card make it easy to recreate and modify for any occasion.
The best part? You can put it together in about 20 minutes, and it looks like something from a boutique card shop. Stampin’ Up! products make it so easy to mix and match textures, colors, and tools in a way that feels intentional and fun—not overwhelming.
So if you’ve been stuck trying to design a thank-you card for the men in your life, give this one a try. It’s bold, it’s clever, and it’s sure to make someone feel appreciated—with a handmade twist.
Don’t forget to pin this for later!
Thanks for stopping by for today’s card tutorial! My goal is to help you make quick & easy greeting cards for all occasions. If you’d like more detailed directions on how to make this card, feel free to email me. I hope you’ll join me again for more card-making ideas!

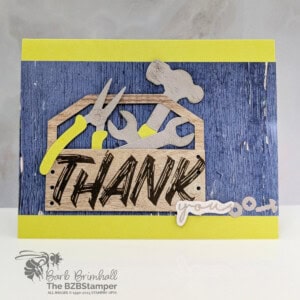
Card Recipe: Layered Thoughts Stamp Set
Cardstock Measurements
- Lemon Lime Twist Cardstock: 5-1/2″ x 8-1/2″, scored at 4-1/4″
- Basic White Cardstock: 4″ x 5-1/4″
- Country Woods Designer Series Paper Pattern 1: 3-1/4″ x 5-1/2″
- Country Woods Designer Series Paper Pattern 2: 3-1/2″ x 3-1/2″
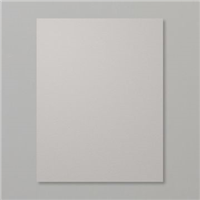
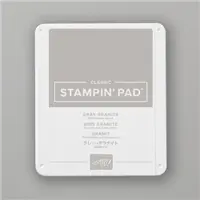
- Gray Granite Cardstock: 2-3/4″ x 4-1/4″ for die-cutting
- Lemon Lime Twist Cardstock: 2-3/4″ x 4-1/4″ for die-cutting
- Basic White Cardstock: scrap (1″ x 2″)
Step-By-Step Instructions
- Fold the Lemon Lime Twist cardstock in half at the score line to create card base.
- Adhere the 4″ x 5-1/4″ piece of Basic White cardstock inside the card.
- Adhere the 3-1/4″ x 5-1/2″ piece of Country Woods Designer Series Paper, Pattern 1, to the front of the card.
- Run the 3-1/2″ x 3-1/2″ piece of Country Woods Designer Series Paper, Pattern 2: through the Cut & Emboss Machine and die-cut the “tool box” using the Trusty Tools Dies. Stamp the “thanks” onto the rectangle die-cut using Early Espresso Ink. Assemble the “tool box” as shown in the sample and set aside.
- Run the Gray Granite and Lemon Lime Twist through the Cut & Emboss Machine and die-cut the tool “heads” and nuts & bolts from the Gray Granite cardstock. Die-cut the tool handles from the Lemon Lime Twist cardstock. Sponge the Gray Granite cardstock as desired using Gray Granite ink and a sponge dauber.
- Assemble the tools. Adhere the “tool box” and the tools to the front of the card using a combination of adhesive and Stampin’ Dimensionals.
- Stamp the “you” onto the scrap of Basic White cardstock using Gray Granite ink. Fussy cut out using the Paper Snips Scissors, and adhere to the bottom of the “tool box” as shown in the sample to finish.

