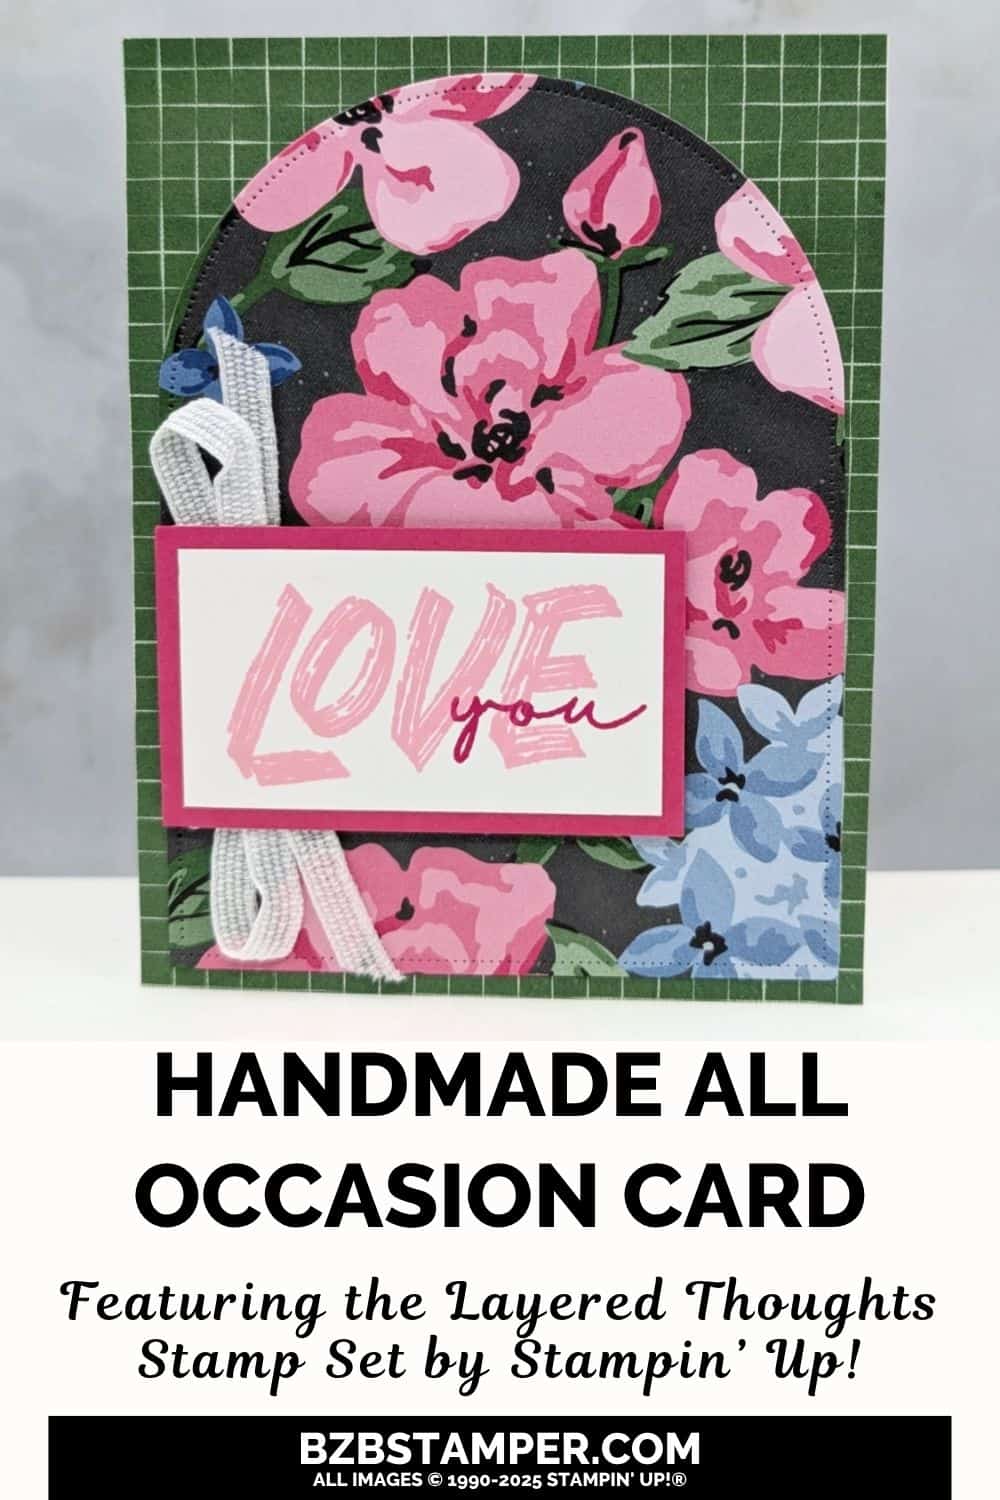
This card project, Say It with Love Using the Layered Thoughts Stamp Set, is the perfect mix of bold expression and soft, pretty design. When you want to send a little extra love—whether it’s for a friend, a partner, or just someone who needs a smile—there’s nothing better than a handmade card that says it loud and clear.
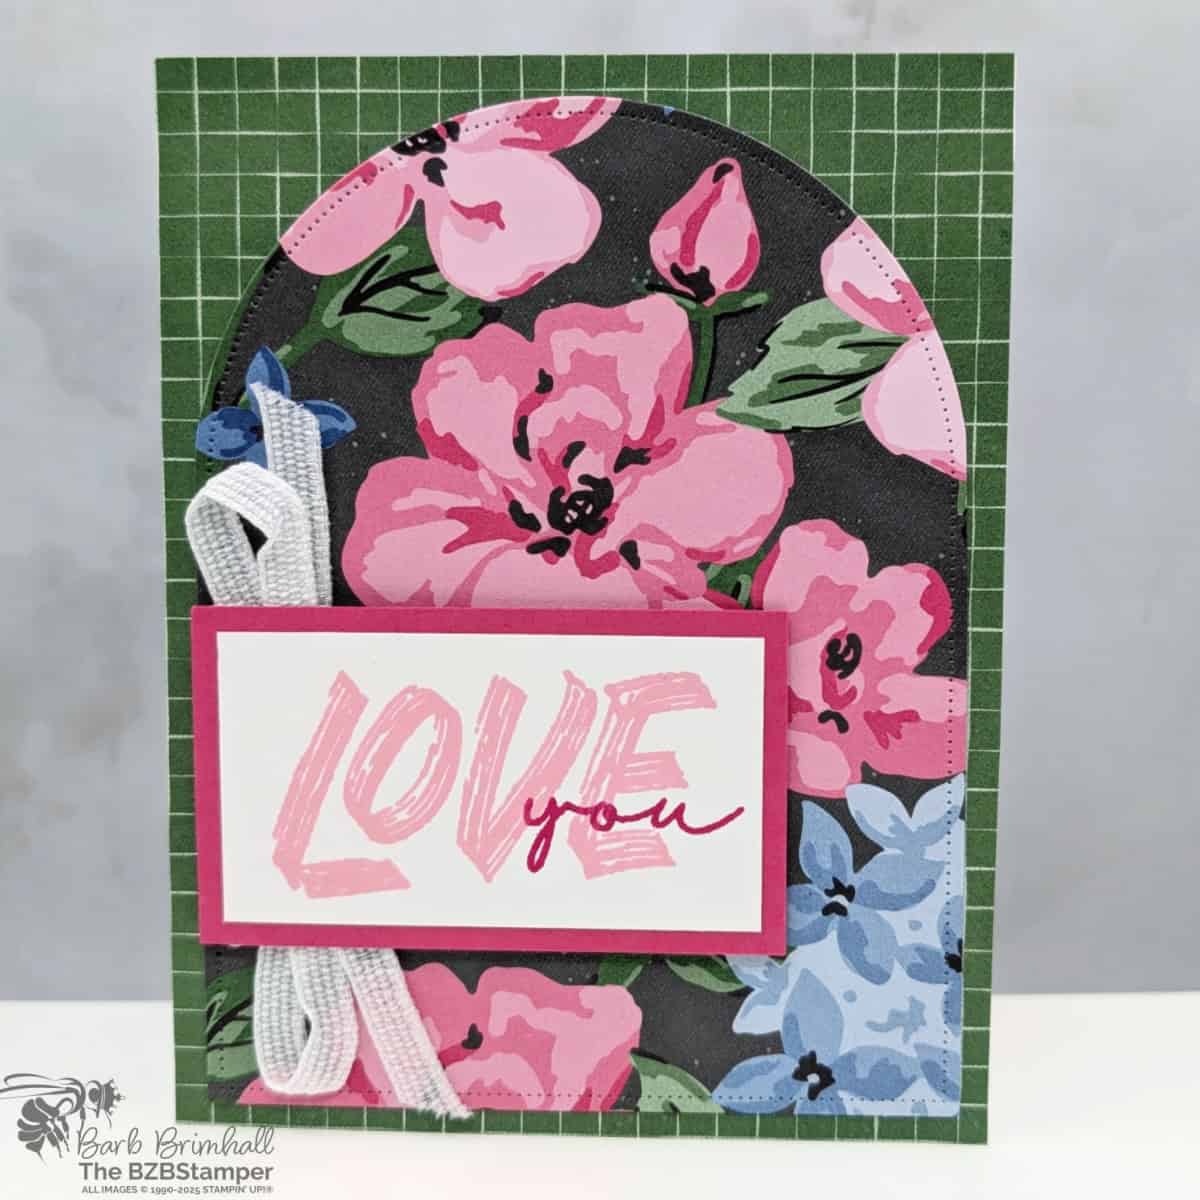
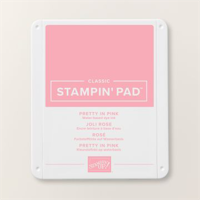
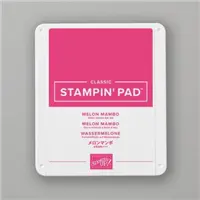
Let’s start with that fun sentiment. The Layered Thoughts Stamp Set makes it easy to say exactly what you feel, and the oversized “LOVE you” combo is ideal for cards that speak straight from the heart. I stamped the large “LOVE” in Pretty in Pink and layered the delicate “you” in Melon Mambo for a soft-yet-bold contrast that really pops.
But the magic doesn’t stop there.
The Lovely Garden Designer Paper steals the show with oversized blooms in pinks, blues, and greens against a dramatic dark background. It creates a striking base for the card and makes the sentiment shine. To frame everything up beautifully, I used the Everyday Arches Dies to cut a half-arch from the floral paper, giving the layout an unexpected and playful touch that adds visual interest without overwhelming the card.
The finishing detail? A tucked loop of white ribbon adds texture and softness—proof that a tiny embellishment can make a big impact. Whether you’re sending love, thanks, or encouragement, this card delivers warmth and personality in under 30 minutes.
And if you’re a newer stamper, don’t worry—this layout is totally beginner-friendly – but you will need a Stampin’ Cut & Emboss Machine, which will make this card so easy to make. It’s just paper, ink, stamps, and a die cut. You don’t need to master complicated techniques to create something that looks professionally designed and deeply personal.
Want to make it your own? Swap out the colors, use a different sentiment from the Layered Thoughts set, or try another arch from the die set. The possibilities are endless once you see how easily everything comes together.
That’s the best part of using Stampin’ Up!® products—everything coordinates effortlessly. No guesswork. Just joyful creating and the confidence of knowing your handmade cards will be just as beautiful as the thought behind them.
So if you’ve got someone on your mind, don’t wait for a holiday or special occasion. Pull out your stamps and paper, and say it with love—one heartfelt card at a time.
How To Make This Card
Project Skill Level: Worker Bee
Worker Bee projects are designed for the crafter who has a bit more time and enjoys creating a handmade card that features a technique or tool. In many cases, a Stampin’ Cut & Emboss Machine is required for die-cutting and/or embossing.
Cardstock Measurements:
- Basic White Cardstock: 5-1/2″ x 8-1/2″, scored at 4-1/4″
- Lovely Garden Designer Series Paper, Pattern 1: 4-1/4″ x 5-1/2″
- Lovely Garden Designer Series Paper, Pattern 2: 6″ x 6″
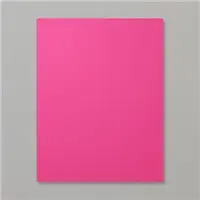
- Melon Mambo Cardstock: 1-3/4″ x 3″
- Basic White Cardstock: 1-1/2″ x 2-3/4″


Grab your Free copy
Get 5 Bee-utiful Exclusive
Card Sketches in Your Inbox
Join our newsletter and receive a honey of a package of five quick & simple cards guaranteed to make your creativity buzz! Sign up now and let the goodness flow straight to your inbox!
Step-by-Step Instructions:
- Fold the Basic White cardstock in half to create your card base.
- Adhere the 4-1/4″ x 5-1/2″ piece of Lovely Garden Paper, Pattern 1, to the front of your card.
- Run the other piece of Lovely Garden Paper, Pattern 2, through the Stampin’ Cut & Emboss Machine and die-cut using the 4″ x 5″ die from the Everyday Arches Dies. Adhere to the front of the card.
- Using the 1-1/2″ x 2-3/4″ piece of Basic White cardstock, stamp the sentiment in Pretty in Pink ink. Stamp the “you” using Melon Mambo ink. Adhere to the Melon Mambo cardstock.
- Using 9″ of ribbon, create a “z” with your ribbon and adhere to the back of the Melon Mambo cardstock using a Stampin’ Dimensional or tape. Adhere the sentiment/ribbon to the front of the card using Stampin’ Dimensionals to finish.
A Tip from Barb
When you’re running your Designer Paper through the Cut & Emboss Machine, make sure that you have the arch as the “top” of your paper if it is directional. This will allow you to have the layout of the card as shown in the sample.
Thanks for stopping by for today’s card tutorial! My goal is to help you make quick & easy greeting cards for all occasions. If you’d like more detailed directions on how to make this card, feel free to email me. I hope you’ll join me again for more card-making ideas!

Don’t forget to pin this for later!
