Send Comfort with the Hugs and Healing Stamp Set by Stampin’ Up!® Create a card that wraps your recipient in care, just like a warm blanket and a loyal companion would. This set is a favorite of mine because it goes beyond a simple “get well soon”—it’s perfect for those moments when someone just needs to know they’re not alone.
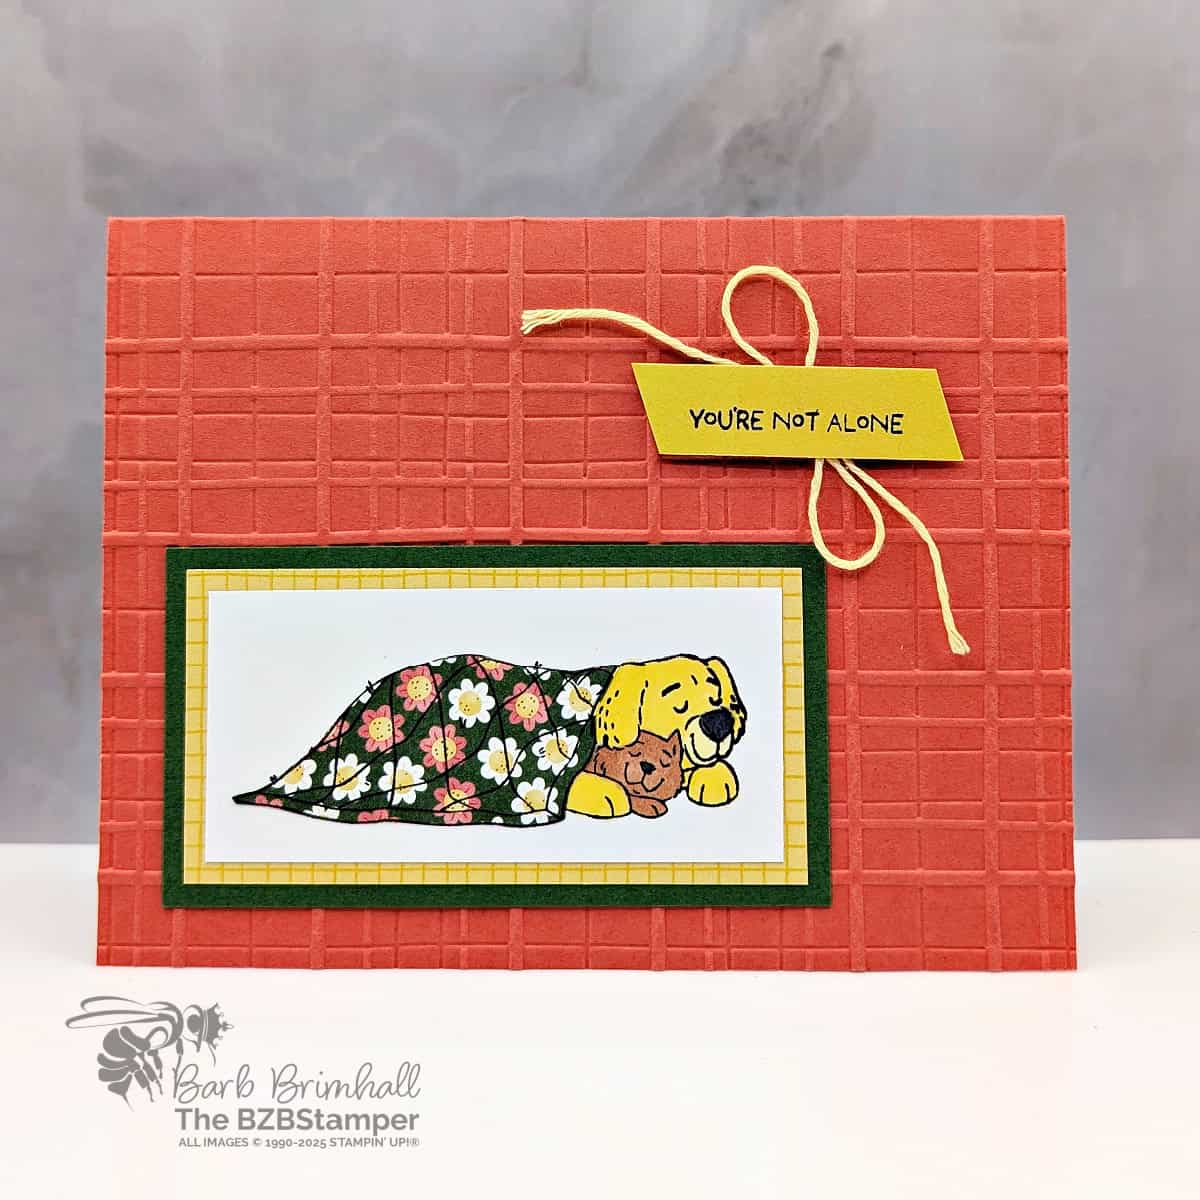
This project was inspired by a friend who’s quietly going through a rough patch. She’s the kind of person who always shows up for others, and I wanted to send her something that reminded her that someone sees her, too. The card ended up being a layered, detailed design with lots of rich color and texture—more advanced than my usual beginner-friendly cards, but sometimes that extra effort is exactly what the moment calls for.
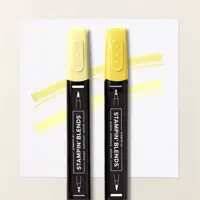
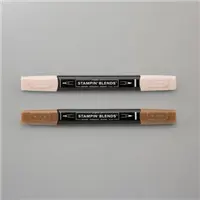
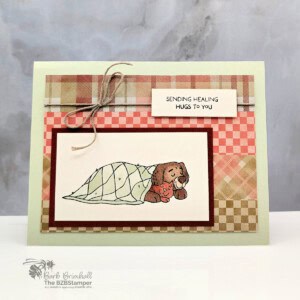
The standout image from the Hugs and Healing Stamp Set shows a dog snuggled up with a small kitten under a warm blanket. It’s tender, sweet, and instantly comforting. I used my Stampin’ Blends to bring both animals to life, keeping the color soft and natural to match the tone of the card.
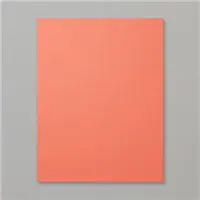
The base of this card is made with Calypso Coral cardstock, embossed with the Timeless Plaid 3D Embossing Folder to add some visual interest and a cozy, quilt-like feel. I layered the focal image on Darling Duckling and Garden Green cardstock, which gave the scene a warm, grounded feel. To add even more charm, I paper-pieced the blanket using a floral pattern from the Floral Impressions Designer Series Paper—it gives the pets just the right touch of personality.
To finish it off, I stamped the “You’re Not Alone” sentiment on a strip of Darling Duckling cardstock and added a simple twine bow. It’s a small detail, but it adds balance and a gentle softness to the design.
This card is not a beginner-level project due to the layering, coloring, and number of tools used—but if you’ve been stamping for a little while and want to make something truly special, this design is worth the extra steps. The result is a card that not only looks beautiful but feels meaningful. And in moments when words fall short, a card like this can say just the right thing.
If you enjoy making cards that feel personal and sincere, the Hugs and Healing Stamp Set belongs in your collection. It’s ideal for encouragement, recovery, and quiet reassurance—and I think you’ll love how versatile and comforting it can be.
How To Make This Card
Project Skill Level: Worker Bee
Worker Bee projects are designed for the crafter who has a bit more time and enjoys creating a handmade card that features a technique or tool. In many cases, a Stampin’ Cut & Emboss Machine is required for die-cutting and/or embossing.
Cardstock Measurements:
- Calypso Coral Cardstock: 5-1/2″ x 8-1/2″, scored at 4-1/4″
- Basic White Cardstock: 4″ x 5-1/4″
- Floral Impressions Designer Paper: 1-1/2″ x 3″
- Garden Green Cardstock: 2″ x 3-3/4″
- Darling Duckling Cardstock: 1-3/4″ x 3-1/2″
- Basic White Cardstock: 1-1/2″ x 3-1/4″
- Darling Duckling Cardstock: 1/2″ x 2″


Grab your Free copy
Get 5 Bee-utiful Exclusive
Card Sketches in Your Inbox
Join our newsletter and receive a honey of a package of five quick & simple cards guaranteed to make your creativity buzz! Sign up now and let the goodness flow straight to your inbox!
Step-by-Step Instructions:
- Fold the Calypso Coral cardstock in half. Open the card again and run the front of the card through the Stampin’ Cut & Emboss Machine using the Forever Plaid 3D Embossing Folder.
- Refold the card and adhere the 4″ x 5-1/4″ piece of Basic White cardstock inside the card.
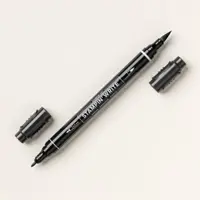
- Stamp the dog/cat image onto the 1-1/2″ x 3-1/4″ piece of Basic White cardstock using Black Memento ink. Color in using the Blends as desired.
- Stamp the image again onto the Floral Impressions paper using Black Memento ink. Using scissors, cut out only the blanket and adhere to the image on the White cardstock.
- Adhere the White cardstock to the Darling Duckling Cardstock and then to the Garden Green cardstock. Adhere to the lower right corner of the card as shown in the sample.
- Stamp the sentiment on the 1/2″ strip of Darling Ducking cardstock using Black Memento ink. Cut each end on the diagonal.
- Using the Lemon Lolly Baker’s Twine, tie into a bow and adhere to the back of the sentiment strip using a Stampin’ Dimensional. Add another Stampin’ Dimensional on either side and then adhere the sentiment to the card as shown in the sample to finish.
A Tip from Barb
For the yellow mat behind the focal image, I used a piece of Turtle-y Cute Designer Paper that I had sitting on my desk. I substituted this piece in the instructions with the Darling Duckling cardstock because, honestly, it added more expense to this card and I don’t think really made a significant difference in it’s design.
But if you’ve got that Designer Paper and want to take this card up one more notice, give it a try!
I appreciate you dropping by! My mission is to inspire you with card tutorials that are as fun to make as they are to give. If you’re curious about the specifics of crafting today’s design, just send me an email. Want more papercrafting ideas? Join my Facebook Community today.

Don’t forget to pin this for later!
Supplies Used On This Project:
Price: $12.50


