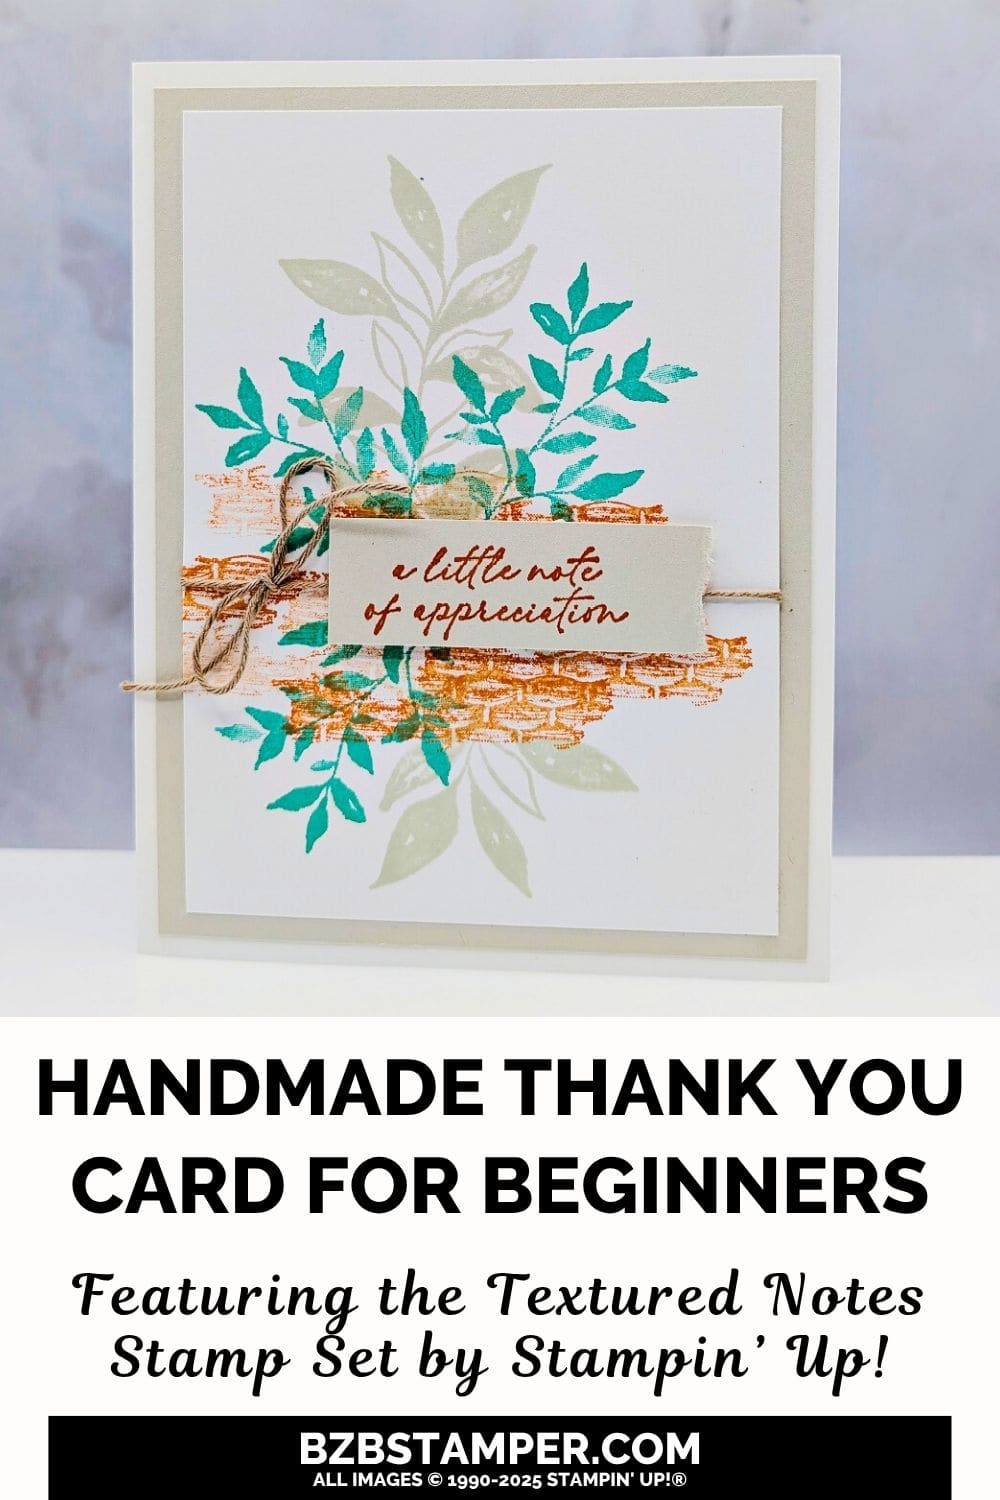
Send smiles with the Textured Notes Stamp Set by Stampin’ Up! and a splash of cheerful color! If you’re looking for a fresh and fun way to say thank you or send a little note of appreciation, this simple yet stunning card design will absolutely make your heart happy. I’m so excited to share today’s project featuring the beautiful stamps from the Textured Notes Stamp Set, paired with a bright new In Color combination and a sweet little twine detail for the perfect finishing touch.
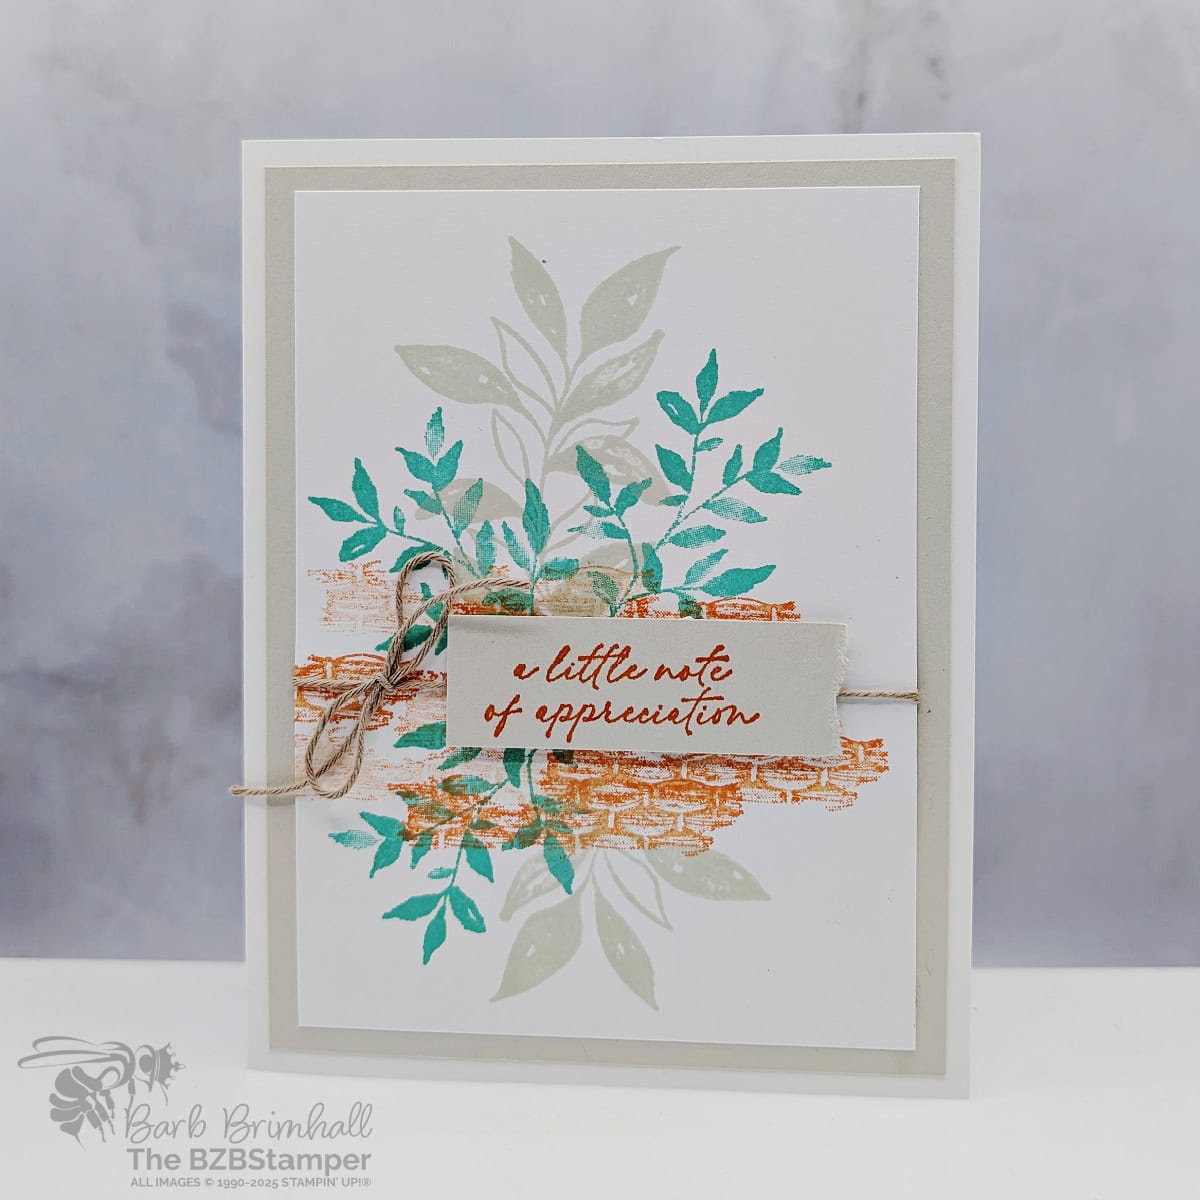
The Textured Notes Stamp Set is quickly becoming one of my go-to sets for fast, elegant cards that still have a ton of personality. With its delicate botanical images and lightly textured accents, it’s so easy to layer colors, textures, and sentiments to create something that feels personal and polished without being fussy.
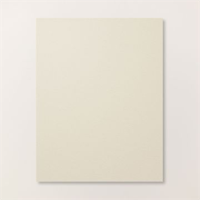
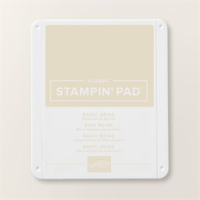
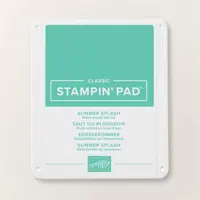
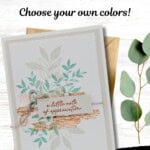
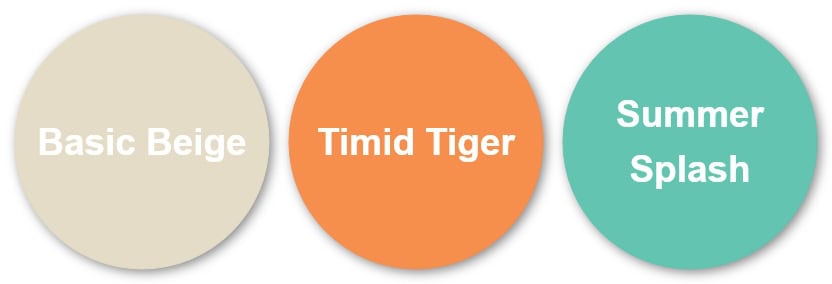
For this project, I started by layering Basic Beige cardstock onto a simple white card base to keep everything soft and neutral. Then I stamped the leafy images in Summer Splash and Basic Beige, layering them together to create a beautiful, organic backdrop. The textured woven image was stamped in Timid Tiger—this bright, happy orange really brings the whole card to life!
The sentiment, “a little note of appreciation,” was stamped onto a strip of Basic Beige cardstock and popped up over the colorful background. To add a little extra charm, I wrapped Crumb Cake Baker’s Twine around the panel and tied a small, relaxed bow just under the sentiment. It’s a small touch, but it adds that warm, handmade feel that makes a card even more special.
What I love about this project is how easy it is to swap out colors and sentiments to fit any season or occasion. You could easily recreate this layout with fall tones, winter neutrals, or spring pastels—the Textured Notes Stamp Set is that versatile! Make sure you check out my Color Combination Library which is sure to have a color combination you’ll love!
If you want a card that feels fresh, fun, and heartfelt (without needing a ton of supplies or complicated techniques), definitely give this design a try. The bright pops of color and layered textures make it a true joy to create and to send. Happy stamping!
How To Make This Card
Project Skill Level: Busy Bee
Busy Bee projects are designed for the beginner or busy papercrafter. This is a basic cardmaking project that can be achieved by someone who has never made a handmade card before. You can view more Busy Bee cards here.
Cardstock Measurements:
- Basic White Cardstock: 5-1/2″ x 8-1/2″, scored at 4-1/4″
- Basic Beige Cardstock: 4″ x 5-1/4″
- Basic White Cardstock: 3-1/2″ x 4-3/4″
- Basic Beige Cardstock: 3/4″ x 2-1/2″


Grab your Free copy
Get 5 Bee-utiful Exclusive
Card Sketches in Your Inbox
Join our newsletter and receive a honey of a package of five quick & simple cards guaranteed to make your creativity buzz! Sign up now and let the goodness flow straight to your inbox!
Step-by-Step Instructions:
- Fold the Basic White cardstock in half at the score line to create your card base.
- Adhere the 4″ x 5-1/4″ piece of Basic Beige cardstock to the front of the card.
- Using the 3-1/2″ x 4-3/4″ Basic White cardstock, stamp the “basket” image in the center of the card using Timid Tiger ink, stamp again 2 more times without reinking the stamp.
- Stamp the large leaves above and below the “basket” images using the Basic Beige ink pad.
- Stamp the smaller leaves as shown in the sample using Summer Splash ink.
- Wrap the Crumb Cake Baker’s Twine around the White cardstock and tie into a bow on the left side.
- Using Timid Tiger ink, stamp the sentiment onto the 3/4″ strip of Basic Beige cardstock, slightly to the left of center. Tear off about a 1/4″ inch from the right side of the sentiment strip. Adhere to the card, overlapping the twine, using Stampin’ Dimensionals to finish.
A Tip from Barb
This is the perfect card sketch for whenever you have some pretty paper you’d like to use! Just grab 2-3 colors from the paper you want to use and pull your coordinating cardstock, inks and any embellishments you’d like! An easy peasy card without any stress – I love when my pretty paper can do the heavy lifting on my cards!😊
Thanks for stopping by for today’s card tutorial! My goal is to help you make quick & easy greeting cards for all occasions. If you’d like more detailed directions on how to make this card, feel free to email me. I hope you’ll join me again for more card-making ideas!

Don’t forget to pin this for later!
