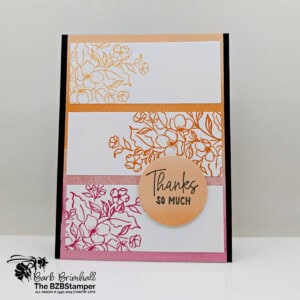
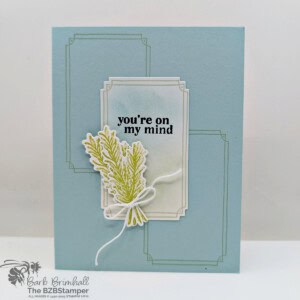
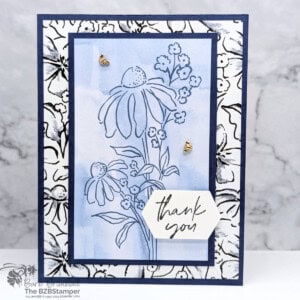
If you’ve been looking for the perfect stamp set that makes crafting simple yet stunning, you’re in luck. Today, I’ll show you how to make elegant cards with the You Are Remarkable Stamp Set from Stampin’ Up! Whether you’re celebrating a birthday, sending a thoughtful thank you, or simply brightening someone’s day, this stamp set has everything you need for crafting standout handmade cards.
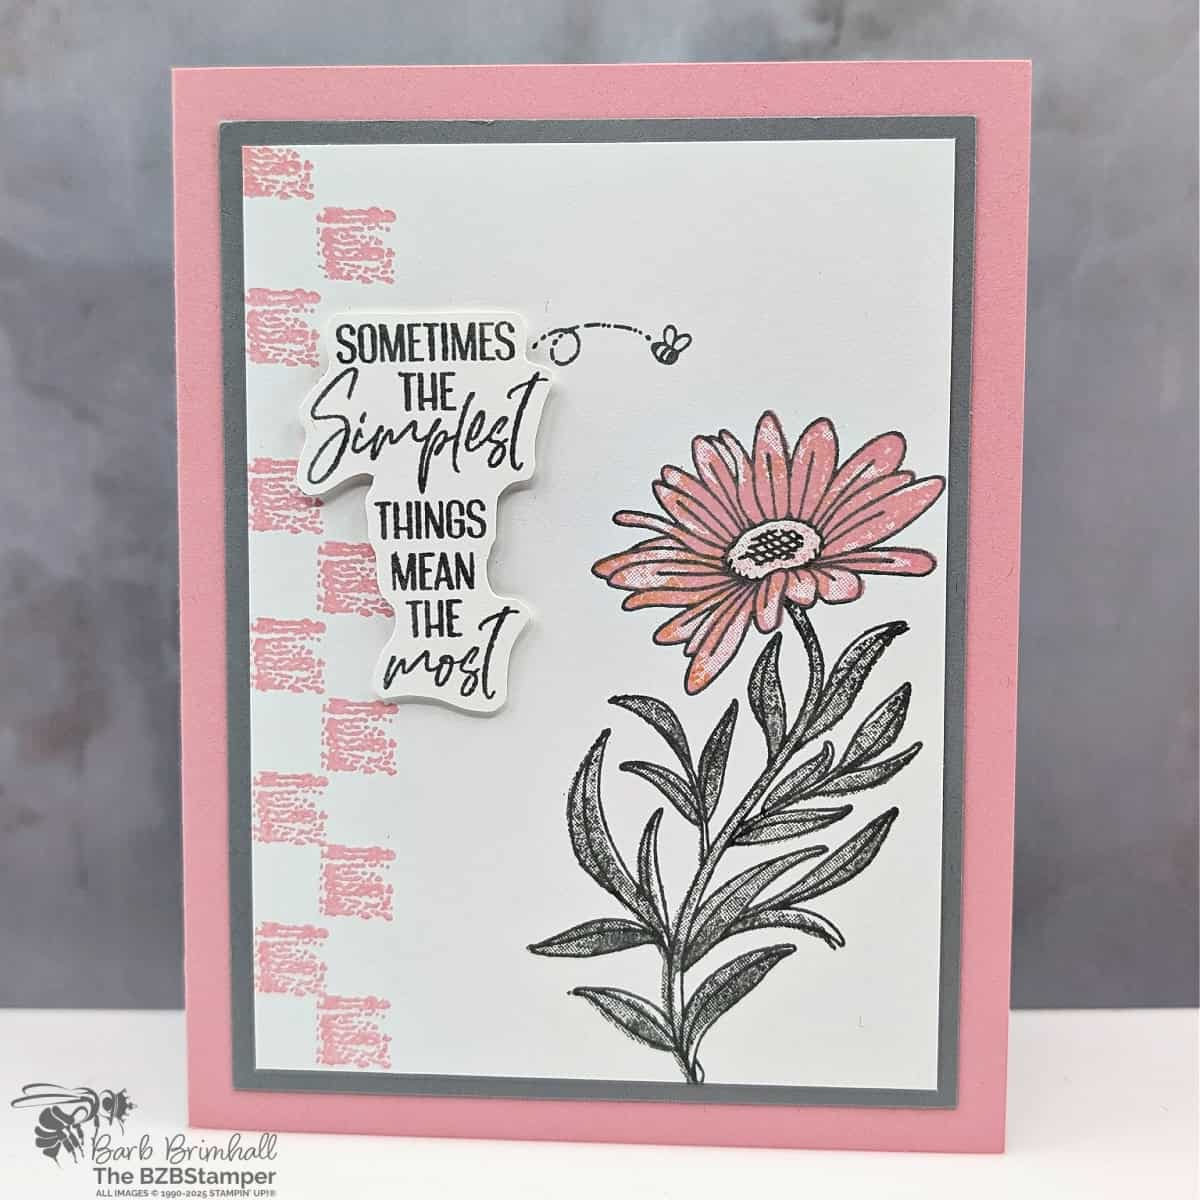
I absolutely love the versatility of the You Are Remarkable Stamp Set. It’s got a timeless floral design that you can use all year long, for any occasion. The tall, graceful floral image pairs perfectly with heartfelt, friendship-inspired sentiments. Best of all, these sentiments are designed to align vertically, making your cards look polished and professionally designed without any extra fuss.
One of my favorite things about this set is that it’s a Distinktive stamp set. This means it creates stunning, photo-realistic details in just one easy step. Forget spending hours shading or layering inks to get dimension and texture—this stamp does all the work for you. Just one stamp and you’ll get rich, detailed petals that pop right off the paper.
Plus, if you’re someone who enjoys layering images, the You Are Remarkable Stamp Set is also a Two-Step Stampin’ set. This means you can build your own floral masterpiece by layering different stamps in your favorite colors. It’s incredibly fun and rewarding, whether you’re brand new to stamping or a seasoned card-making pro.
Crafting should feel relaxing and rewarding. The You Are Remarkable Stamp Set makes it easy for anyone to create cards they’re proud to give. Imagine sending these heartfelt cards to loved ones and seeing their faces light up when they open the envelope. Handmade cards truly show you care, and they’re so much more meaningful than store-bought versions.
So grab your cardstock, pick your favorite ink colors, and let’s dive in. By the end of this post, you’ll have a gorgeous, professional-looking card ready to share. I’ll walk you through everything step-by-step. Ready to see just how remarkable your cards can be? Let’s get stamping!
How To Make This Card
Project Skill Level: Busy Bee
Busy Bee projects are designed for the beginner or busy papercrafter. This is a basic cardmaking project that can be achieved by someone who has never made a handmade card before. You can view more Busy Bee cards here.
Cardstock Measurements:
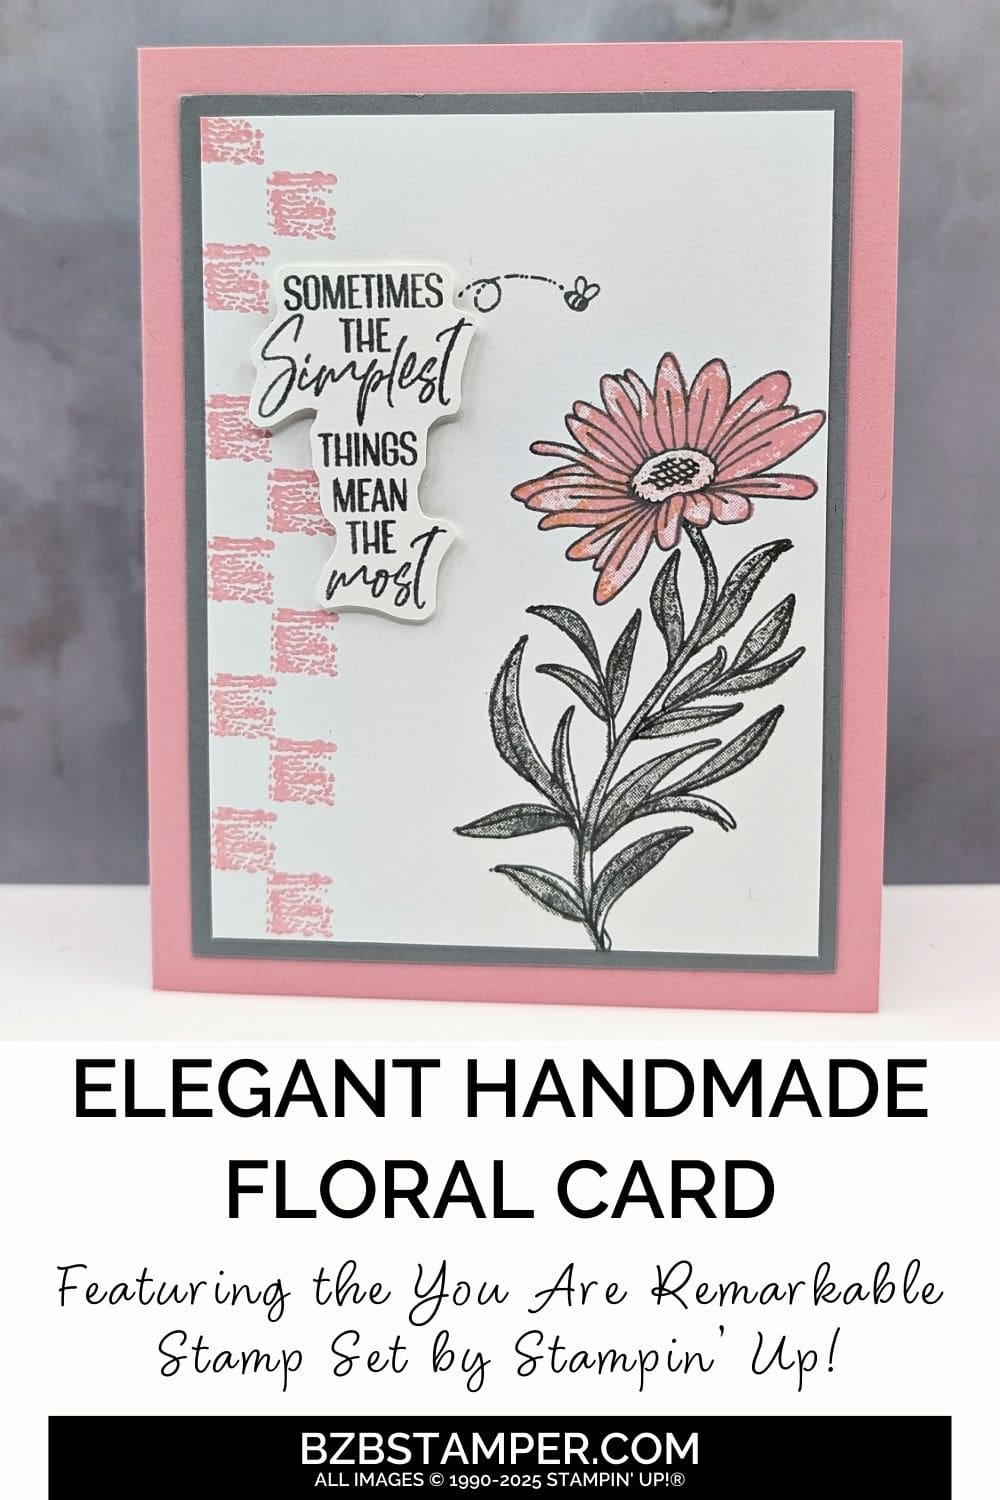
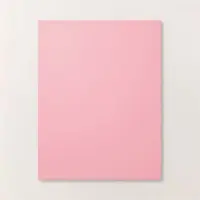
- Pretty in Pink Cardstock: 5-1/2″ x 8-1/2″, scored at 4-1/4″
- Basic White Cardstock: 4″ x 5-1/4″
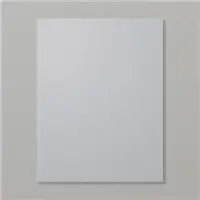
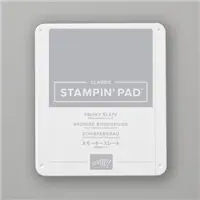
- Smoky Slate Cardstock: 3-3/4″ x 5″
- Basic White Cardstock: 3-1/2″ x 4-3/4″
- Basic White Cardstock: 1-1/2″ x 2-1/2″


Grab your Free copy
Get 5 Bee-utiful Exclusive
Card Sketches in Your Inbox
Join our newsletter and receive a honey of a package of five quick & simple cards guaranteed to make your creativity buzz! Sign up now and let the goodness flow straight to your inbox!
Step-by-Step Instructions:
- Fold the Pretty in Pink Cardstock in half at the score line to create your card base.
- Adhere the 4″ x 5-1/4″ piece of Basic White cardstock inside the card.
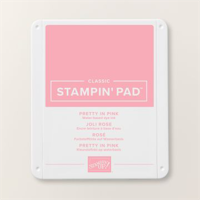
- Using the 3-1/2″ x 4-3/4″ Basic White Cardstock, stamp the single square image down the left side of the cardstock to create a checkerboard effect using Pretty in Pink ink.
- Stamp the large outline floral image on the right side of the card using Smoky Slate ink. Ink up the large floral stem using the same ink, stamp off once on your scratch paper, and stamp inside the outline leaf image.
- Ink up the bold large floral using Pretty in Pink ink and stamp inside the outline image of the flower.
- Ink up the oval “inside/pistal” image using Pretty in Pink ink, stamp off once on your scratch paper, and stamp inside the flower.
- Adhere the White stamped cardstock to the Smoky Slate cardstock and adhere to the to the center of the card base.
- Stamp the bee as shown in the sample using Smoky Slate ink.
- Using the 1-1/2″ x 2-1/2″ scrap piece of Basic White cardstock, stamp the sentiment using Smoky Slate ink. Fussy cut out using your scissors and adhere to the card as shown in the sample using Stampin’ Dimensionals, slightly overlapping the bee trail.
A Tip from Barb
If you don’t want to fussy cut out the sentiment, simply stamp it on a 1-1/2″ x 2-1/4″ piece of Basic White cardstock and adhere to the card using Stampin’ Dimensionals. No one will know the difference! 😊
I appreciate you dropping by! My mission is to inspire you with card tutorials that are as fun to make as they are to give. If you’re curious about the specifics of crafting today’s design, just send me an email. Want more papercrafting ideas? Join my Facebook Community today.

Don’t forget to pin this for later!
