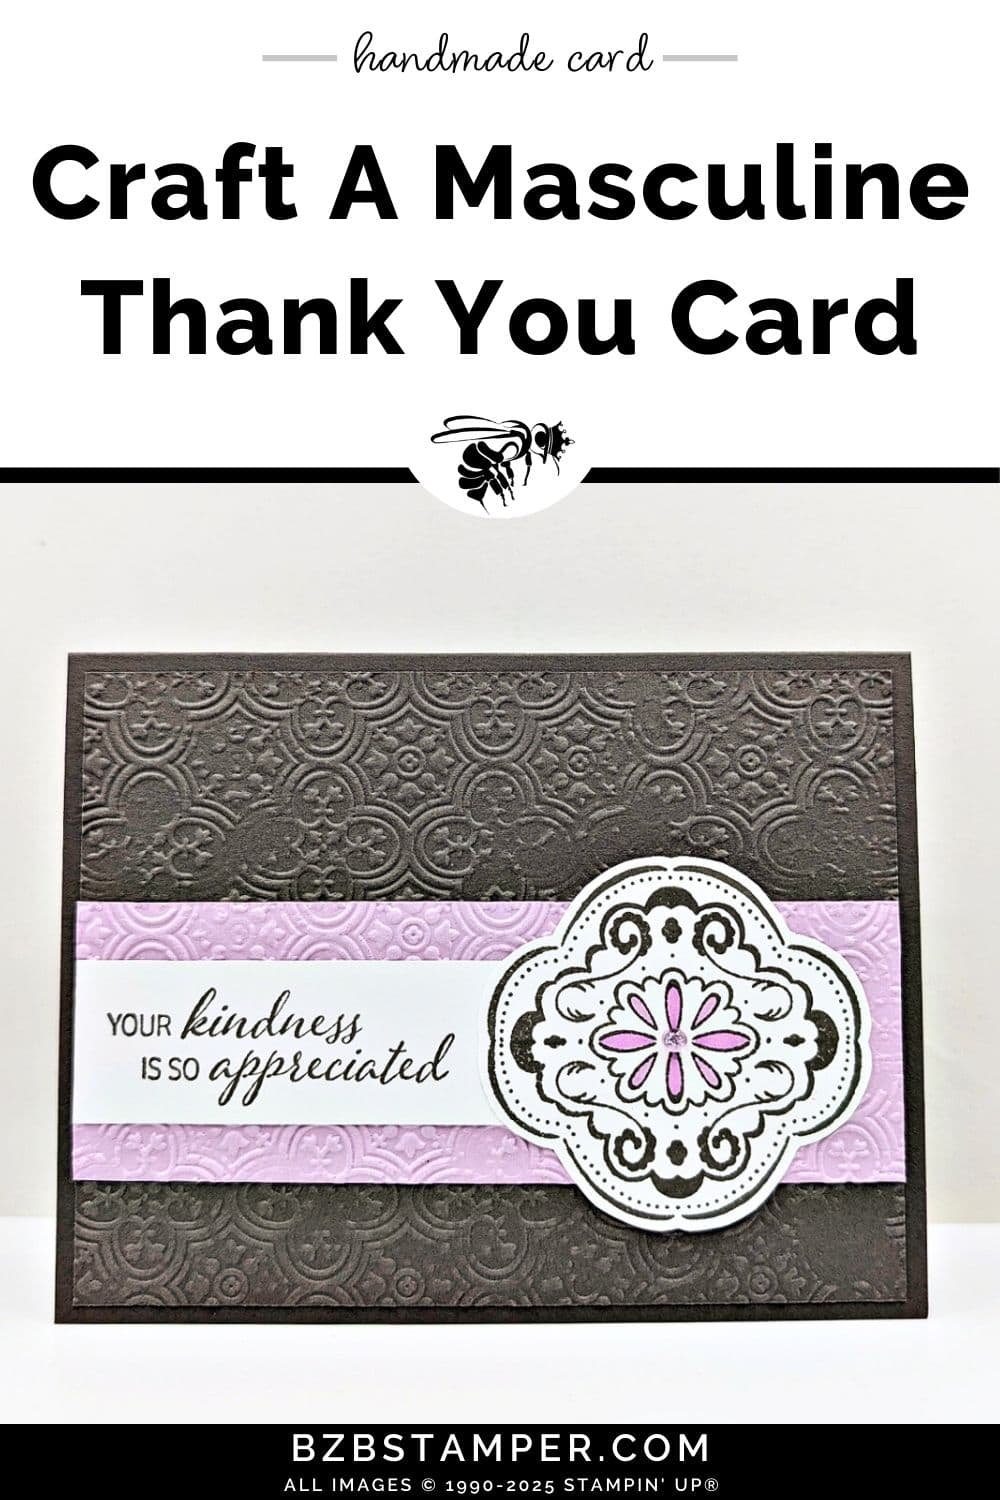
Creating a Thank You Card featuring the Tiled Techniques Stamps by Stampin’ Up! allows you to convey gratitude with elegance and personal flair. This card sketch uses simple materials and turns your card into an expression of appreciation that resonates on a personal level.
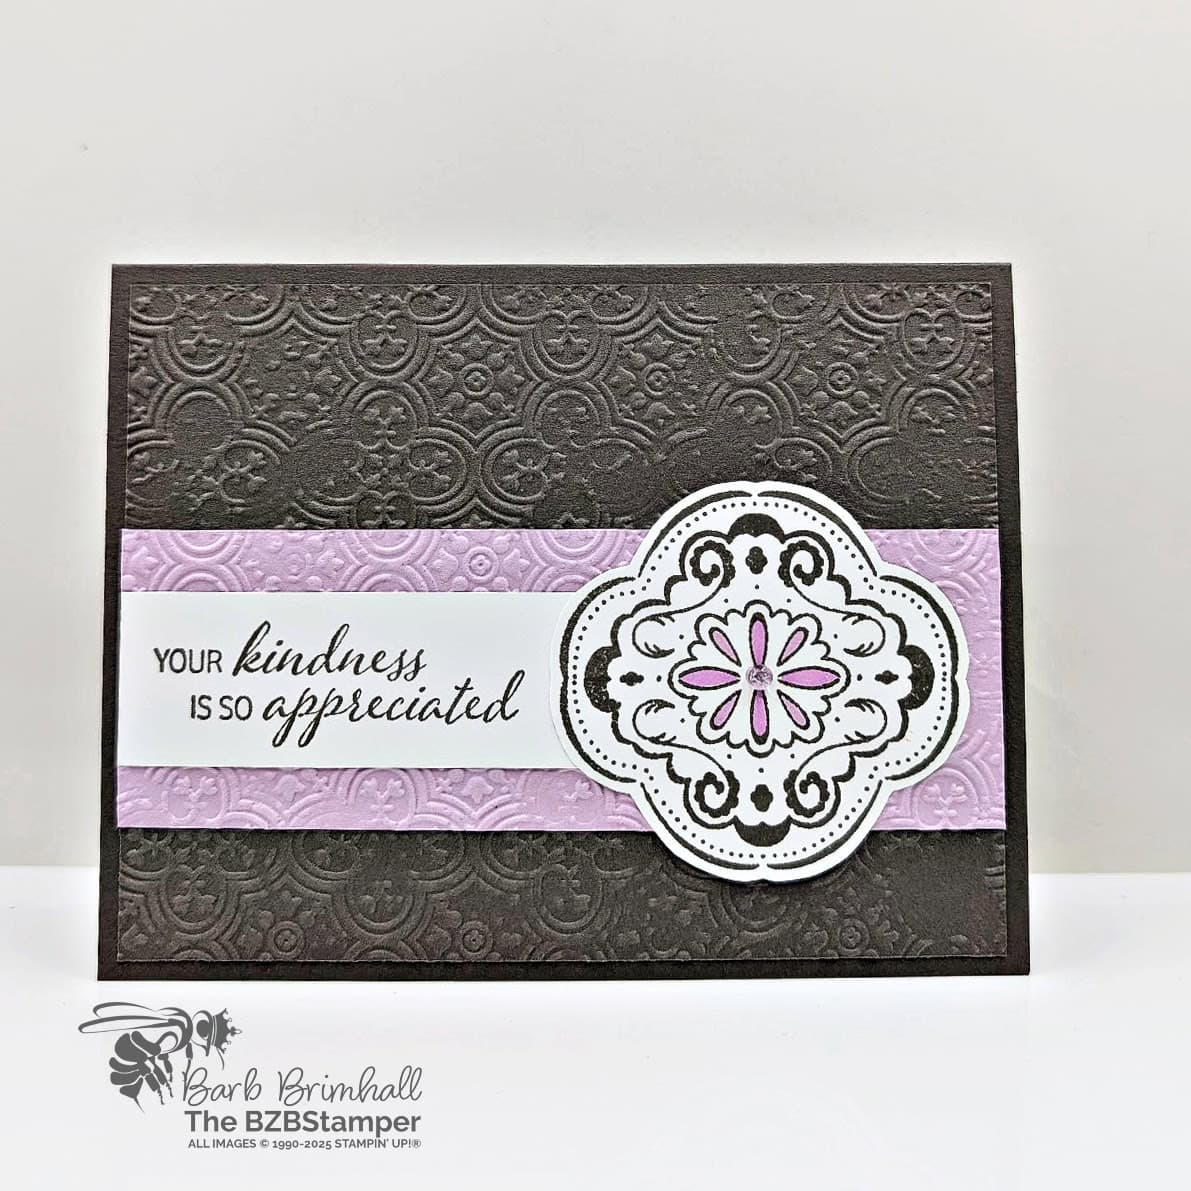
With the Tiled Techniques Stamp Set, you’ll use detailed, seamless patterns that enhance the heartfelt message of your thank-you card. You’ll be surprised by how easy it is to use these intricate stamps to craft a background that complements a thoughtful sentiment.
By using a warm color combination, we’ll be creating a card that reflects warmth and acknowledgment, perfect for the men in your life. Whether you’re crafting a note of thanks for a friend, family member, or colleague, the card you create will be as meaningful as the gratitude you share.
Your finished card will be an elevated Thank You card that not only says “thank you”—it will feel like it on a deeply personal level as well! Let’s get started.
How To Make This Card
Project Skill Level: Busy Bee
Busy Bee projects are designed for the beginner or busy papercrafter. This is a basic cardmaking project that can be achieved by someone who has never made a handmade card before. You can view more Busy Bee cards here.
Cardstock Measurements:
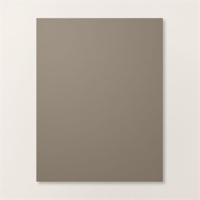
- Pebbled Path Cardstock: 5-1/2″ x 8-1/2″, scored at 4-1/4″
- Pebbled Path Cardstock: 4″ x 5-1/4″
- Basic White Cardstock: 4″ x 5-1/4″
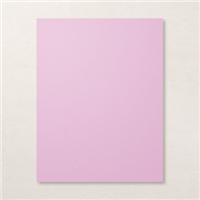
- Fresh Freesia Cardstock: 1-3/4″ x 5-1/4″
- Basic White Cardstock: 1″ x 3-1/2″
- Basic White Cardstock: 3″ x 3″


Grab your Free copy
Get 5 Bee-utiful Exclusive
Card Sketches in Your Inbox
Join our newsletter and receive a honey of a package of five quick & simple cards guaranteed to make your creativity buzz! Sign up now and let the goodness flow straight to your inbox!
Step-by-Step Instructions:
- Fold the Pebbled Path cardstock in half at the score line to create your base card.
- Adhere the 4″ x 5-1/4″ piece of Basic White cardstock inside the card.
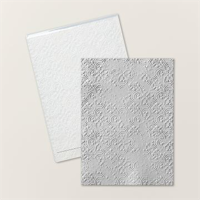
- Run the 4″ x 5-1/4″ piece of Pebbled Path cardstock and the Fresh Freesia cardstock through the Stampin’ Cut & Emboss Machine using the Distressed Tile 3D Embossing Folder. Adhere both pieces to the front of the card as shown on the sample.
- Stamp the sentiment onto the left side of the 1″ strip of Basic White cardstock using Pebble Path ink. Adhere to the center of the Fresh Freesia cardstock on the left side.
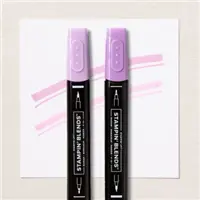
- Stamp the middle image from the Tiled Techniques Stamp Set onto the top of the 3″ square of Basic White cardstock using Pebbled Path ink. Ink up the stamp again and line up the same stamp so that it creates the “circle” shape. Color in the center images using the Dark Fresh Freesia Blend.
- Using the Paper Snips scissors, fussy cut out the image. Adhere the image to the right side of the sentiment to finish.
I’m delighted you stopped by for today’s creative escape! Whether it’s a birthday, holiday, or any special moment, I’m here to help you craft the perfect card with ease. If you have questions about today’s tutorial, please email me for detailed steps. Inspire your craft with more ideas—join me over on Pinterest!

Don’t forget to pin this for later!
