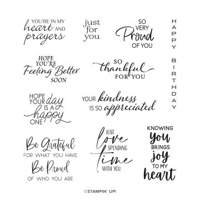
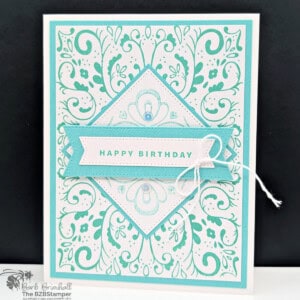
Seamless crafting with Tiled Techniques Stamp Set by Stampin’ Up! opens up a world of artistic possibilities for both novice and seasoned crafters. This stamp set is not merely a tool; it is a gateway to expanding your crafting repertoire with beautifully intricate designs that mesh together flawlessly. The ability to create endless backgrounds and borders with just one set of stamps makes this a must-have in any crafter’s collection.
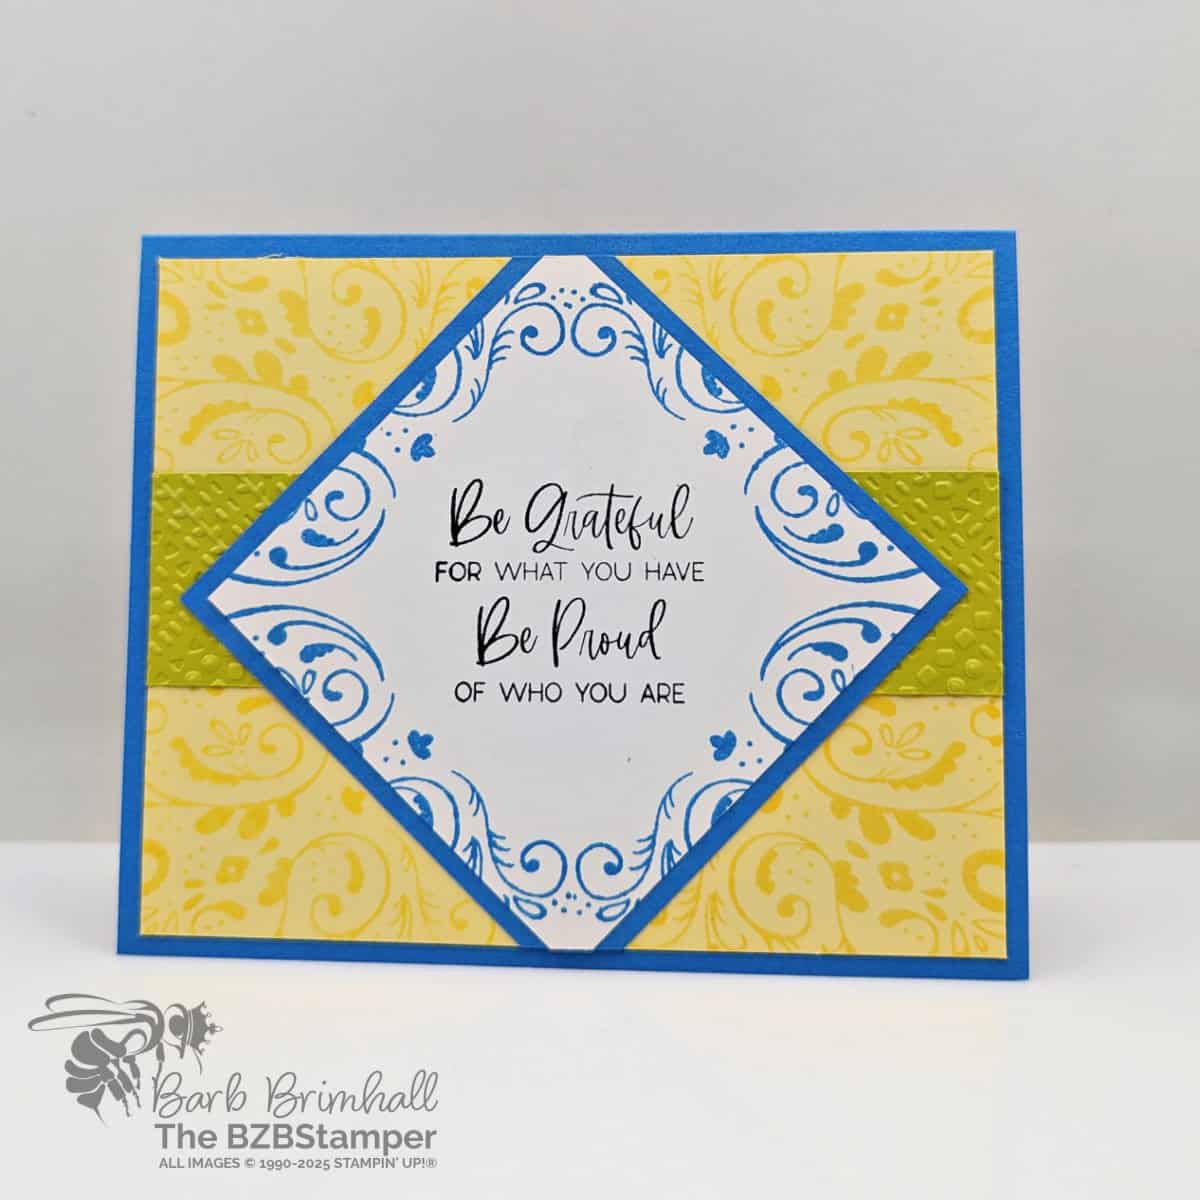
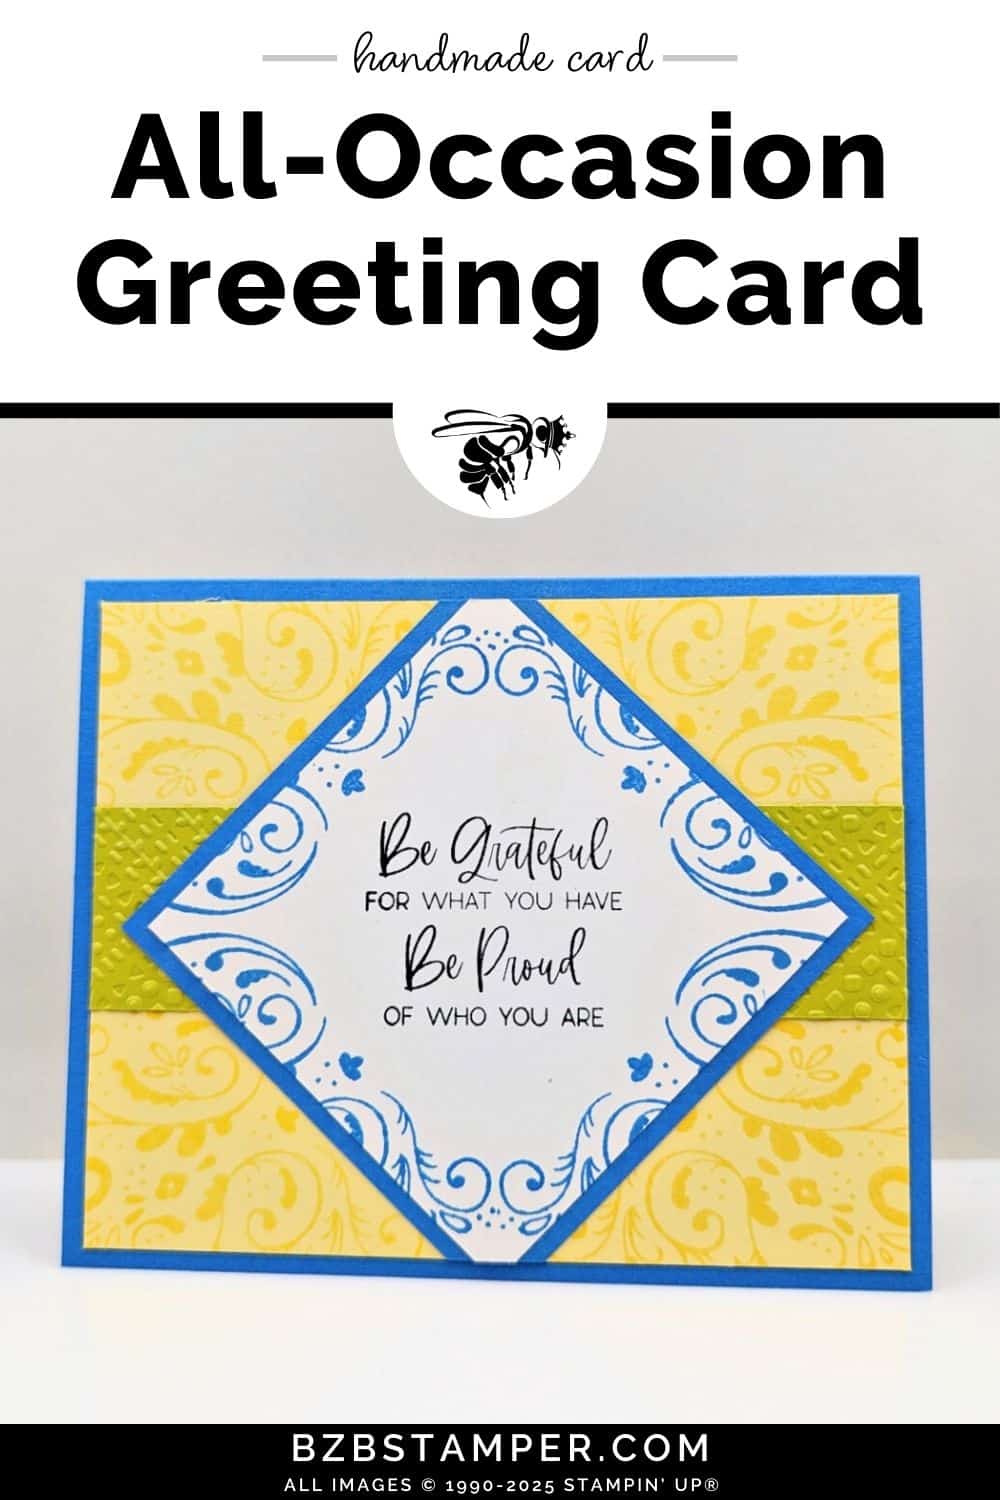
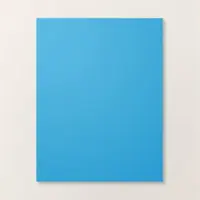
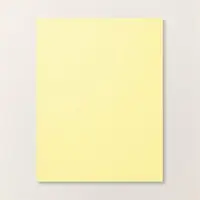
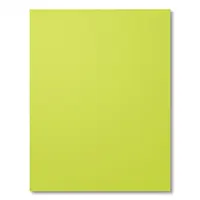
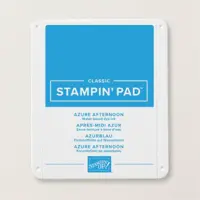
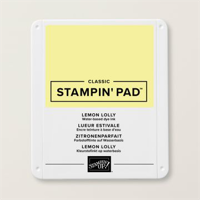
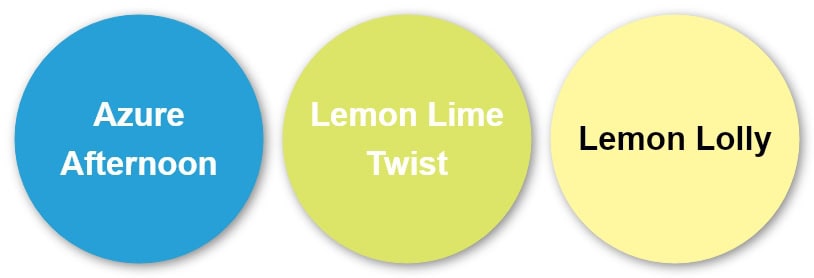
Imagine taking a plain piece of cardstock and transforming it into an elaborate artwork with precise, repetitive stamping. For this card, I wanted bright colors, so I went with a unique color palette of Azure Afternoon, Lemon Lime Twist, and Lemon Lolly. If you’d like something softer, make sure you check out my Color Combination Library for more ideas.
This stamp set is so fun to use! Get ready to be inspired and discover how you can turn simple materials into eye-catching pieces of art.
How To Make This Card
Project Skill Level: Worker Bee
Worker Bee projects are designed for the crafter who has a bit more time and enjoys creating a handmade card that features a technique or tool. In many cases, a Stampin’ Cut & Emboss Machine is required for die-cutting and/or embossing.
Cardstock Measurements:
- Azure Afternoon Cardstock: 5-1/2″ x 8-1/2″, scored at 4-1/4″
- Basic White Cardstock: 4″ x 5-1/4″
- Lemon Lolly Cardstock: 4″ x 5-1/4″
- Lemon Lime Twist Cardstock: 1-1/4″ x 5-1/4″
- Azure Afternoon Cardstock: 3-1/4″ x 3-1/4″
- Basic White Cardstock: 3″ x 3″


Grab your Free copy
Get 5 Bee-utiful Exclusive
Card Sketches in Your Inbox
Join our newsletter and receive a honey of a package of five quick & simple cards guaranteed to make your creativity buzz! Sign up now and let the goodness flow straight to your inbox!
Step-by-Step Instructions:
- Fold the Azure Afternoon Cardstock in half at the score line to create your card base.
- Adhere the 4″ x 5-1/4″ Basic White cardstock inside the card.
- Using the large pattern from the Tiled Techniques Stamp Set, stamp at the top of the Lemon Lolly Cardstock using Lemon Lolly ink. Re-ink stamp and repeat, stamping at the bottom of the card. Set aside.
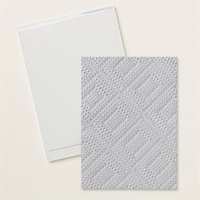
- Using the 1-1/4′ strip of Lemon Lime Twist cardstock, run through the Stampin’ Cut & Emboss Machine using the Dashing Designs 3D Embossing Folder. Adhere to the Lemon Lolly cardstock.
- Turn the 3″ square of Basic White cardstock so that it’s diamond-shaped. Stamp the sentiment from the So Sincere Stamp Set in the center using Tuxedo Black Memento ink.
- Stamp the Tiled Techniques stamp of choice (I used the largest stamp) onto each side of the Basic White Cardstock using Azure Afternoon Ink. Adhere to the center of the Lemon Lolly cardstock and trim edges at the top and bottom as necessary.
- Adhere the Lemon Lolly cardstock to the front of the card to finish.
Thanks for stopping by for today’s card tutorial! My goal is to help you make quick & easy greeting cards for all occasions. If you’d like more detailed directions on how to make this card, feel free to email me. I hope you’ll join me again for more card-making ideas!

Don’t forget to pin this for later!
