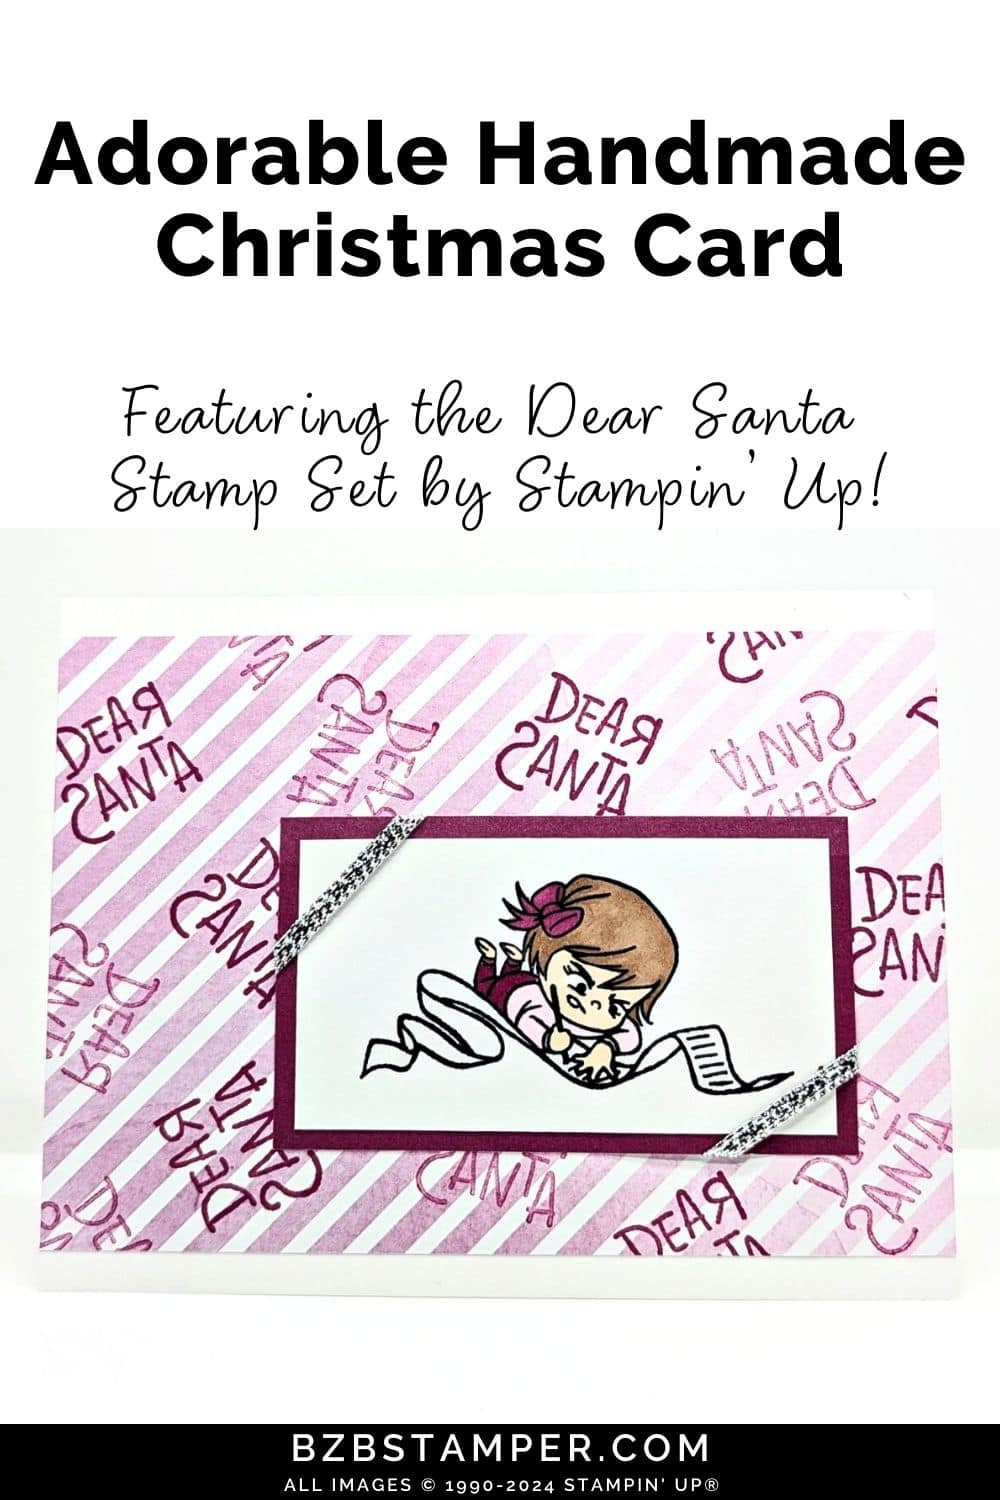
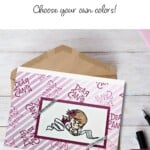
There’s nothing quite like crafting an adorable card with the Dear Santa Stamps by Stampin’ Up! to get into the holiday spirit. One of the most charming elements of this set is the “Dear Santa” sentiment, written in a childlike crayon style, perfect for adding a whimsical touch to your holiday projects. Imagine a cute Christmas card featuring a young girl diligently writing her wish list to Santa, her face filled with excitement and wonder. This playful design not only captures the joy of the season but also brings a sense of nostalgia to anyone who remembers making their own Santa list as a child.
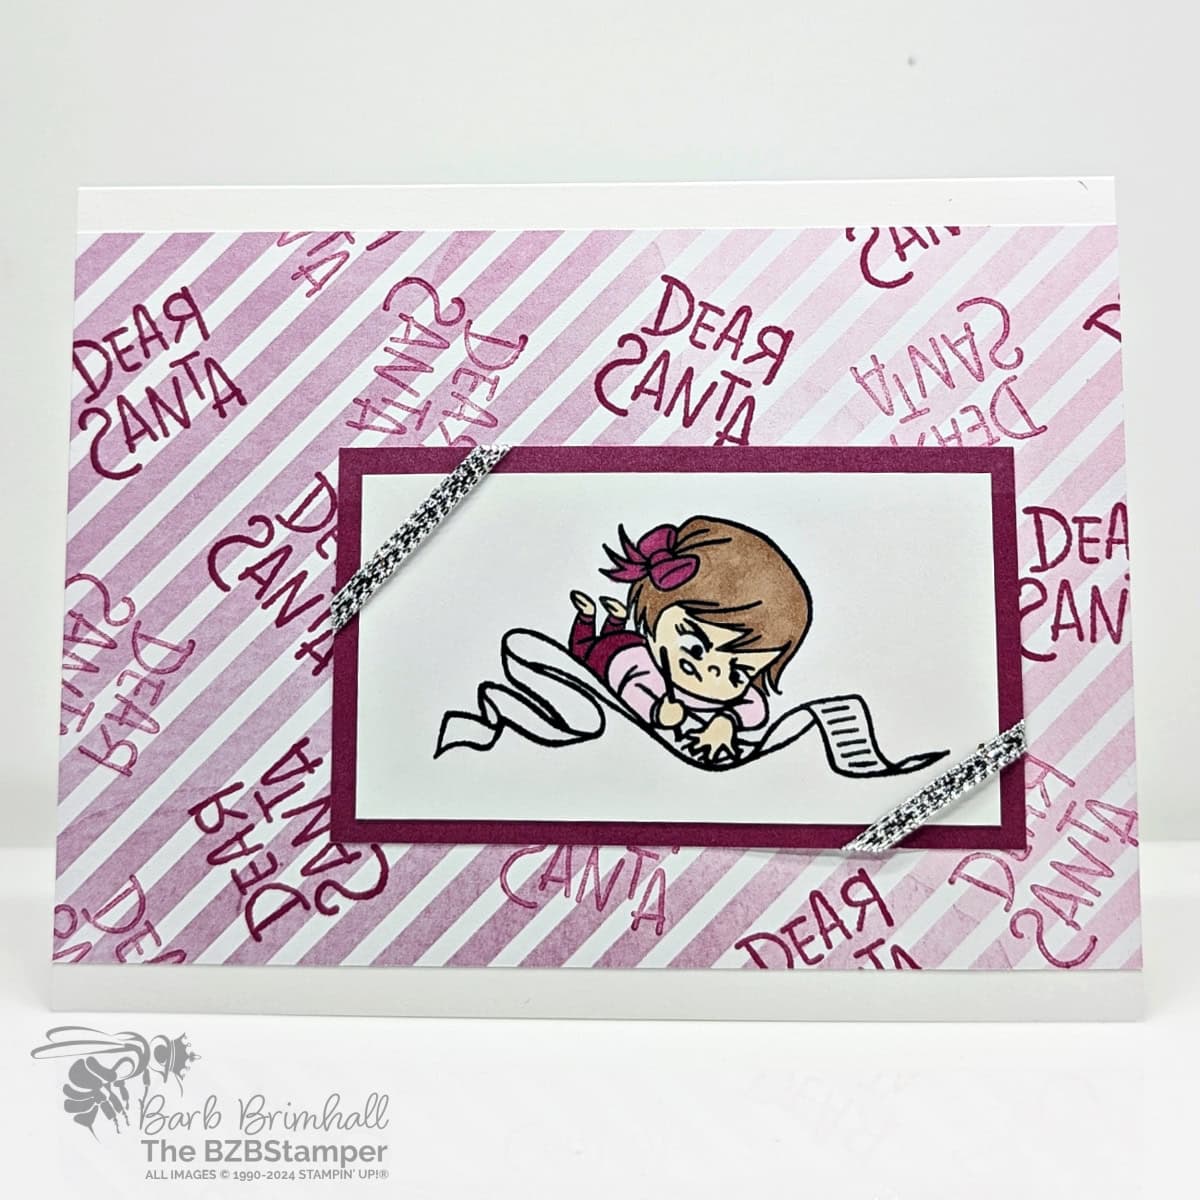
In this post, I’ll show you how to create a heartwarming holiday card using the Dear Santa Stamp Set that’s both fun and festive. With just a few stamps, some coloring, and a sprinkle of creativity, you’ll have a card that is sure to bring a smile to anyone’s face. For this card, I used the Stampin’ Blends to make coloring quick and easy! Whether you’re a seasoned crafter or new to stamping, this set makes it easy to create cards that spread joy and holiday cheer. Let’s dive into how you can make this whimsical holiday card come to life!
How To Make This Card
Project Skill Level: Busy Bee
Busy Bee projects are designed for the beginner or busy papercrafter. This is a basic cardmaking project that can be achieved by someone who has never made a handmade card before. You can view more Busy Bee cards here.
Cardstock Measurements:
- Basic White Cardstock: 5-1/2” x 8-1/2” scored at 4-1/4”
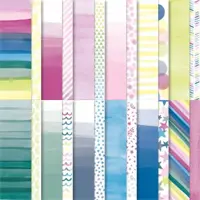
- Bright & Beautiful Designer Paper: 3-3/4” x 5-1/2”
- Berry Burst Cardstock: 2” x 3-1/2”
- Basic White Cardstock: 1-3/4” x 3-1/4”


Grab your Free copy
Get 5 Bee-utiful Exclusive
Card Sketches in Your Inbox
Join our newsletter and receive a honey of a package of five quick & simple cards guaranteed to make your creativity buzz! Sign up now and let the goodness flow straight to your inbox!
Step-by-Step Instructions:
- Fold the Basic White Cardstock in half at the score line to create your card base.
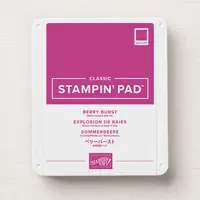
- Using the 3-3/4” x 5-1/2” piece of Bright & Beautiful Designer Paper, stamp the sentiment once using Berry Burst ink and then stamp again without reinking turning the image slightly. Repeat as necessary to fill the entire paper. Adhere to the card base.
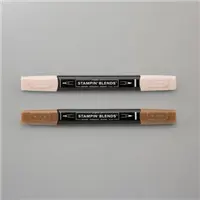
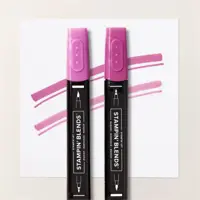
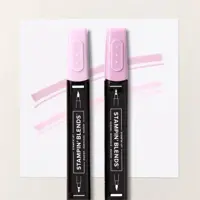
- Stamp the girl image onto the 1-3/4” x 3-1/4” piece of Basic White cardstock using Black Memento ink. Color in her hair and skin using the Bronze & Ivory Blends. Color in her outfit using the Berry Burst & Bubble Bath Dark Blends.
- Adhere the Basic White cardstock to the Berry Burst cardstock.
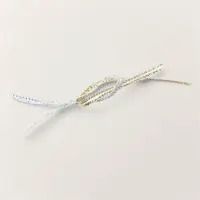
- But two pieces of 2” Silver Trim. Wrap each piece around the top left and bottom right of the Berry Burst cardstock, securing the scotch tape.
- Adhere the Berry Burst cardstock to the card front to finish.
Thanks for stopping by for today’s card tutorial! My goal is to help you make quick & easy greeting cards for all occasions. If you’d like more detailed directions on how to make this card, feel free to email me. I hope you’ll join me again for more card-making ideas!

Don’t forget to pin this for later!
