Use Autumn to Remember Scrapbooking Kit for Cards
Use Autumn to Remember Scrapbooking Kit for cards that are stunningly fall-themed both quickly and easily! The Autumn to Remember Scrapbooking Kit by Stampin’ Up! isn’t just for scrapbookers—this versatile kit can be used to create beautiful handmade cards that capture the essence of the season.
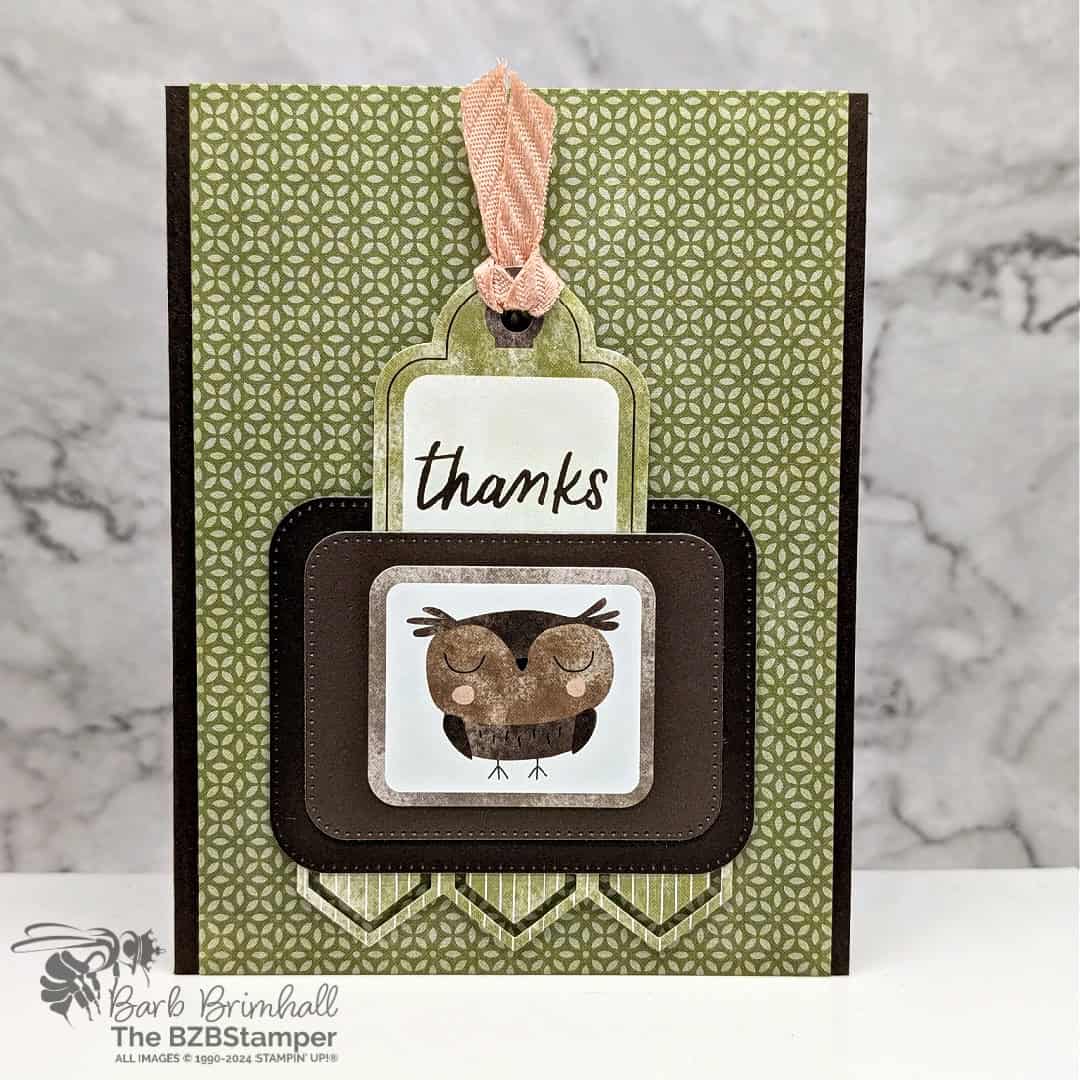
With the kit’s rich fall color palette and nature-inspired elements, you’ll have everything you need to make a card that stands out. In this tutorial, I’ll show you how to take the materials designed for scrapbook layouts and transform them into a gorgeous autumn card.
Why Use the Autumn to Remember Scrapbooking Kit for Cards?
This kit is packed with fall-themed cardstock, double-sided Designer Series Paper, and embellishments like pumpkins, leaves, and gold accents. What makes it even better is that it’s all coordinated for you—so you can create a cohesive and polished card without having to dig through your craft stash.
Using the Autumn to Remember Scrapbooking Kit for cards is a fun and simple way to get creative this fall. Whether you’re a seasoned cardmaker or just starting out, you’ll love how quick and easy it is to make a unique handmade card using this kit.
How To Make This Card
Project Skill Level: Worker Bee
Worker Bee projects are designed for the crafter who has a bit more time and enjoys creating a handmade card that features a technique or tool. In many cases, a Stampin’ Cut & Emboss Machine is required for die-cutting and/or embossing.
Cardstock Measurements:
- Early Espresso Cardstock: 5-1/2″ x 8-1/2″, scored at 4-1/4″
- Basic White Cardstock: 4″ x 5-1/4″
- Autumn To Remember Designer Paper: 4″ x 5-1/2″
- Early Espresso Two-Tones Paper (from Kit): 4″ x 6″
- Autumn To Remember Paper (Die-Cut Images)


Grab your Free copy
Get 5 Bee-utiful Exclusive
Card Sketches in Your Inbox
Join our newsletter and receive a honey of a package of five quick & simple cards guaranteed to make your creativity buzz! Sign up now and let the goodness flow straight to your inbox!
Step-by-Step Instructions:
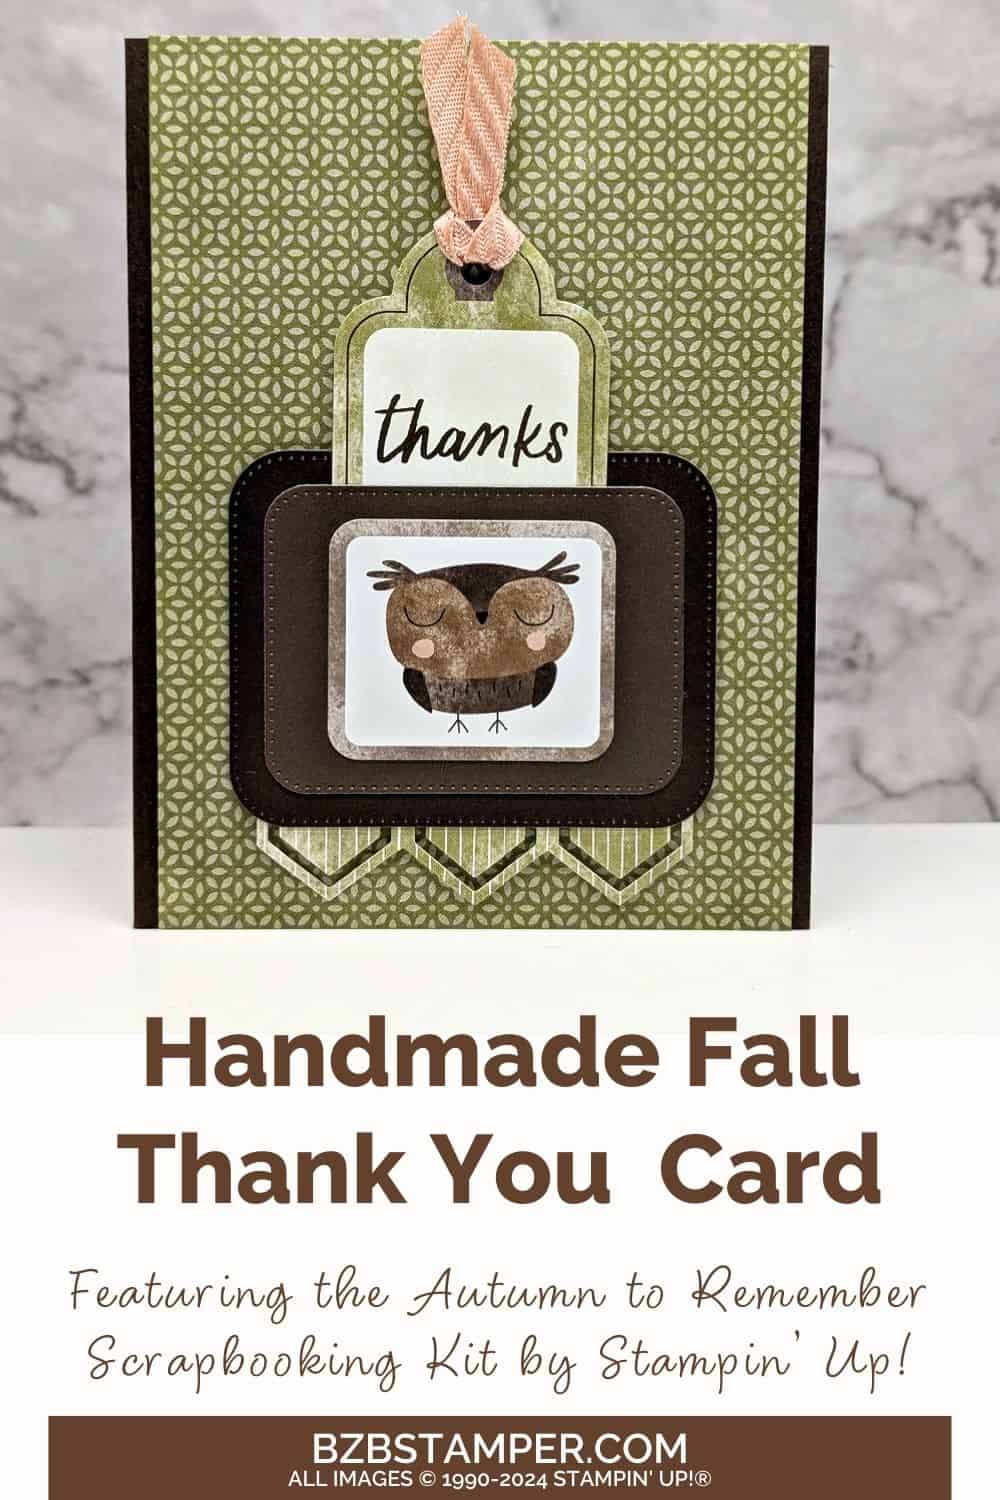
- Fold the Early Espresso cardstock in half at the score line to create you card base.
- Adhere the 4″ x 5-1/4″ piece of Basic White cardstock to the inside of the card.
- Adhere the 4″ x 5-1/2″ piece of Designer Paper to the front of the card.
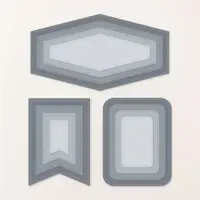
- Run the 4″ x 6″ Two-Tone Early Espresso paper from the Kit through the Cut & Emboss Machine and cut out the darker side using the 2-3/8″ x 3 die from the Nested Essentials Dies; cut out the lighter side using the 1-7/8″ x 2-5/8″ die from the same Dies.
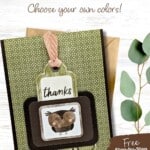
- Punch out the tag, owl, and 3 diagnonal border pieces from the Kit. (See the sample for the pieces you’ll need.) Adhere the 3 diagonal borders to the back of the 2-3/8″ x 3″ Early Espresso die-cut. Adhere to the front of the card as shown in the sample.
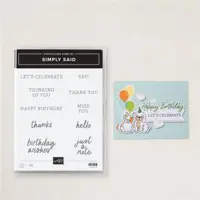
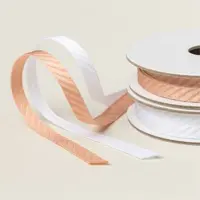
- Stamp the “thanks” from the Simply Said Stamp Set onto the white area of the Tag using Early Espresso ink pad. Cut 5 ” of ribbon and loop through the top of the Tag as shown in the sample.
- Glue the bottom only of the tag onto the 2-3/8″ x 3″ Early Espresso cardstock. Adhere the 1-7/8″ x 2-5/8″ Early Espresso die-cut cardstock onto the tag (as shown in the sample) using Stampin’ Dimensionals.
- To finish, add the whimsical Owl element to the center of the 1-7/8″ x 2-5/8″ paper to finish.
A Tip from Barb
You’ll have lots of leftover elements from the Kit once you’ve completed your scrapbook page. If there are certain elements you want to use on a card, set those aside first before creating your scrapbook pages. Easy Peasy!😊
This is actually a very easy card to create, but I upgraded it to a Worker Bee card because it uses the Nested Essential dies. If you don’t have these dies, or a Cut & Emboss Machine, you can simply cut the Two-Tone Early Espresso paper to 2-1/2″ x 3″ and 2″ x 2-3/4″.
Thanks for stopping by for today’s card tutorial! My goal is to help you make quick & easy greeting cards for all occasions. If you’d like more detailed directions on how to make this card, feel free to email me. I hope you’ll join me again for more card-making ideas!

Don’t forget to pin this for later!
