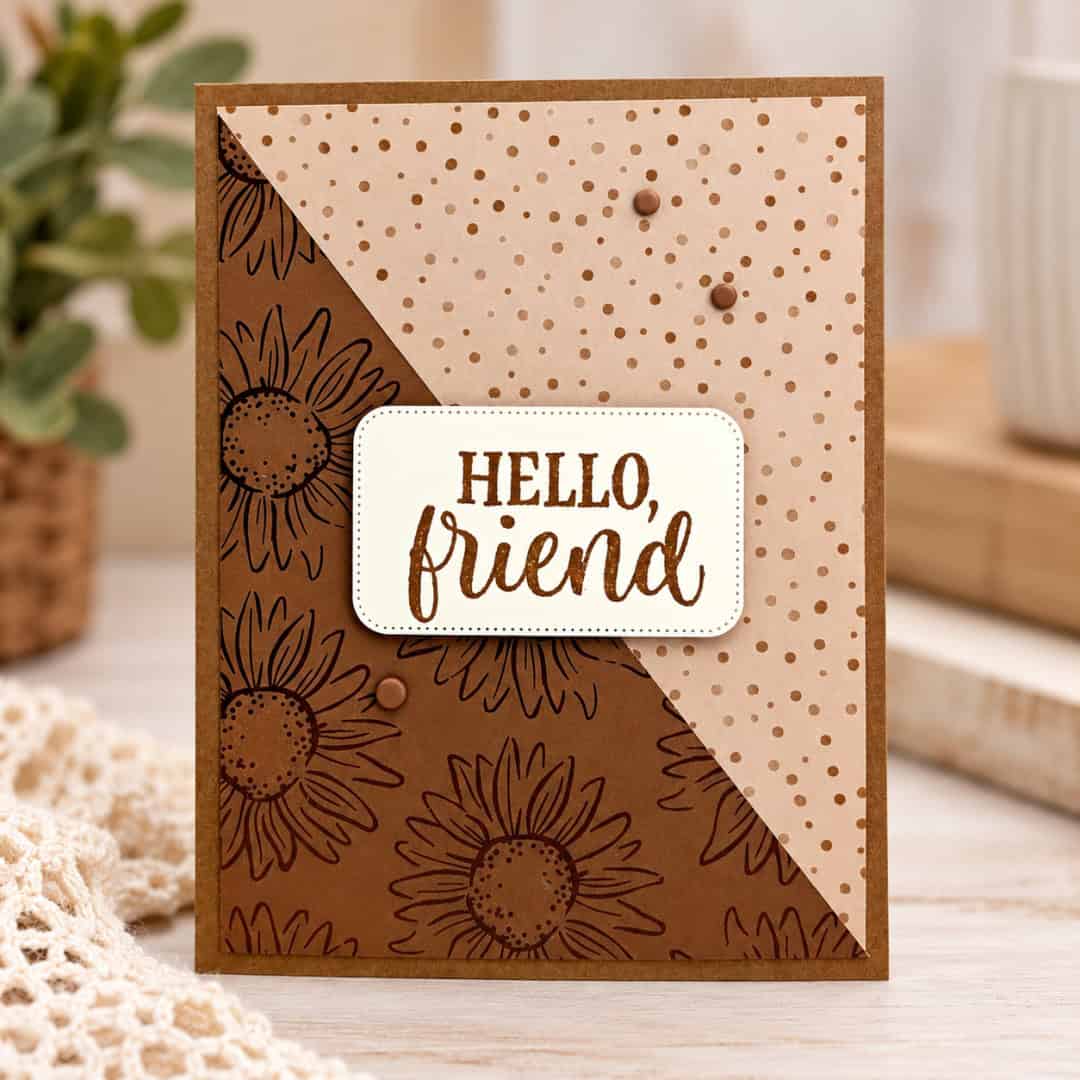
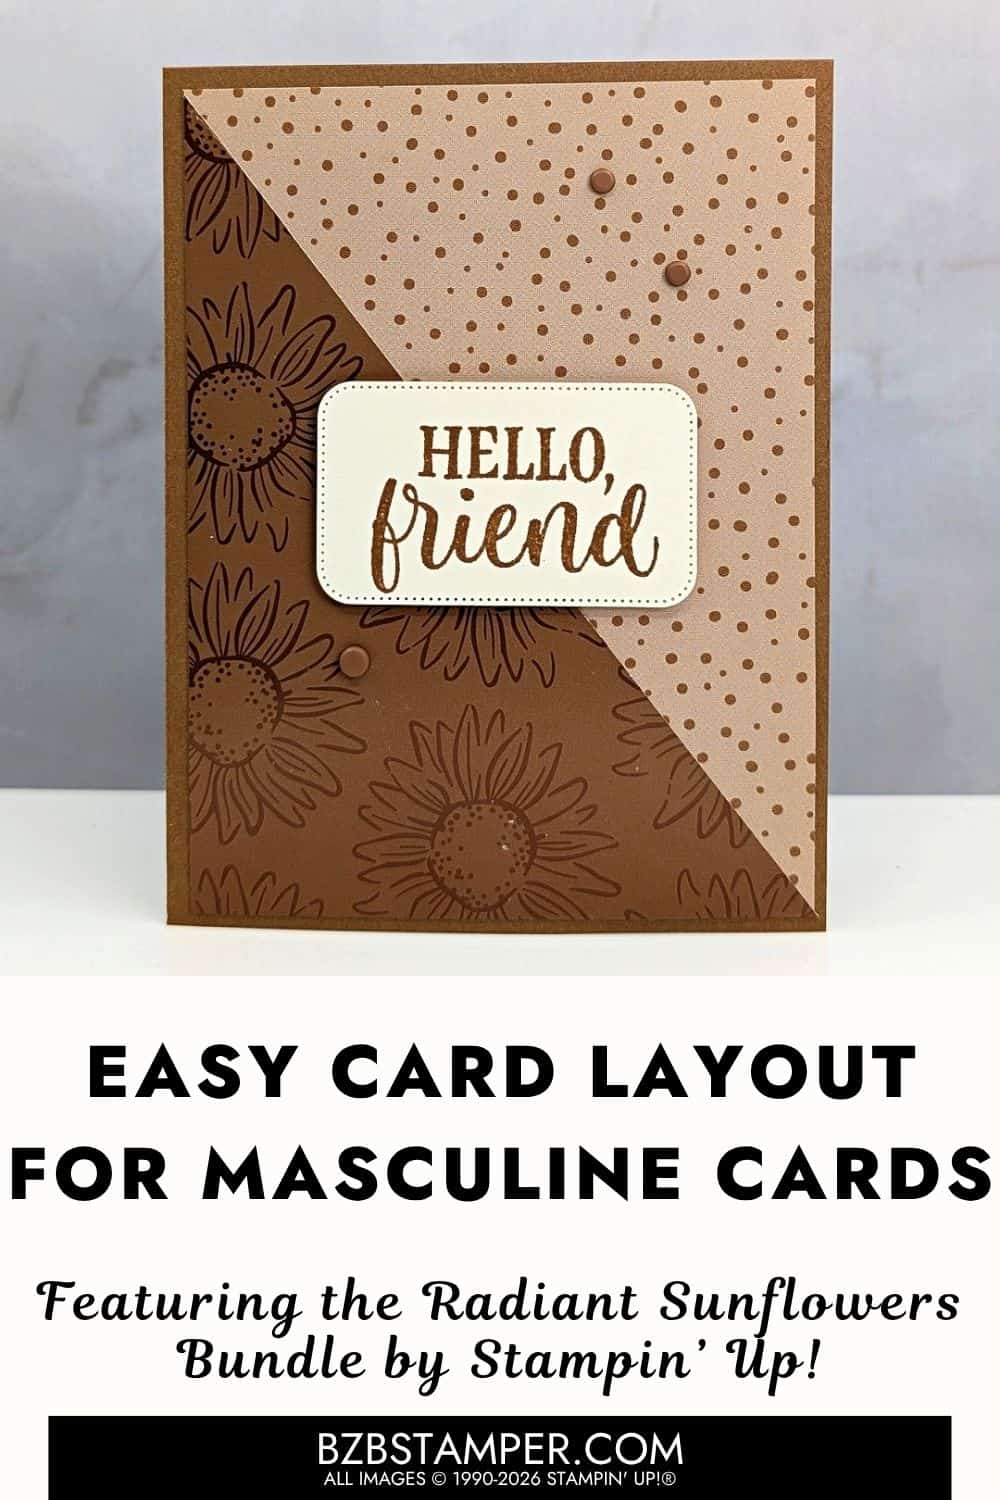
This easy card layout using two patterned papers is one to save when you have two pretty papers you want to use together but you’re worried they’ll make your card look too busy. Instead of choosing between them, use both!
For this week’s Coffee & a Card, I paired the Radiant Foils Specialty Designer Series Paper with the Sunflower Fields Designer Series Paper. They’re different patterns, but the simple diagonal layout gives each one its own space. The result looks interesting without looking complicated. And you know how much I like that!
October 7, 2026 Facebook Live (Edited)
You can find more video tutorials on our Youtube Channel
The trick isn’t necessarily finding two papers with the exact same pattern or even from the same package. It’s finding papers that can live together without fighting for attention.
The Radiant Foils paper has a subtle tone-on-tone caramel brown design with that beautiful foil shine. The Sunflower Fields paper brings in another warm, neutral pattern. Because neither pattern is screaming for all the attention, they work nicely together.
Then the diagonal line does something important. It gives your eye a clear separation between the two patterns, so the card feels intentional rather than busy. That’s a little layout trick worth remembering.
This card lets the layout do all the work. This is one of those card designs that you can use over and over again. Change the papers and suddenly you’ve got a completely different card. Try florals with a subtle stripe. Christmas paper with a quiet coordinating pattern. A bold print paired with something more neutral. You could even dig into your scrap bin and see which two papers look good together.
The important part is that you don’t need to add lots of layers or techniques after you’ve chosen the papers. You’ve already created plenty of interest. Sometimes knowing when to stop is the hardest cardmaking technique of all.
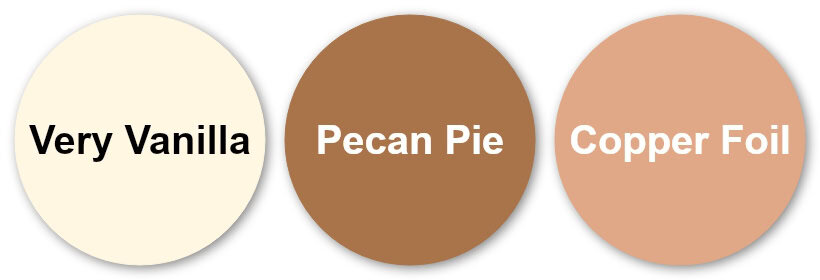
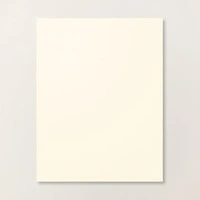
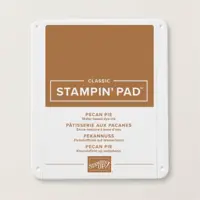
Very Vanilla, Pecan Pie, and Copper Foil give this card a warm, almost glowing feeling. Pecan Pie works beautifully with all those warm brown and caramel tones in the patterned papers, while Very Vanilla keeps the card softer than a bright white would. Then Copper Foil adds just enough shine to make the card feel a little more special.
It’s a warm combination that works beautifully for fall, but it isn’t so seasonal that you couldn’t send this card at another time of year. And it definitely works as a masculine card.
Since the patterned papers are doing so much of the work, I kept the sentiment simple. The “Hello, friend” is from the Radiant Sunflowers Bundle. I stamped it in Pecan Pie and used the coordinating rectangle die to cut it out using the Stampin’ Cut & Emboss Machine. That’s really all this card needs for a focal point.
The sentiment gives your eye somewhere to land without covering up those papers we went to all the trouble of choosing! And “Hello, friend” also makes this one of those handy cards you can make now and decide who needs it later.

Want the tutorial for this card? Just click on the button below for card measurements and step-by-step instructions.
I also turned the inside into a gift card holder. That wasn’t really the point of today’s card, but it’s a fun little bonus. Now a simple “Hello, friend” card can become an easy little gift when you need one. Add a coffee shop gift card for a friend who could use a pick-me-up, tuck in a little birthday surprise, or simply leave the pocket empty and use it as a regular friendship card.
I love having options!
The biggest idea I want you to take away from this card isn’t about buying these particular papers. It’s this:
When you have two patterned papers you love, you don’t always have to choose between them.
Give each pattern its own space, keep the rest of the design simple, and let the paper do the work.
That’s the kind of card layout worth saving because you can pull it out again and again with whatever pretty paper happens to be sitting on your craft table.
If you’d like to make this version with me, I’ve put the measurements and project details together for you in the free tutorial above.
And when you’re finished, don’t forget the best part. Write something inside and send it to a friend who would love finding a little surprise in their mailbox. Let’s fill those mailboxes with stamping sunshine! 🐝
Don’t forget to pin this for later!
I appreciate you dropping by! My mission is to inspire you with card tutorials that are as fun to make as they are to give. If you’re curious about the specifics of crafting today’s design, just send me an email. Want more papercrafting ideas? Join my Facebook Community today.
Supplies Used On This Project:


Price: $10.00

Price: $13.00





One more little perk while you’re shopping. Each month there’s a Product of the Month you can add for just $5 when your order reaches $75. It’s a fun surprise that’s not in the catalog and only available while supplies last. Click To Learn More
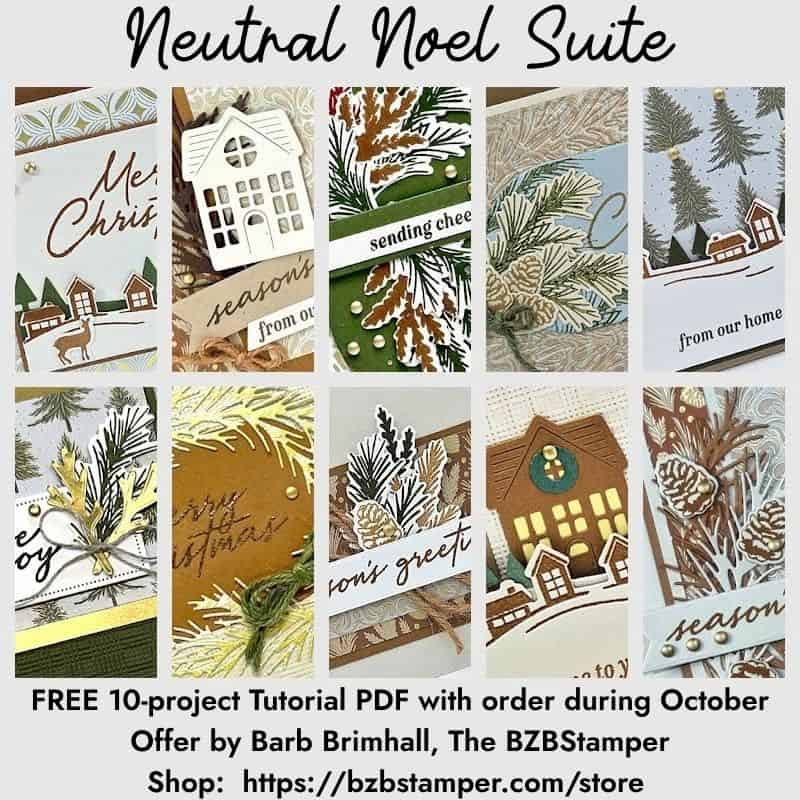
october ordering Bonus
A Bonus for You!
Any order you place in October includes a free 10-project tutorial featuring the Neutral Noel Suite that you can use with any Bundle in your stamp stash.
It’s filled with cozy, step-by-step card ideas to spark your creativity when your order arrives — so you’re not staring at supplies wondering where to start.
Grab your Free copy
Get 5 Bee-utiful Exclusive
Card Sketches in Your Inbox
Join our newsletter and receive a honey of a package of five quick & simple cards guaranteed to make your creativity buzz! Sign up now and let the goodness flow straight to your inbox!